Peanut Butter Energy Balls
(aka Quick and Healthy Snack Bites)
~ These delicious no-bake Peanut Butter Energy Balls are loaded with nutrition to keep you powered up and energized – filled with lots of whole grains, fiber and protein! They’re quick and easy to make, and freezable, too. A healthy snack your family will love, and you’ll feel absolutely terrific about giving them! ~
(Originally published as Quick and Healthy Snack Bites on April 18, 2013. Updated photos, text and tips.)
This Recipe Is: • Ready in 30 Minutes or Less • Freezable • Make Ahead • Vegetarian •
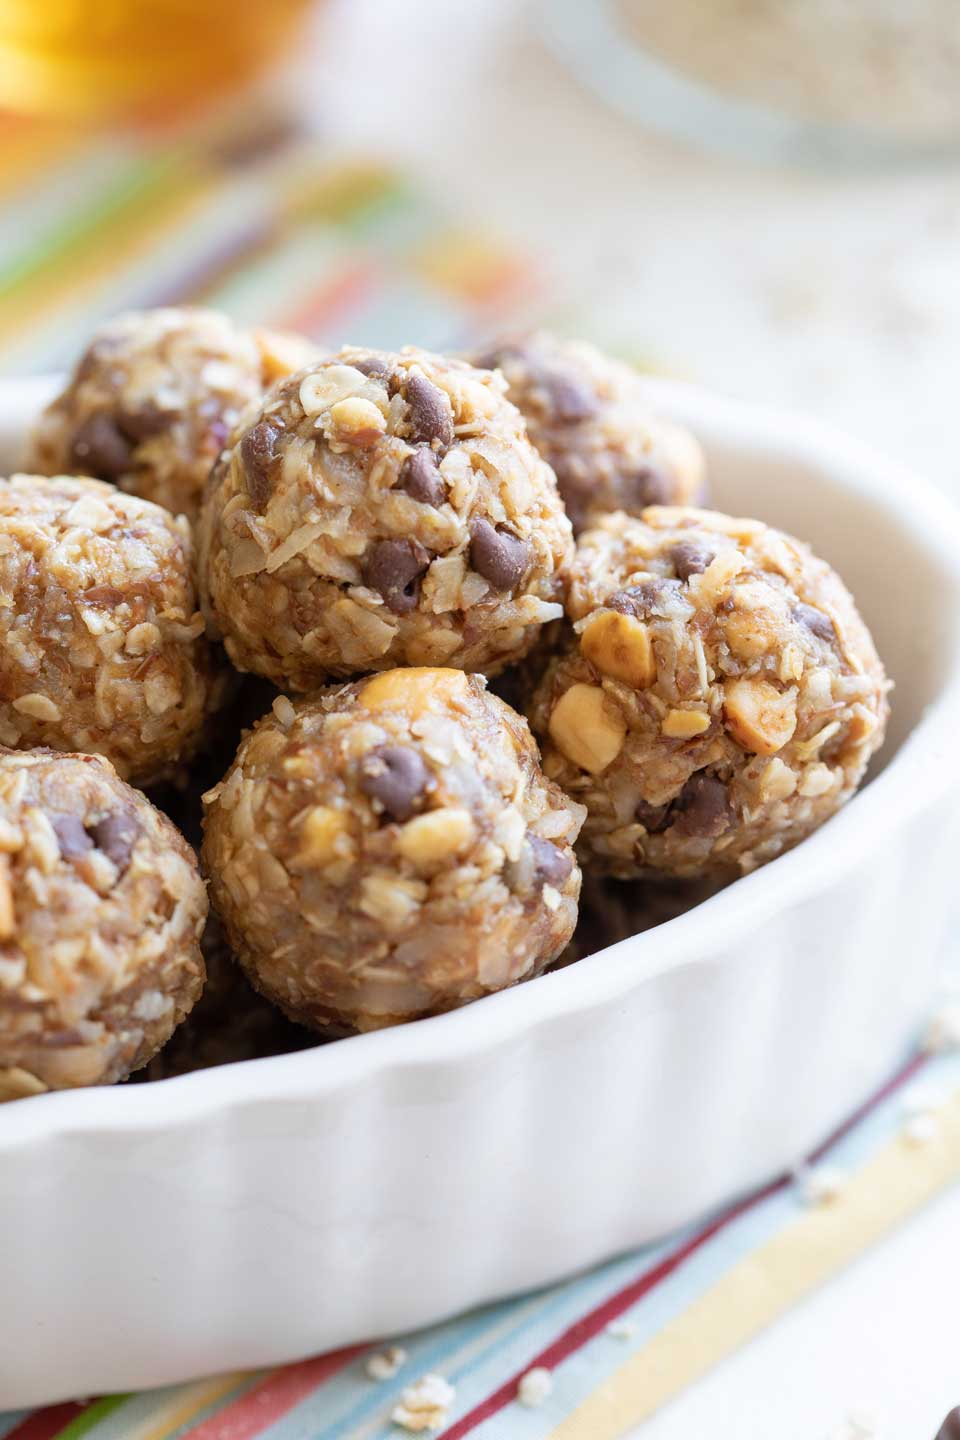
These scrumptious energy balls are truly The Ball That Started It All!
They were the very first recipe we ever shared here at Two Healthy Kitchens, and they embody everything we believe in … all in one tiny, perfect bite. They’re:
- So quick and easy (no baking, no cooking!)
- Healthy
- Absolutely, addictively delicious
We originally named all our energy balls “snack bites,” but I realized most of you guys out there think of them as energy balls, or even energy bites … so I’ve renamed them.
And, I’ve added handy tips I’ve learned through all my years of making literally hundreds upon hundreds of these yummy balls. You might notice I’ve upgraded the photos for you a bit, too. It made me kinda sad to ditch those very first photos, but you know … progress.
A Healthy Snack That’s Now Even Healthier!
Oh! And I’ve dramatically slashed the honey, even beyond the already-lower-sugar recipe we originally posted back in 2013.
My family honestly likes these energy bites even better now, because they’re not so … well … sweet. And, of course, less sugar is always a win!
But don’t worry … for those of you who’ve been making those original “Quick and Healthy Snack Bites” for years … you can still make ’em the same way you always did.
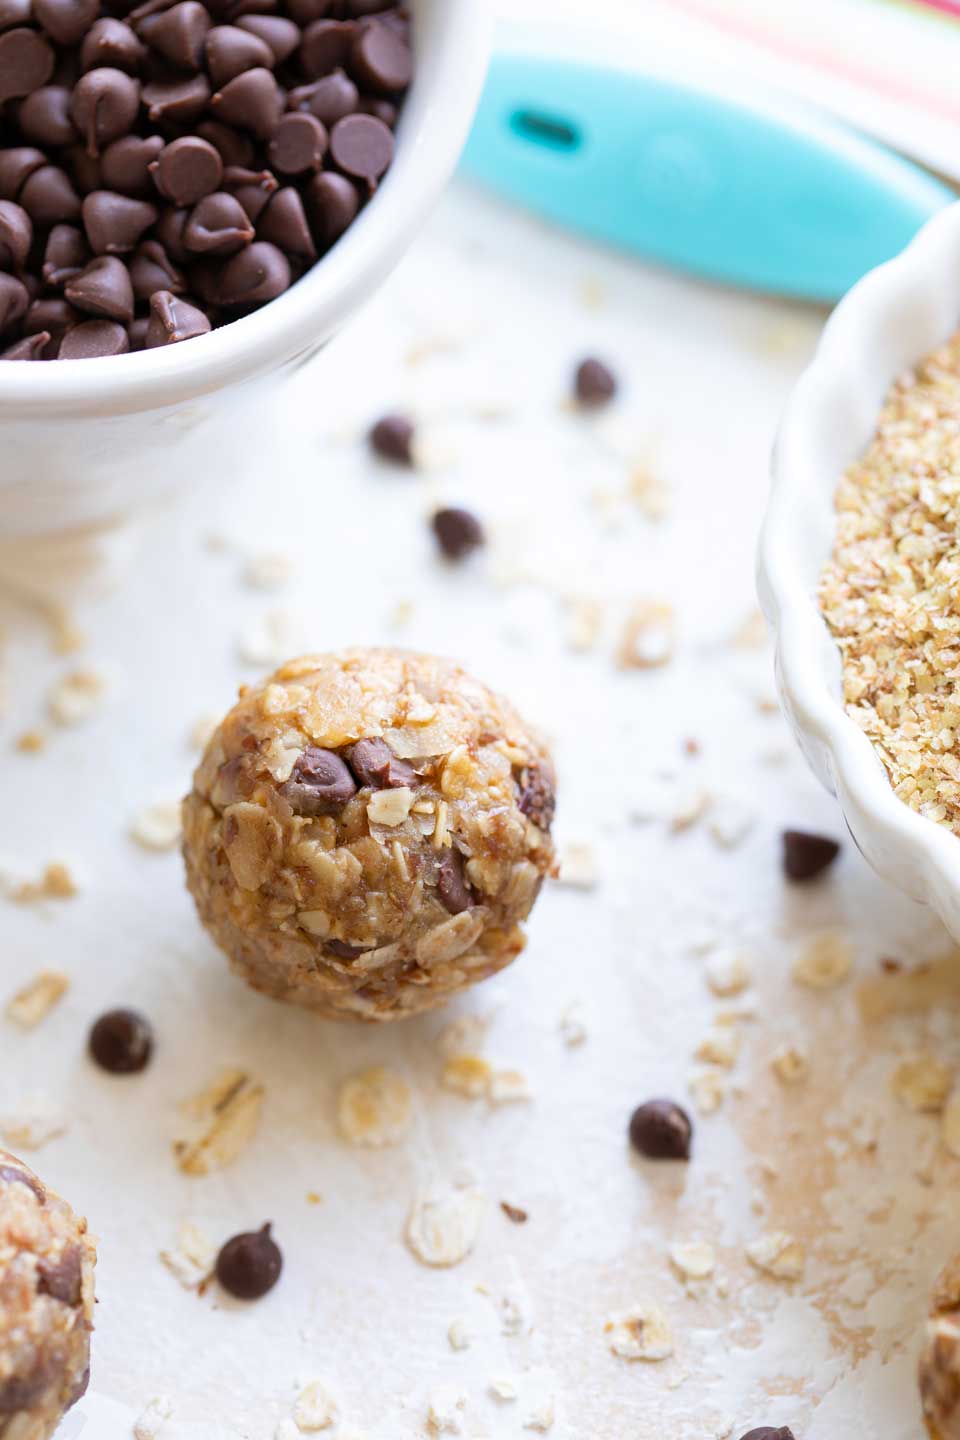
But trust me. Try cutting back the honey a bit, and I bet you won’t even notice!
Why We All Need Energy Balls in Our Lives (The Backstory)
I first started this website back in 2013, with my very best friend and business partner, Gretchen. We knew that this one, simple energy ball recipe was the perfect, yummy little hero to help us kick off our brand-new site. Here’s how it happened (cue the time warp) …
Once upon a time, in a land not-so-far-away, there were two beautiful princesses (sorry, got carried away there) … we were chatting about our kids’ hectic schedules, and we came to a realization:
Hands-down, the weak link in our families’ otherwise nutritious lives was the grab-and-go snack!
We’d always tried to be really diligent about providing super-healthy meals, but somehow the wheels totally fell off at snack time.
Oh sure, we had the best intentions. But, as the kids came home from school and the whirlwind of homework and afternoon activities began, we often found ourselves reaching for those convenient (and maybe not-so-healthy) snacks.
And, talking with friends, we realized that most other families were facing the exact same challenges. Healthy snacks were somehow just hard to achieve in the midst of busy family schedules.
We knew there had to be a better way!
We scoured cookbooks and the Internet looking for fun and healthy ideas. We tested, tasted, re-tested, re-tasted … you get the idea.
And finally we found a winner! (aaaaahhhhhhh – picture a choir of angels singing here)
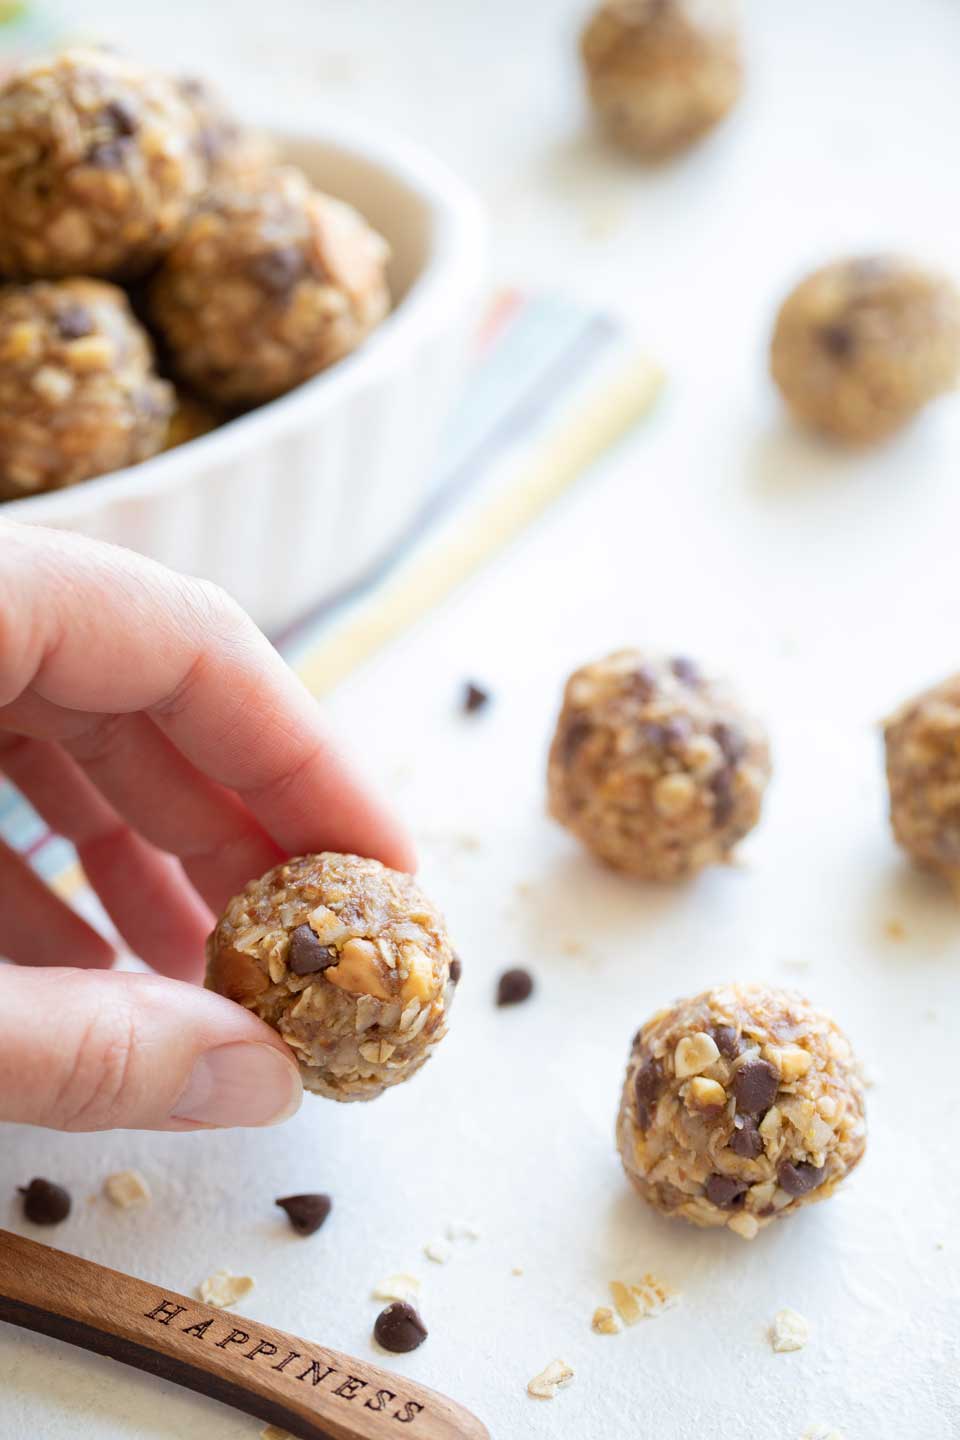
Actually, we found lots of winners (some were even hiding in our own recipe collections!), and we could’t wait to tell you all about them as we launched this site!
This Peanut Butter Energy Ball recipe, however, quickly found its way into our hearts (and our tummies, again … and again …)! We just knew that this HAD to be our first recipe post. It truly does feature every single thing we stand for here at THK – it’s so tasty, so nutritious, so quick, and so easy!
We adapted our recipe from Maggie at Smashed Peas and Carrots, and you can find her original recipe here. While we absolutely loved her version, we wondered if we could amp up the nutrition without losing any of the flavor … ’cause that’s just how we roll.
We concocted about 8 or 10 different variations (yeah, we were eating A LOT of these, long before we ever shared them with all of you!) until we settled on the perfect balance. In our version, we:
√ Swapped in wheat germ for some of the flax, which allowed us to keep a decent amount of the beneficial omega-3 fatty acids, while reducing the calories and total fat a bit, and increasing the Vitamin E and folic acid a smidge.
√ We also reduced the chocolate chips, which meant less sugar.
√ And we used crunchy peanut butter for, well, some added crunch.
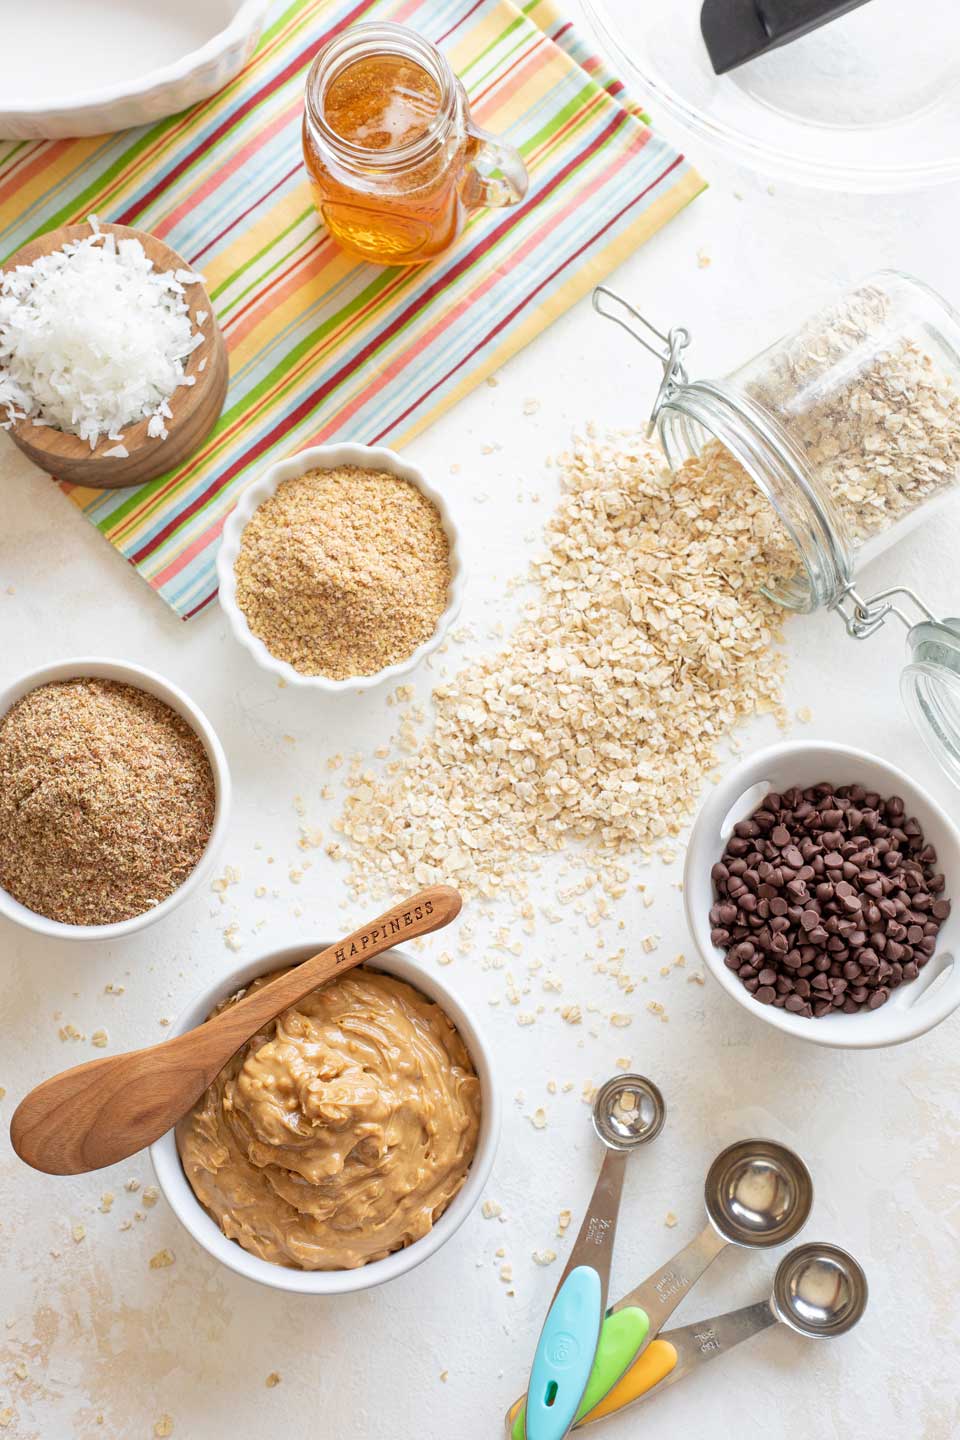
Our families fell in love with them. We stocked our freezers with healthy snack bags full of grab-and-go energy balls. They really even developed somewhat of a legendary, cult-following amongst our early readers.
Thank you, tiny Peanut Butter Energy Balls. You truly were the perfect way to kick off our site!
And with this little refresh … brand-new pics, a few tried-and-true tips and tricks … the beloved snack bites are ready to keep right on snackin’ with new readers (and of course, with all our original, reader-friends, too)!
Here’s all you’ve gotta do to give them a try …
How to Make Your Peanut Butter Energy Balls
Step #1
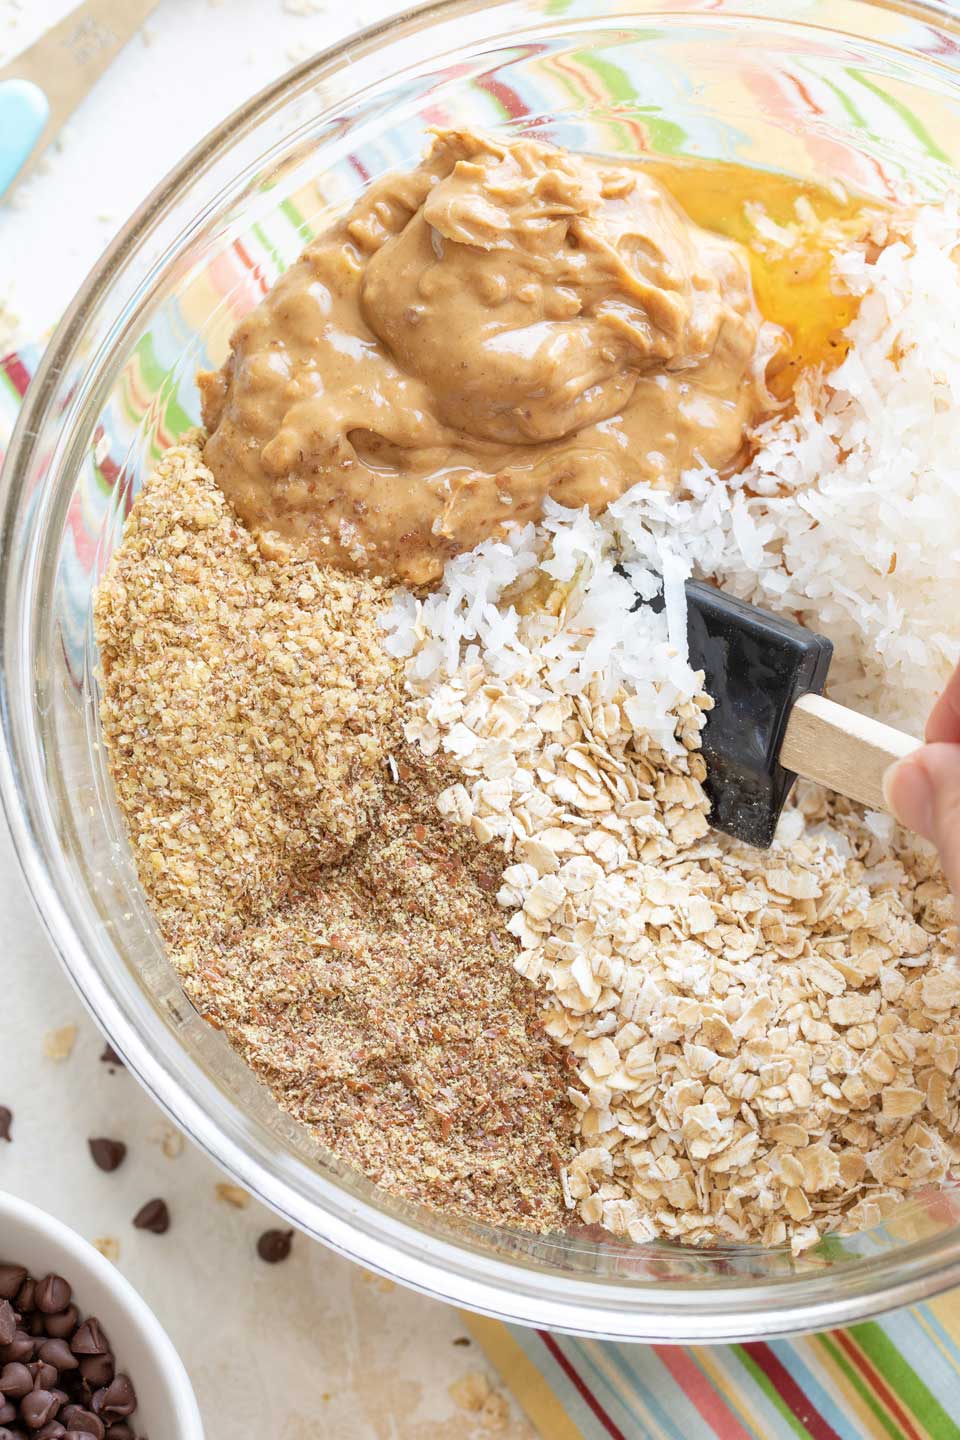
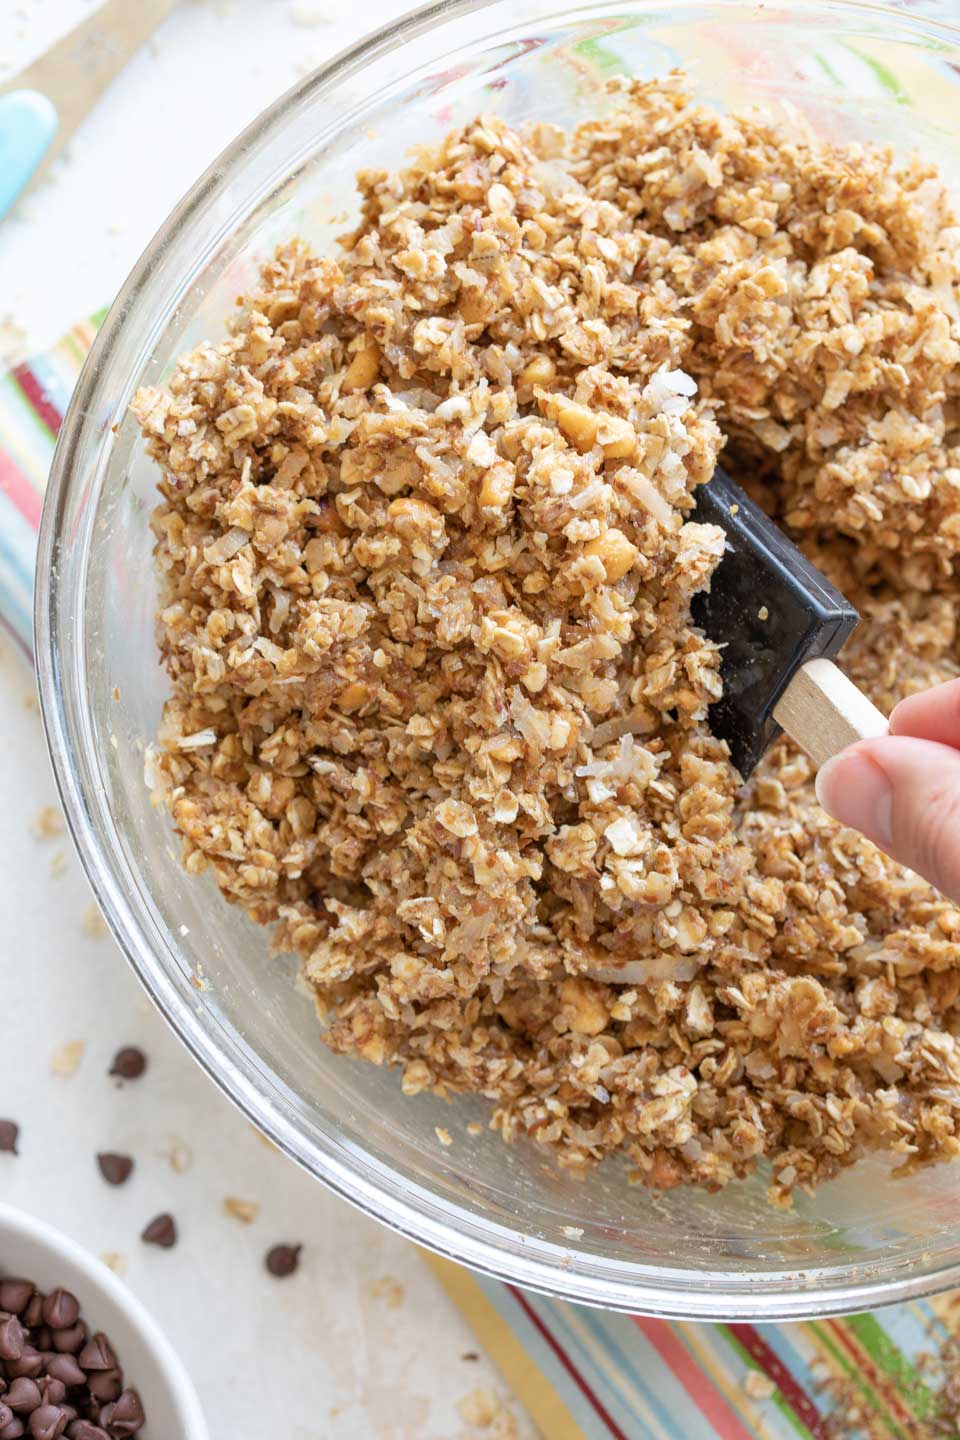
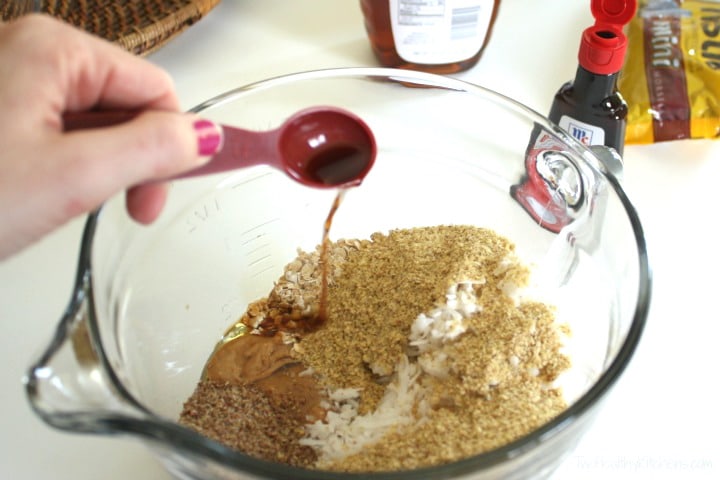
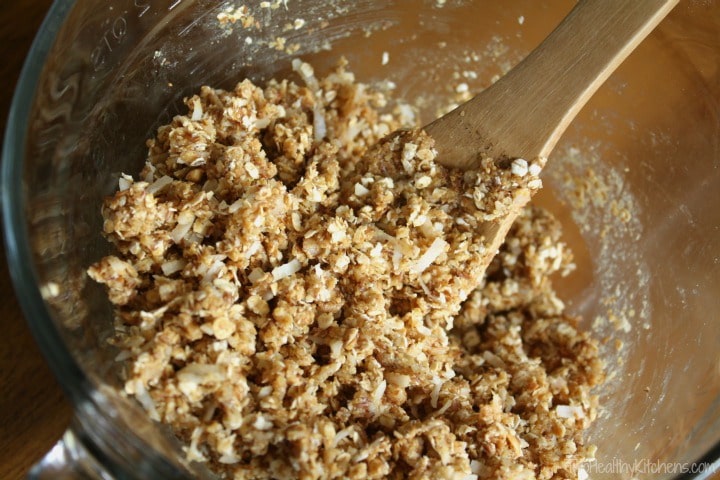
Begin by adding your ingredients (except, hold off on the chocolate chips – for now) into a medium bowl.
Mix it all together until it’s really well combined. (And, yeah … this is probably a good time for a little taste test. Mmmmmmmm …)
Step #2
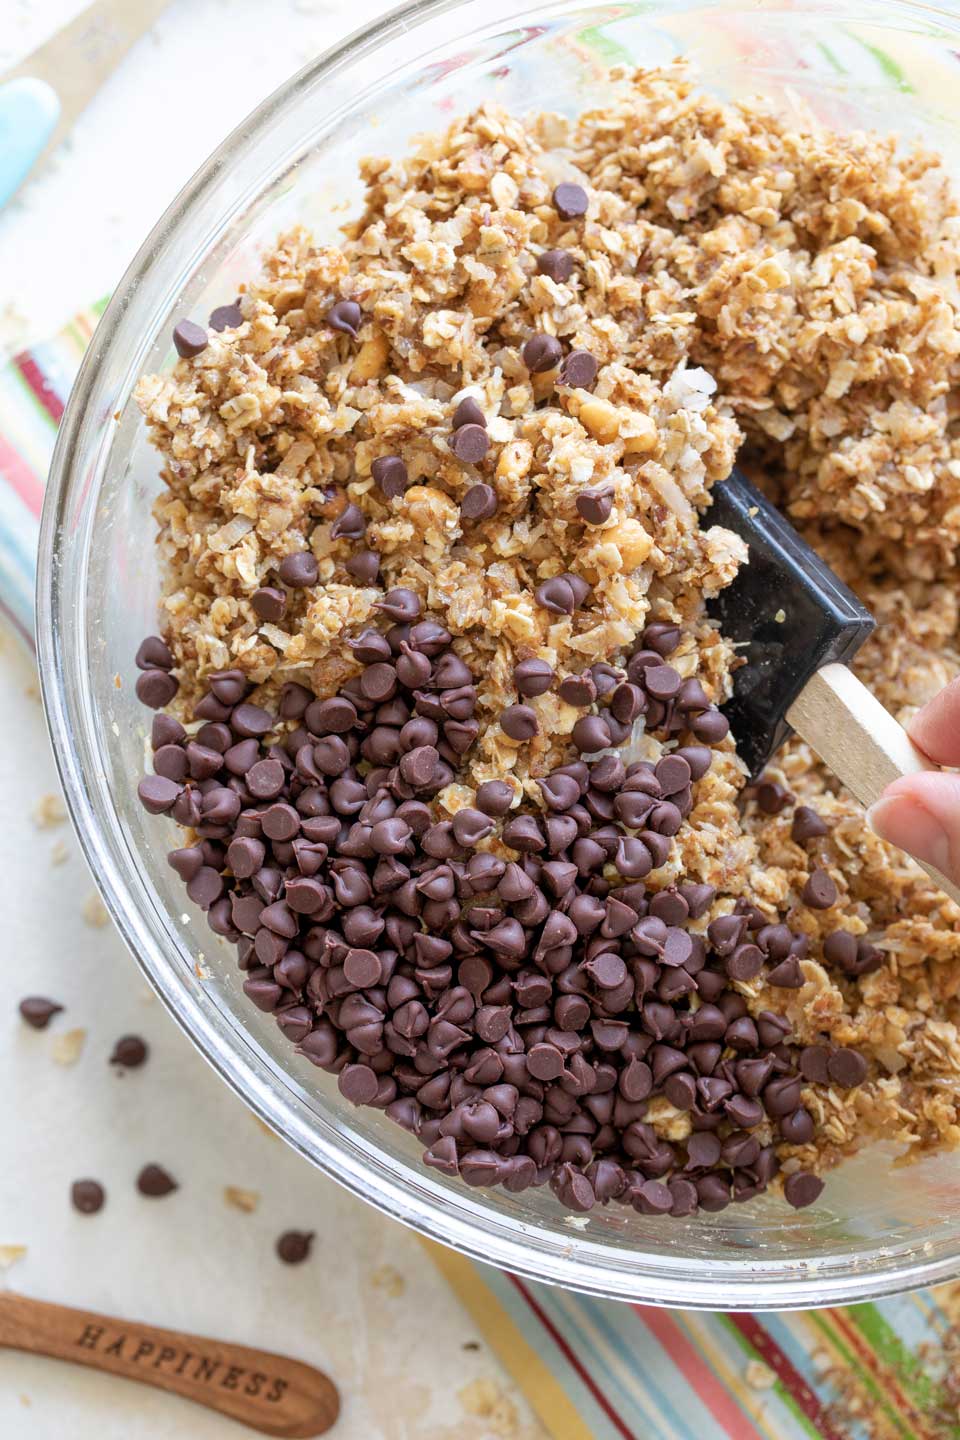
Next stop … the chocolate chips!
Yeah, this is where it gets REALLY good. I mean … chocolate chips and peanut butter??? Yes, please!
Mix ’em right on in there, so you’ll get little bits of chocolate in every bite. (And now’s another great taste test opportunity. Just sayin’ 😉 )
Step #3
See how easy this is? You’re practically done already. (The hardest part is the taste testing, right?!?!)
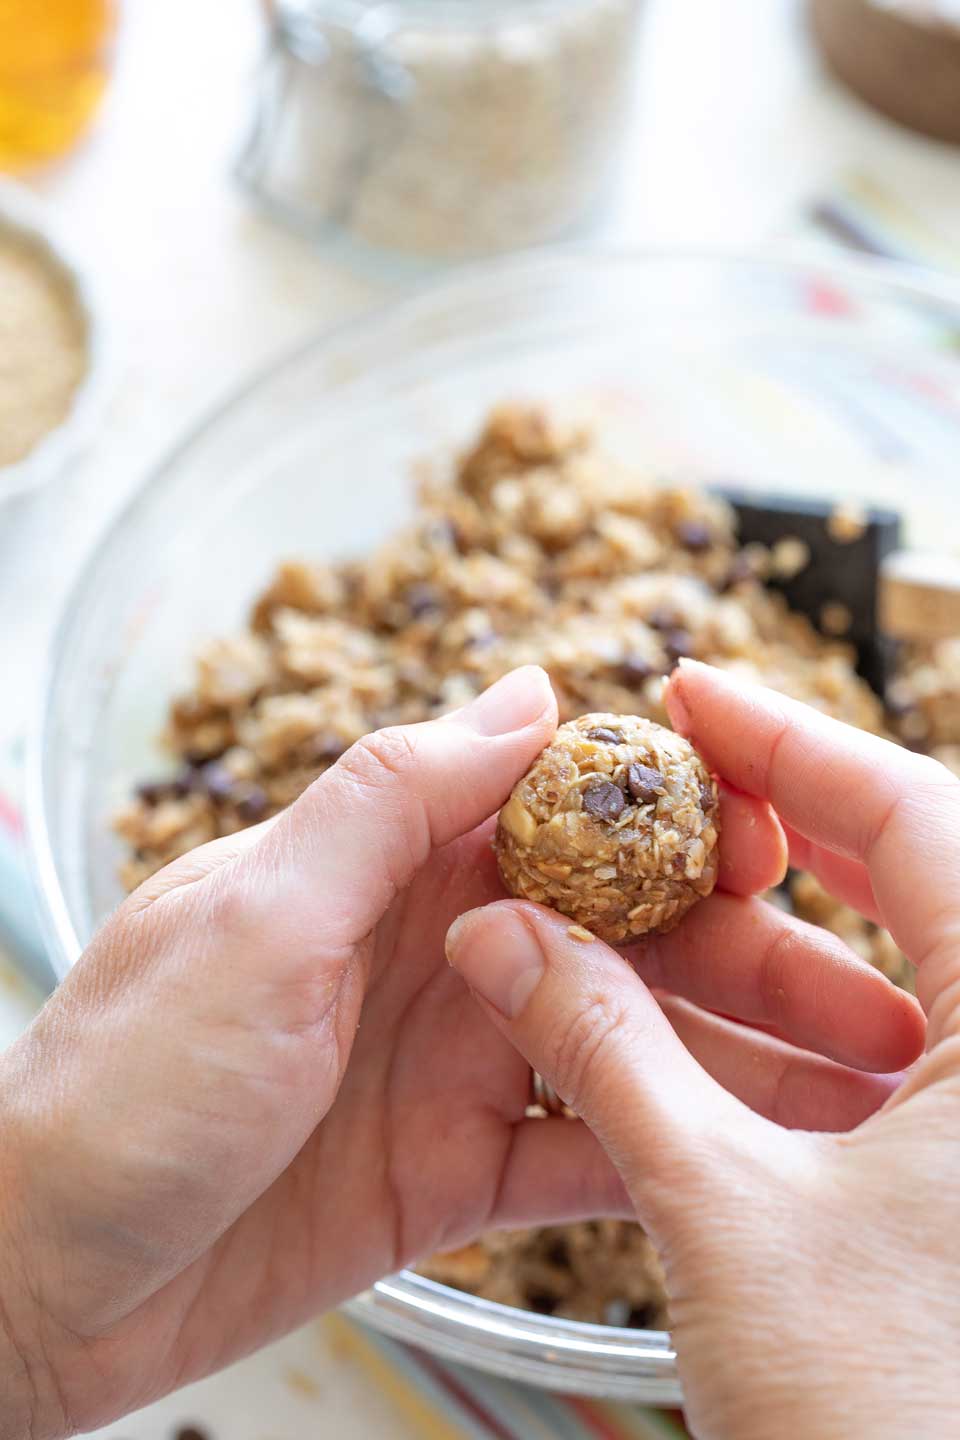
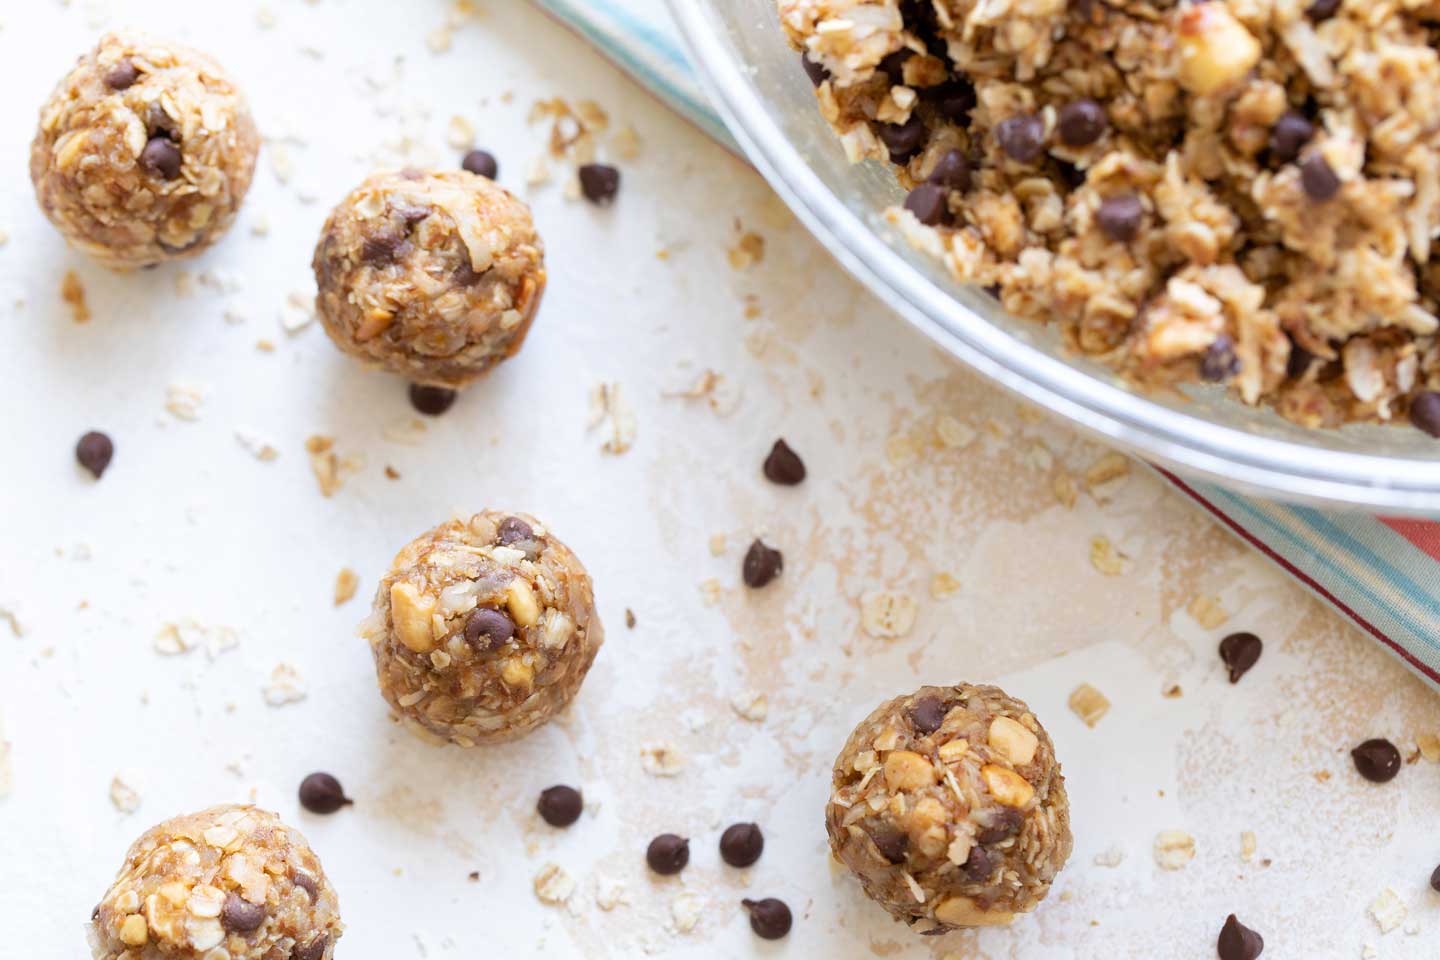
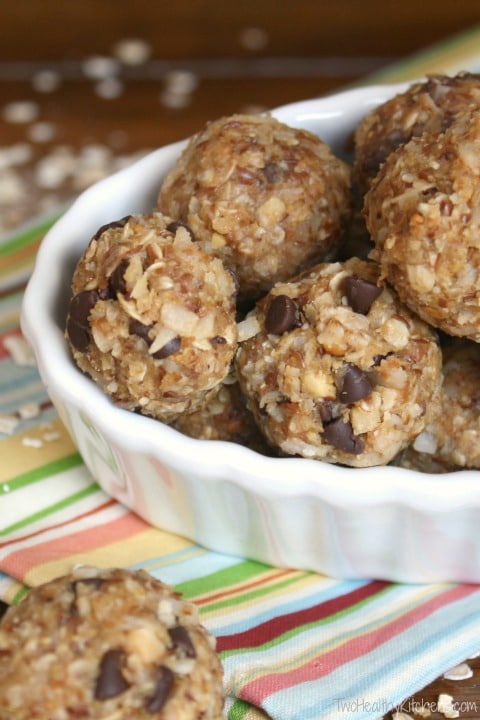
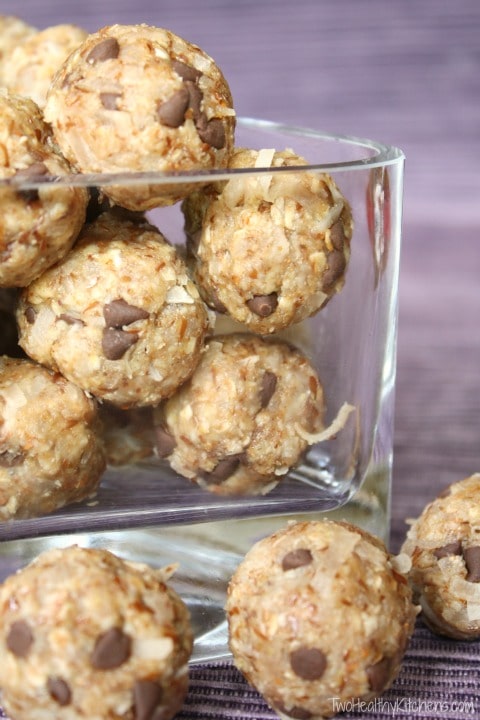
Now all that’s left to do is shape your yummy, healthy snack mixture into one-inch balls. (Unless you’ve already eaten it all straight from the bowl. Which I would totally understand.)
Pro Tip: You can’t just lightly roll this between your hands like cookie dough. You actually have to press it together firmly to get it to stick.
Although it’s ok if your energy bites sit out at room temperature for a while, we recommend storing them in the fridge (particularly if you’re using natural peanut butter that should be refrigerated), or stashing them in the freezer. Which brings me to:
Make-Ahead Tips
• Your Peanut Butter Energy Balls will keep beautifully in the fridge for several days.
• But, I actually like to store mine in the freezer, where they’ll easily last for 3 months or more (although I’m not sure mine have ever made it quite that long before being chowed).
• To make healthy snacking as easy as possible on busy days, it helps to pre-package two or three energy balls per zippered snack baggie. Then, gather up all those individual baggies and store them together in one, big, gallon-sized freezer bag.
When the munchies strike, a healthy snack is as easy as opening the freezer. See ya later, store-bought junk snacks!
Big Batch Tips
So, if I’ve talked you into freezing these, then the next obvious step is to make a BIG batch while you’re at it. Stock the freezer … meal prep snack prep for the win!
In fact, I almost always make a quadruple batch, any time I’m making energy balls.
I’ve found a couple tricks to help:
Trick #1
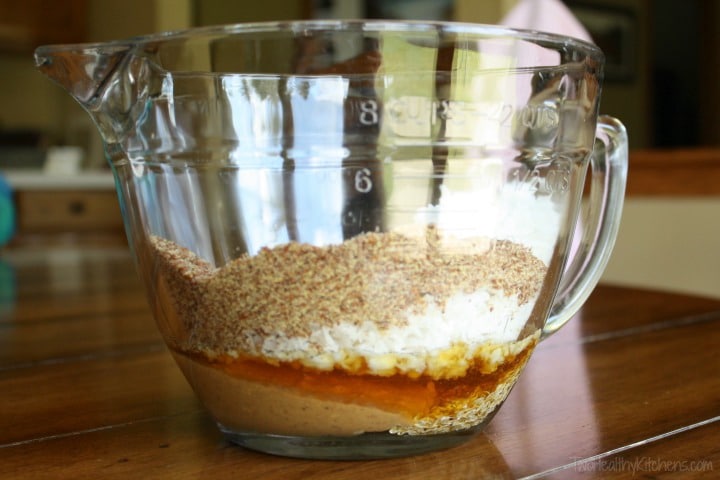
If you’re making a giant batch of Peanut Butter Energy Balls, it helps to mix all the dry ingredients together first (the oats, coconut, flax and wheat germ). Then add the wet ingredients … and then finally the chocolate chips.
Although it’s no problem to thoroughly incorporate the dry and wet ingredients together in a normal, 1x recipe situation … when you’ve got a ginormous mixing bowl goin’ on, it’s much easier to get the dry ingredients mixed together before adding the sticky peanut butter and honey.

Trick #2
The one downside to making such huge batches is that it takes a little while to shape sooooo many energy balls. (Even though, later, you’ll be so glad you did!) It seemed like, whenever I did this, I kept running out of time before I had to scurry off to the next meeting or soccer pick-up.
Turns out, this is actually no problem!
I quickly figured out that I could simply throw some plastic wrap over whatever energy ball mixture was left, un-balled in my mixing bowl. I shove the bowl in the fridge, and finish shaping the balls a day or two later, whenever I have a couple more free moments.
Working in big batches saves so much time, and this energy ball recipe is super flexible to accommodate however much time you happen to have!
FAQs At-a-Glance
Can I Make Energy Balls with Other Nut Butters, Besides Peanut Butter?
Sure! We have specific Energy Ball recipes for almond butter, and even walnut and pecan butter, too. (See the list down below for lots of ideas!)
Can I Use Old-Fashioned Oats in Energy Balls, Instead of Quick Oats?
We really prefer quick oats in this particular Peanut Butter Energy Balls recipe. But, you technically can use old-fashioned oats if you prefer. It’s important to note, though, that the texture of your finished energy bites will be much chewier because of the thicker, coarser nature of the old-fashioned oats.
Can Energy Balls Be Frozen?
Absolutely! In fact, it’s a great idea to make a triple- or quadruple-batch, and store them in the freezer. They’ll last for at least 3 months, all ready for healthy snacks any time you need ’em. I recommend portioning the balls out into individual, snack-sized zipper bags, and then storing all the little baggies together in one big, gallon-sized freezer bag.
Do I Have to Make All the Energy Balls Right Away? What If I Run Out of Time?
No problem here! Especially when I make a huge quadruple-batch, I often don’t finish making all the little energy bites right away. Just mix the ingredients all together and cover your mixing bowl with plastic wrap, then stash it in the fridge until you have time to finish.
You can feel good about handing these over to your kids (if you don’t eat them all yourself!) for a quick snack as you dash out the door.
With all the whole grains, fiber and protein packed into these little gems, you can be sure this snack will stick to their ribs and give them the power they need!
Our families are even content to have these tasty nuggets of joy for dessert!
So hey … after you make this recipe, you’ll probably be looking for more great energy ball ideas. Gotcha covered, friend …
Even More Energy Balls You’ll LOVE
Since my family (and our readers) fell sooooo in love with the whole energy bite concept, over the years, I’ve created lots of other deeeee-licious no-bake energy bite recipes, too. Lots of addictive flavors, but they’re all designed to be easy, and healthy, too … just like these first Peanut Butter Energy Balls.
Scroll through ALL the yummy flavors in our Energy Ball Recipes collection, or go ahead and just click on through to the one that you wanna try next …
- “Cookie Dough” Oatmeal Chocolate Chip Energy Balls
- Granola Energy Balls
- “Almond Joy” Almond Butter Energy Balls
- “Peanut Butter Cup” Chocolate Peanut Butter Energy Balls
- Walnut Oatmeal Energy Balls
- Peanut Butter and Jelly Energy Balls
- Tropical Date Energy Balls with Chia Seeds
Love the Recipe? • Were My Tips Helpful?
__________
Please leave a star-rating in the recipe card below – I truly appreciate all your wonderful feedback!
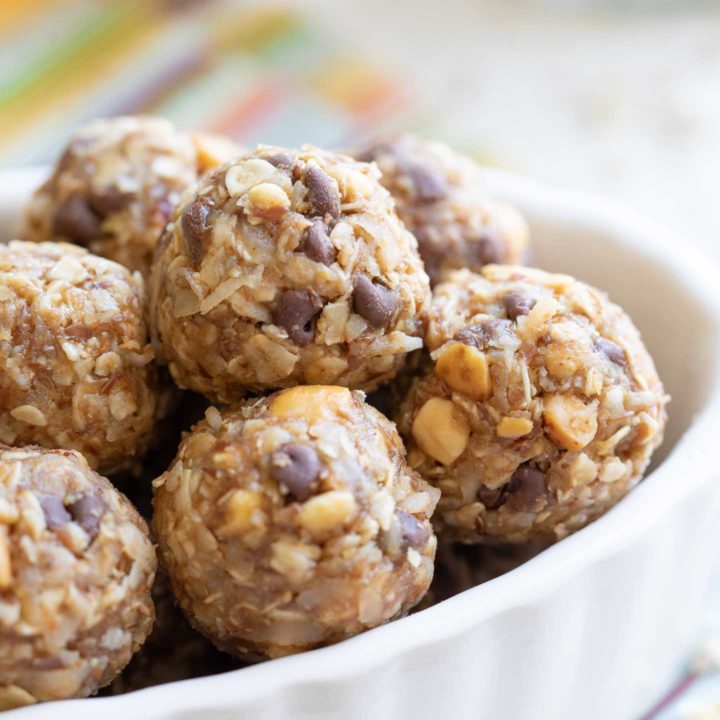
Peanut Butter Energy Balls (aka Quick and Healthy Snack Bites)
These delicious no-bake Peanut Butter Energy Balls will keep you powered up and energized! An easy, healthy snack everybody loves!
This Recipe Is: • Ready in 30 Minutes or Less • Freezable • Make Ahead • Vegetarian •
Ingredients
- 1 cup quick-cooking oats
- 1 cup coconut flakes
- 1/2 cup natural, crunchy peanut butter
- 3 1/2 tablespoons honey (note: original recipe called for 1/3 cup)
- 1/4 cup ground flaxseed meal
- 1/4 cup toasted wheat germ
- 1 teaspoon vanilla
- 1/4 cup mini chocolate chips
Instructions
- In a medium bowl, combine all ingredients except chocolate chips.
- Stir to combine.
- Add chocolate chips to mixture and stir again, just until combined.
- Using your hands, press FIRMLY to form one-inch balls.
- Place in air-tight container and refrigerate as needed (or freeze per directions in notes below).
Notes
Honey: This recipe was originally published calling for 1/3 cup honey. But, through all my years making these, I started to decrease the honey by even as much as about 1/3 – and nobody seems to notice. Energy Balls made with less honey will not be quite as wet and sticky, but I still have no trouble forming them.
Shaping the Energy Balls: Be sure that you are pressing these balls together FIRMLY (not lightly rolling the balls like cookie dough). If you're still having trouble, it could be that you're using a type of natural peanut butter that's stiffer/firmer than what we usually use (some brands are very thick) or that your coconut is quite dried out (I normally use Baker's brand, which I've noticed is moister than some others). Also, you'll have a lot more difficulty forming balls if you try to substitute regular-sized chocolate chips, instead of the minis we specify. Regardless, to correct for this issue, I recommend slightly decreasing some of the dry ingredients (such as the oats, flax, or wheat germ).
Storage and freezable make-ahead tips: If your peanut butter is one of the natural brands that needs to be refrigerated, then so do your Snack Bites. Actually, regardless of the peanut butter you use, these will keep much better in the refrigerator. They can even be frozen in air-tight bags for up to 3 months. When frozen, these energy balls will be thawed in about 20 minutes.
Nutrition Information:
Yield: 18 servings Serving Size: 2 Energy BallsAmount Per Serving: Calories: 126Total Fat: 7gSaturated Fat: 2gTrans Fat: 0gUnsaturated Fat: 4gCholesterol: 0mgSodium: 41mgCarbohydrates: 14gFiber: 3gSugar: 7gProtein: 3g
Nutrition information should be considered an estimate only, and may vary depending on your choice of ingredients or preparation. No guarantees are made regarding allergies or dietary needs. Always consult a physician or dietician for specific advice and questions.


These are awesome! I cut up a 72% dark chocolate bar into small pieces in place of the chocolate chips and added about a fourth of a cup finally chopped pecans. I reduced the honey just a bit, also, and added about two tablespoons of coconut oil I melted in the microwave to turn into liquid. That fixed the problem I read some other commenters posting about where their balls wouldn’t hold together. That worked like a champ. They are absolutely delicious! Thanks so much for this!
Hi, Stephen! Thank you so much for your kind comment, and I’m so glad that you loved these! They’re one of my family’s all-time favorite snacks, for sure. 😀 I love the idea of using dark chocolate — since, personally, I’m more of a dark chocolate fan — plus it’s been shown to have some extra health benefits. The coconut oil is a great addition, as well — I’m sure some of our other readers will find that helpful, so thanks so much for sharing! We usually don’t have trouble with ours sticking, even when we reduce the honey, but it seems to depend a bit on things like the brand of peanut butter. Coconut oil definitely adds a bit of extra fat, but if it works to hold them together, I’m all for it! Thanks again for sharing your tips!
~Amy
I really love this recipe! This is the second time I’m making them – they are SO good! My boyfriend and I enjoy them as snacks with our lunches in our busy university schedules. One thing is that I have trouble getting them to stick together when I am forming them into balls. I’m wondering what peanut butter you use when making these? It may just be that my peanut butter is less sticky.
Hi, Nicole! First of all, I’m so glad you and your boyfriend enjoy this recipe! It’s definitely a family favorite. 🙂 Next: we’ve tried a couple of different brands of peanut butter in the past, but typically we use JIF natural peanut butter — mostly because that’s what our store happens to carry! If you find that you’re having trouble getting them to stick together, some quick fixes would be to cut back just a bit on the amount of dry ingredients (like oats and coconut) that you’re adding. If you already have the batch made up, you can also add more of the “sticky” stuff — although you probably don’t want to add too much more sugar, just a little extra honey will do the trick. Or, you can add a bit more peanut butter. Hope that’s helpful! 😀
~Amy
My no bake snck bites from two healthy kitchens are falling apart when I tried to make a small ball. What is missing. What should i add? Thanks
Hi, Suzanne! I’m so sorry to hear you’re having trouble! I make quadruple batches of this recipe all the time (to freeze as a grab-and-go healthy snack) – and I often even decrease the sticky honey a bit – and they hold together for me every time. So, I apologize that I’m not sure what exactly might be the issue, but I can try to make some suggestions for you. First, I wonder about how you said you’re trying to make a “small” ball – that maybe you’re making them too small to really stick together well? And be sure to press the balls together FIRMLY – that’s very important – these need to be PRESSED together, not just rolled between your hands like cookie dough would be. Or maybe it could be a difference in the texture/stiffness of peanut butter you’re using (which brand did you pick?) or in how dried out your coconut is (I almost always buy Baker’s brand, which I do definitely think is more moist than others, like the store brand)?? Regardless, to fix this problem, I would try adding just a bit more honey (although I hate to have you add too much since it’s got extra sugar and calories – so go slowly here) or you could also try more peanut butter – both of those are stickier ingredients that could help bind the dry ingredients together. Another thought – did you, by chance, use regular-sized chocolate chips, instead of minis? That makes it harder to get everything to stick together. Lastly – I know other readers have commented that they added a tiny bit of melted coconut oil. That’s going to add fat and calories, too, of course, but it’s another option to consider. And be sure to press the balls together FIRMLY – that’s very important – these need to be PRESSED together. Hmmmmm … I hope some of these ideas help you with this batch! And although I know this next idea won’t help you this time around … next time you make them, you could try slightly decreasing the dry ingredients, like the oats, or the flax, or the wheat germ. That will also help if you’re having trouble. Thanks so much for reaching out! 😀 ~Shelley
Good choice! Thanks
So glad you enjoyed this recipe! 🙂
~Amy
These are so delicious! I even forgot to put the chocolate chips in and they were great! My kids really enjoyed them. They had one with their hardboiled egg at breakfast:)
I’m so glad, Meredith! 😀 Thanks for letting us know how much you enjoyed these! I think they make a great breakfast, since they have so much power to get you through the day — and hey, it’s even healthier without the chocolate chips! ~Amy