How to Cook Corn on the Cob on the Grill
~ Wondering how to cook corn on the cob on the grill? It’s easy … and the results are so delicious! Read on to learn about different methods, plus tips and serving ideas, too! ~
This Recipe Is: • Ready in 30 Minutes or Less • Vegan (and Vegetarian) • Gluten Free •
Juicy, sweet, just-picked sweet corn is one of the true joys of summer.
And, when you marry this iconic summer food with an iconic summer cooking method (the grill!), wonderful things can happen!
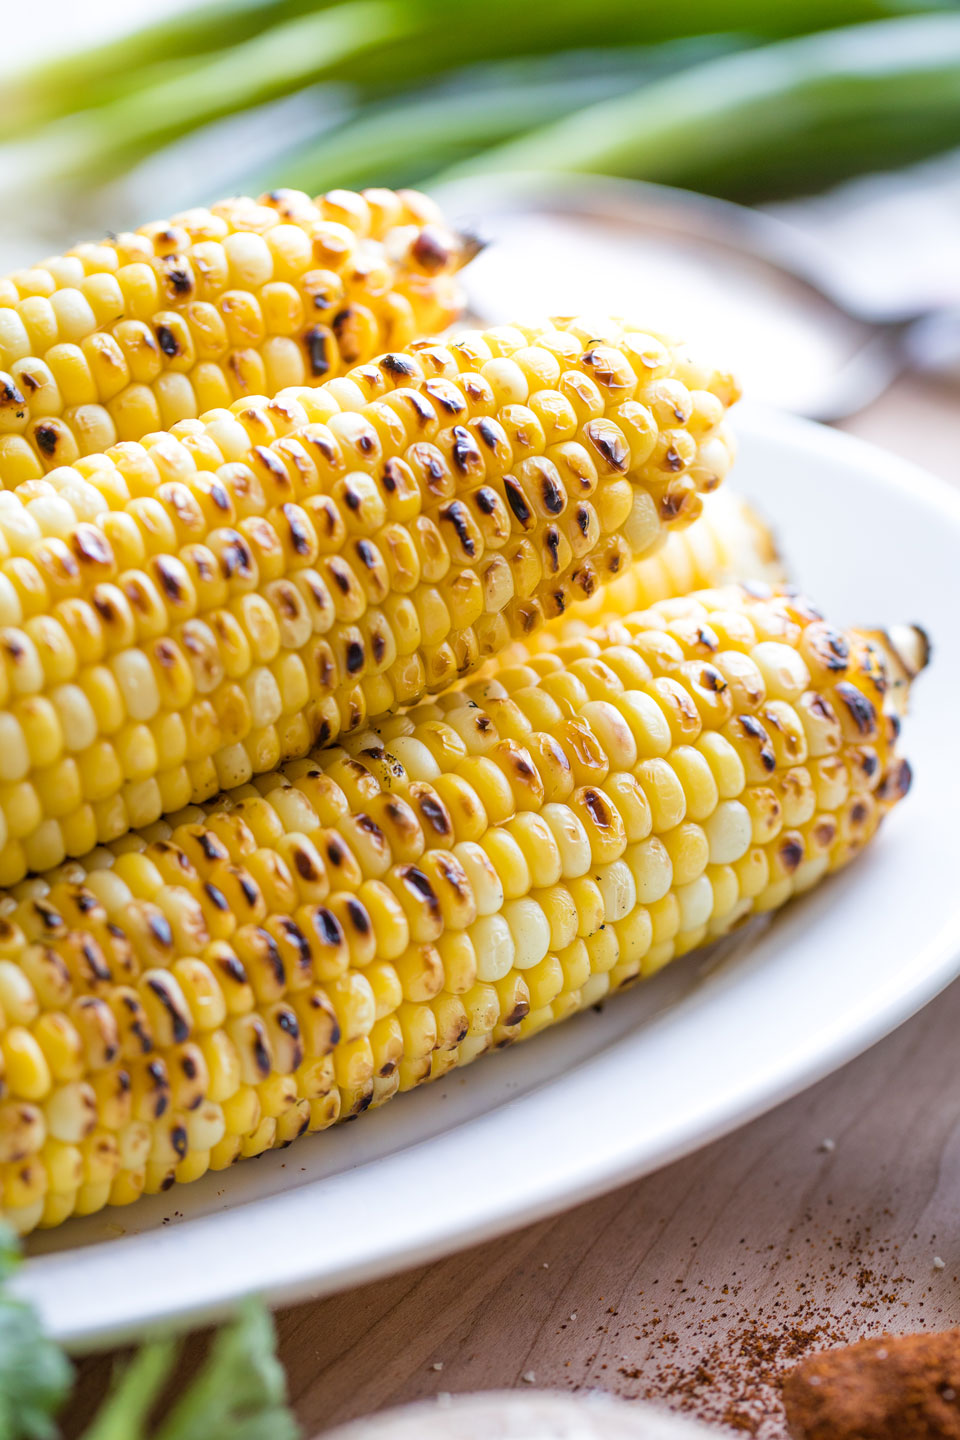
There are a couple different ways to cook corn on the grill, but let’s look at my hands-down FAVORITE method first …
How to Grill Corn without the Husk
Any time you’re firing up the grill for dinner, it’s a snap to throw a few ears of corn on the grill, too – instant, delicious side dish!
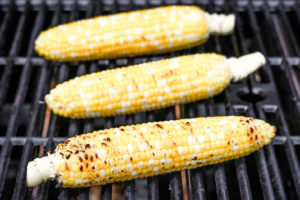
My absolute favorite way to do this is without the husks. Simply:
Step #1: Preheat and prepare your grill just as you always would.
Step #2: When your grill’s ready, cook your (husked) corn on the cob over medium to medium-high heat.
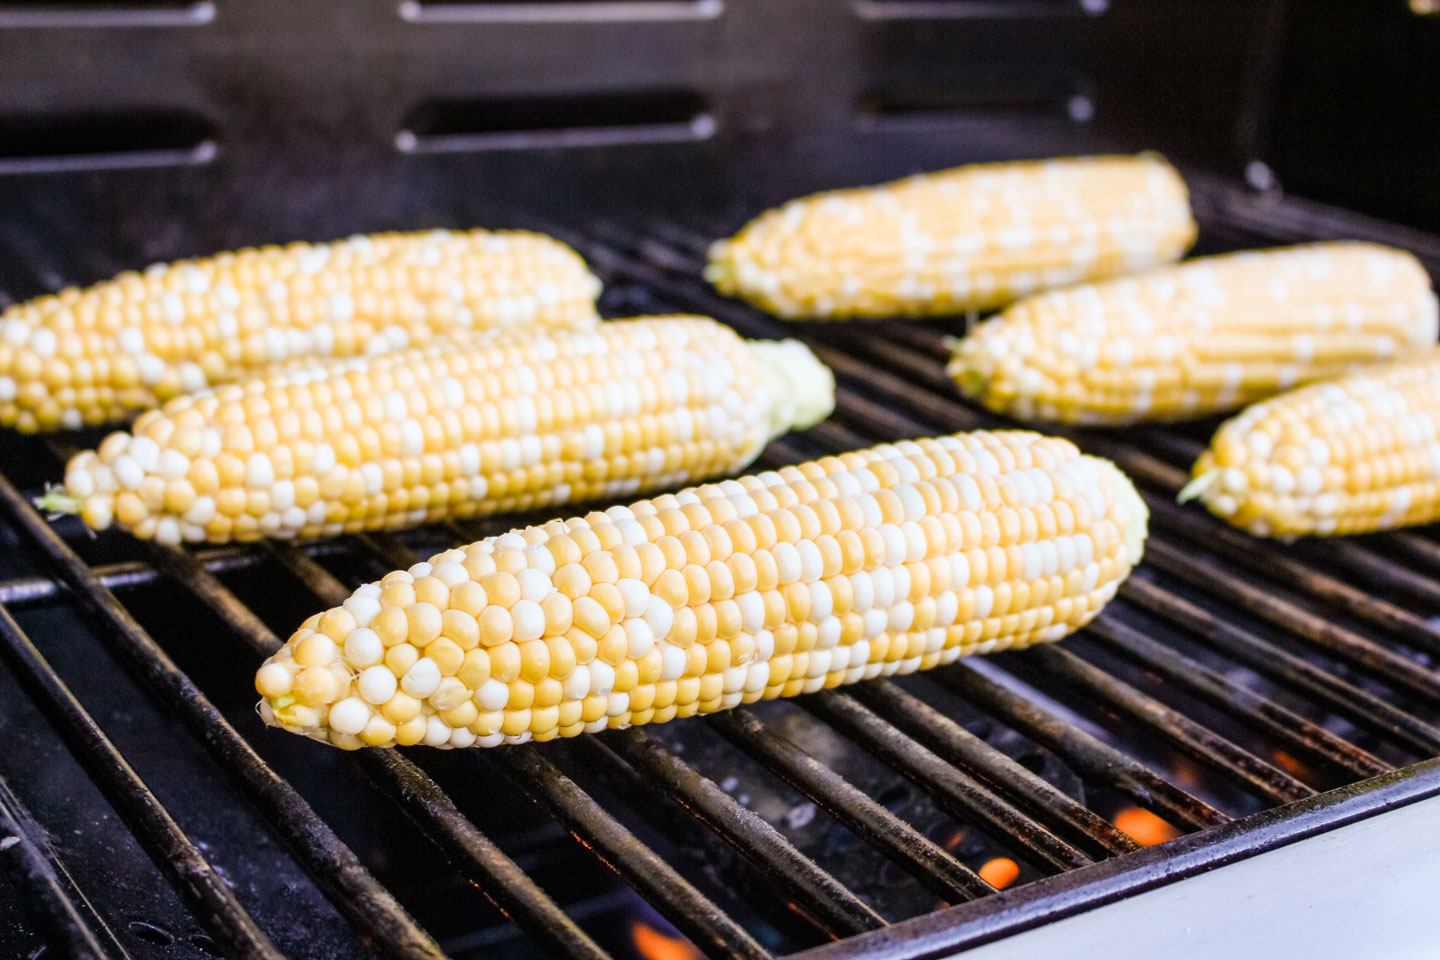
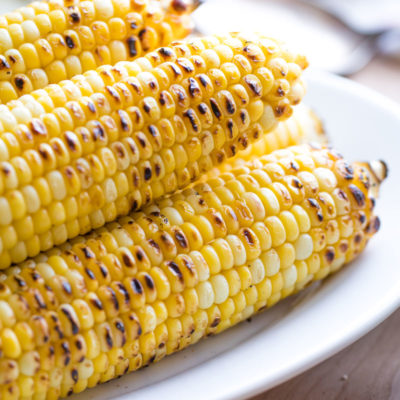
Keep the lid closed, but check your corn every few minutes, turning it so it cooks evenly and you get some lovely grill marks all around. (I recommend using long grill tongs to keep your hands safe as you turn your corn.)
Grill your corn on the cob for 5-10 minutes.
The exact timing will vary based on how hot your grill runs and how done you like your corn. You can choose to just barely caramelize and warm it, or to go for a deeper, roasty-toasty sear.
Your choice!
If some ears of corn happen to be cooking over a hotter section of the grill and are done sooner than others, you can always move them to a cooler area or remove them from the grill while the other ears finish cooking.
Why Grill Corn with the Husks Off?
• Mainly … because of those pretty grill marks and the caramelized, grilled flavors that develop when you grill corn on the cob this way, without the husks on! It’s transformative and produces a whole ‘nother layer of flavor!
• Plus, you can actually see how far your corn is cooked. If you opt to leave the husks on (as I’ll discuss more in a moment), you can’t really tell how far along your corn is or when it’s done to your liking. When you grill corn with the husks off, you’re totally in control!
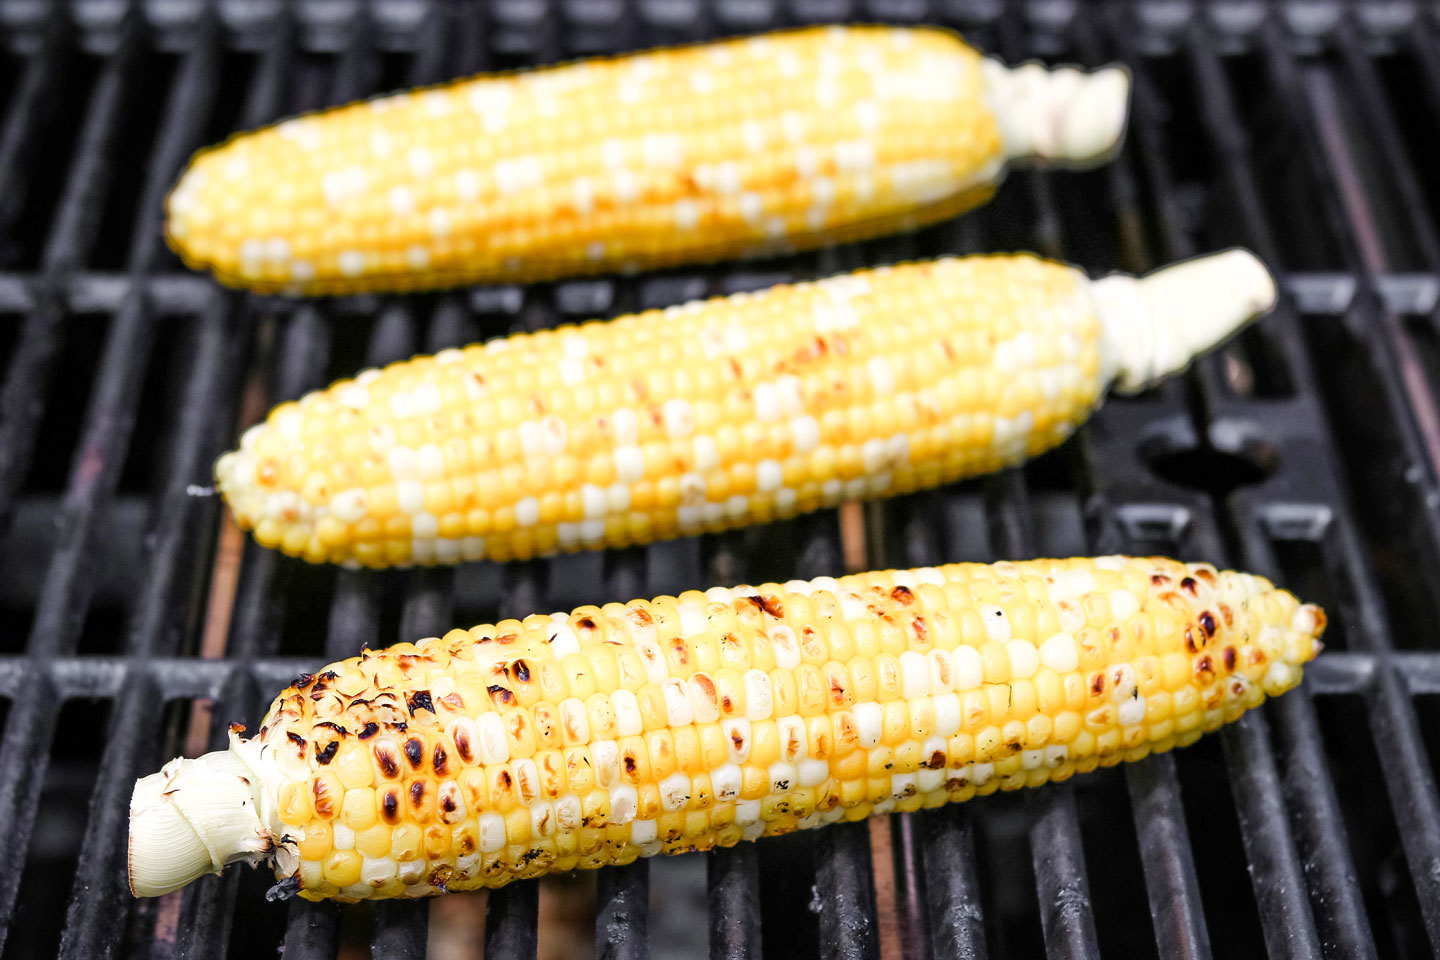
• This also means that you don’t really have to stress out about exact timing for the corn, which is great when you’re timing a bunch of other grilled items for a cookout party. Just eyeball your corn and turn it now and then as you tend the other items you’re cooking.
You can easily tell when it’s done and ready to be heaped on a serving platter. And, if it ends up being done a little before the rest of the meal you’re grilling, you can just tent the platter with foil to keep your corn on the cob warm until dinner.
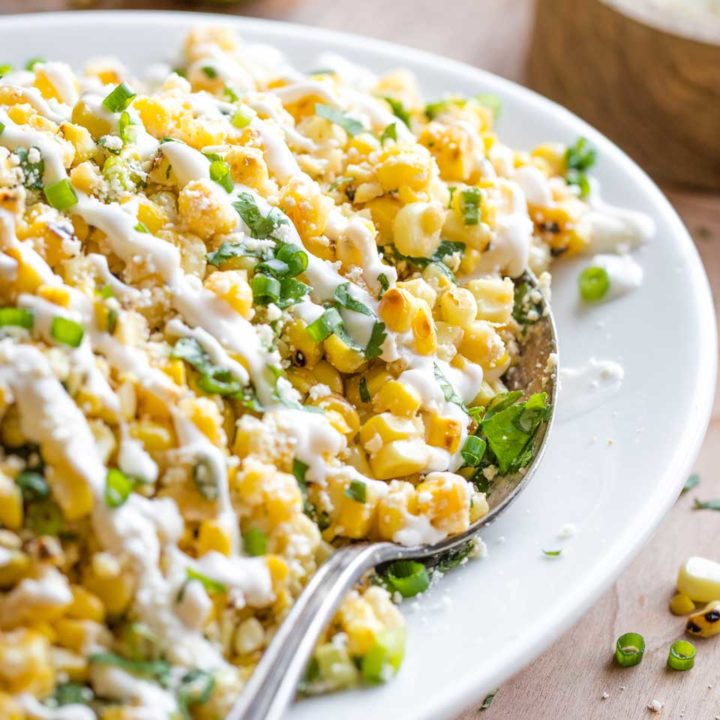
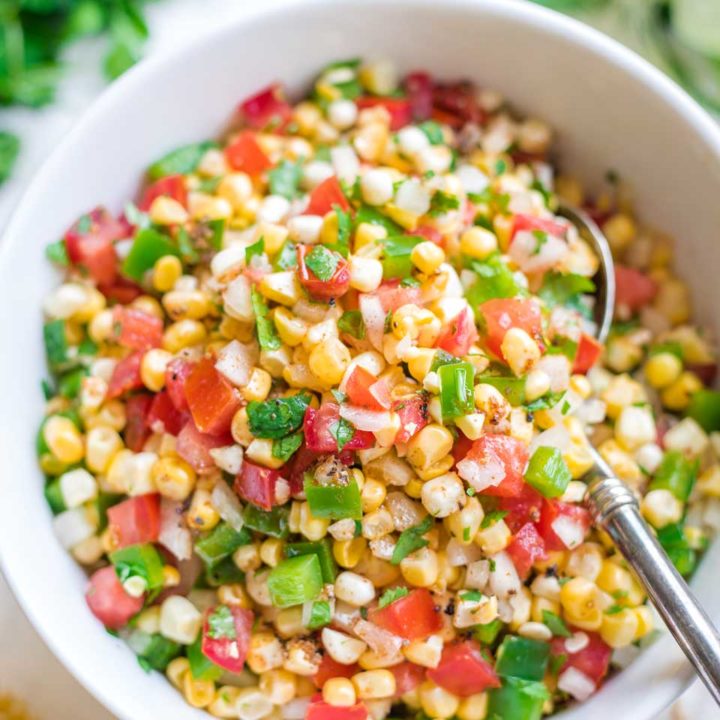
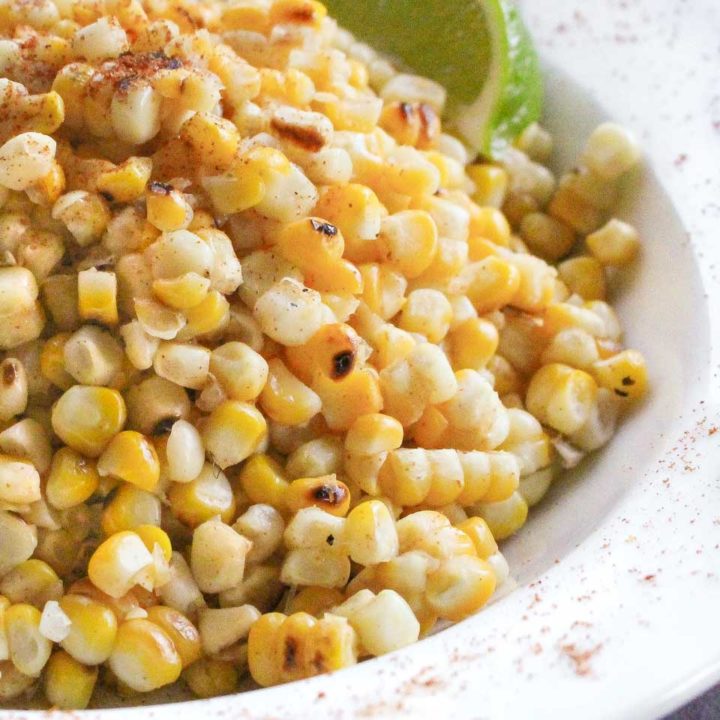
• This method is also super adaptable for serving. You can eat it straight off the cob, with whatever seasonings and toppings you like, or use it in recipes where you want that toasty, grilled corn flavor vibe, like our:
Mexican Street Corn Salad
A delicious twist on Mexican elote, with so many layers of flavor!
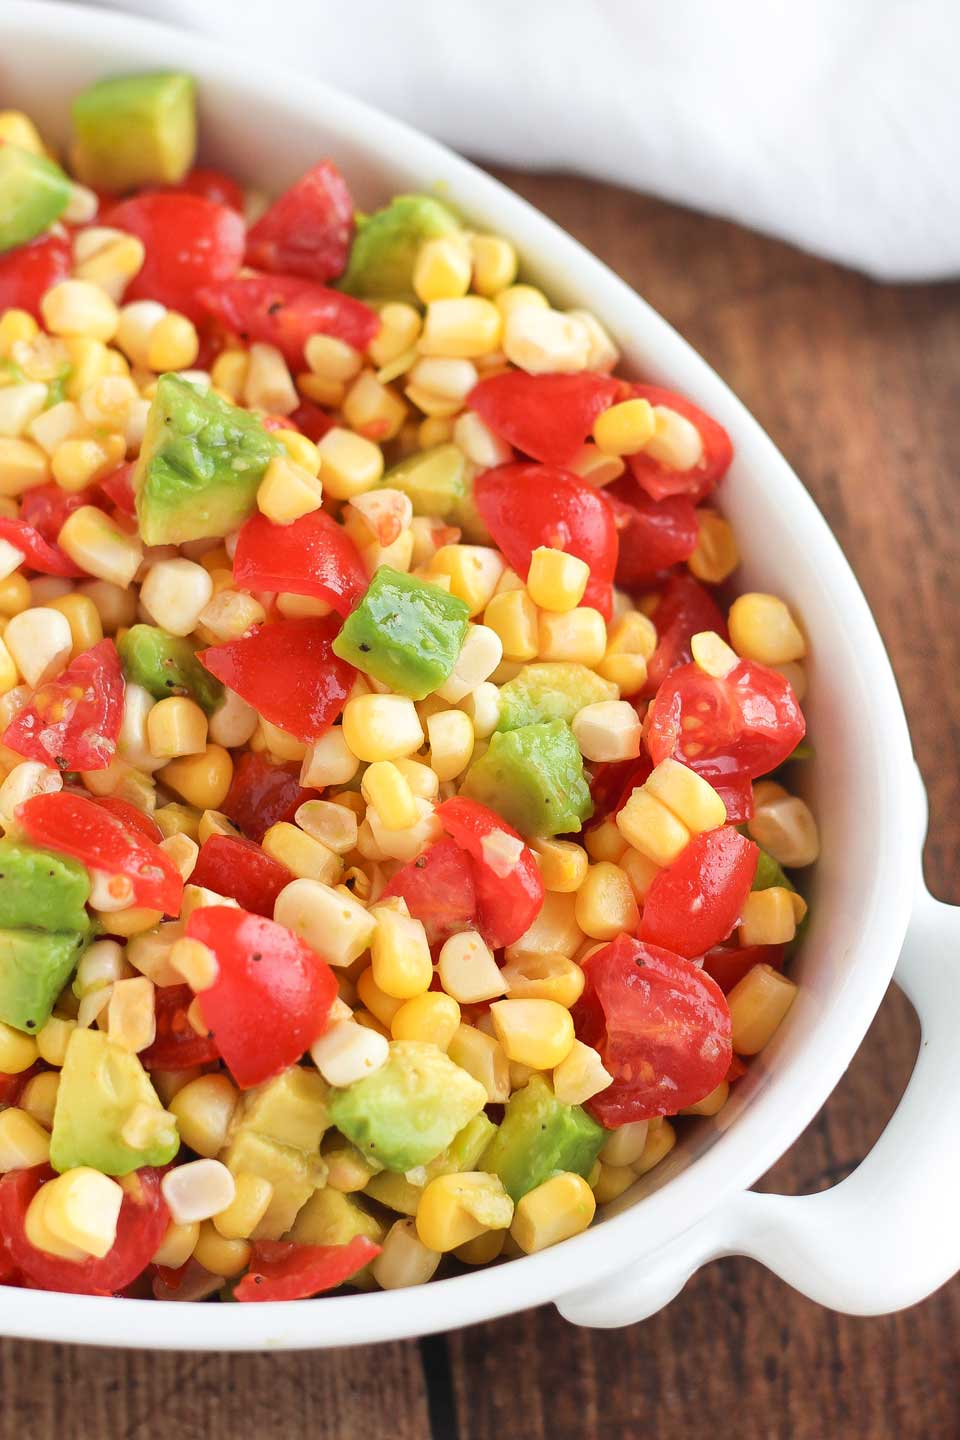
Easy Corn Salsa (or Salad)
This versatile recipe can be served as either an appetizer salsa or a side salad, and can also be made ahead. Lots of options!
Chili-Lime Grilled Corn Salad
The smoky-sweet flavor of grilled corn is perfectly balanced by a nonfat dressing featuring tangy lime juice and a tasty hit of cayenne pepper. Super simple, and so easy to make ahead!
The Alternate Option for How to Grill Corn (Husks On)
I’ll be honest. I don’t really see the point here. Grilling corn with the husks on is basically like steaming it or cooking it in the microwave.
You miss out on what makes grilled corn special – those caramelized grill marks. The nutty, toasted, grilled flavor. Mmmmmmm …
Plus, depending on which recipe you consult (like this one from Bobby Flay at Food Network), most people who grill corn with the husks on suggest the extra steps of first peeling back the husks to remove the silk, then closing the husks back around the corn, and then soaking the corn in salted water for about 10 minutes before tossing the ears of corn (still encased in the husks) on the grill for 15-20 minutes.
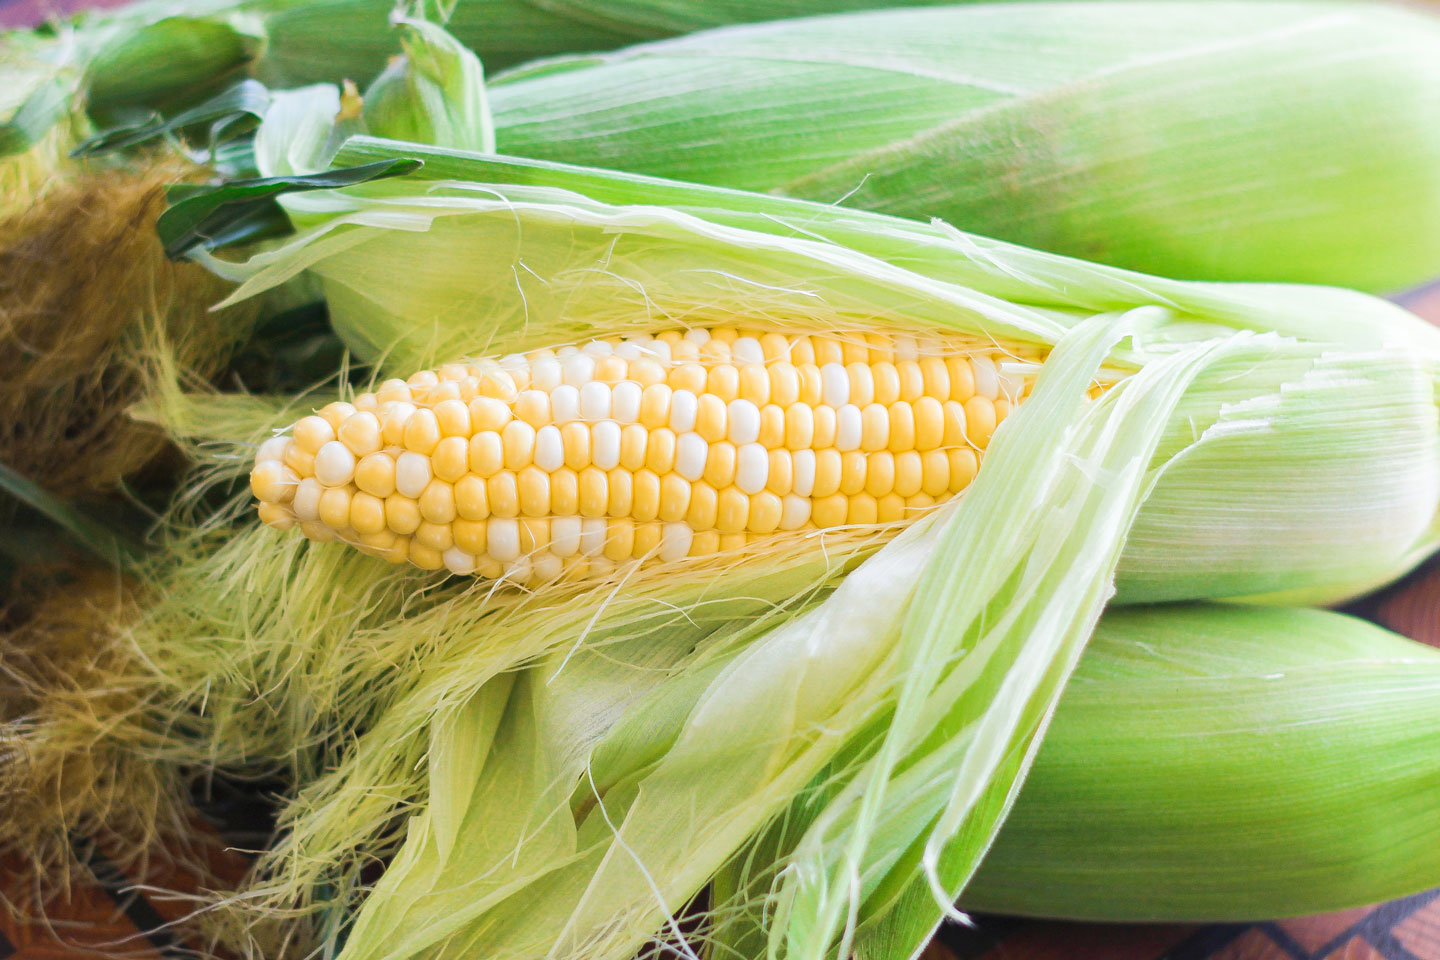
While the soaking step isn’t strictly necessary (just ask food guru J. Kenji López-Alt over at Serious Eats), it can help to prevent the husks from catching fire or flaming up on the grill.
It all sounds like extra (unnecessary!) work to me. You know I love to keep things simple and easy!
And besides: whether you pre-soak … or not … you don’t really end up with grilled corn. You basically get grilled husks with steamed corn inside. (And those grilled, charred husks can be messy to peel back after cooking.)
Not sayin’ that this method can’t be delicious, too (and now you know how to do it!), but I totally vote you try my first method (husks off).
Toss those naked ears right on the grill and get some lovely caramelization goin’ on!
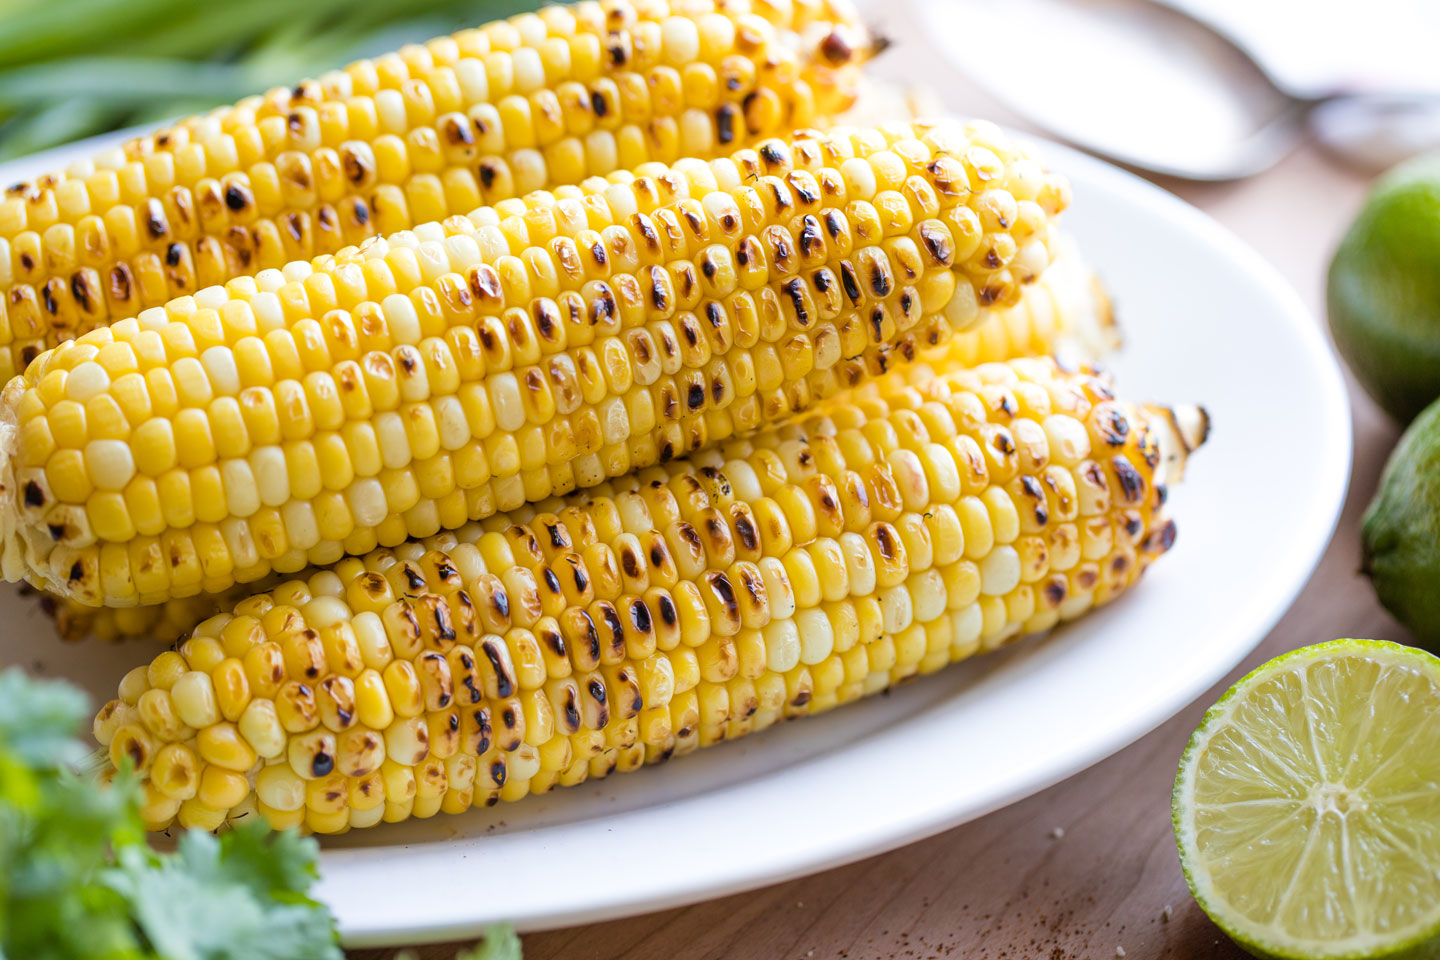
That’s how my family grills our corn, allllll summer long!
You just need a grill and some corn … and those quintessential flavors of summertime are mere minutes away!

~ by Shelley
Love the Recipe? • Were My Tips Helpful?
__________
Please leave a 5-star rating by clicking on the stars in the recipe card below. I truly appreciate all your wonderful feedback!
How to Cook Corn on the Cob on the Grill
Ingredients
- whole ears of fresh sweet corn, husks and silks removed
Instructions
- Preheat your grill on medium to medium-high heat.
- Lay your husked corn on the grill and close the lid, but turn the ears frequently so that they develop lots of caramelized grill marks without getting burned or charred. This will take about 5-10 minutes.
Notes
Nutrition
* Nutrition information should be considered an estimate only, and may vary depending on your choice of ingredients or preparation. No guarantees are made regarding allergies or dietary needs. Always consult a physician or dietician for specific advice and questions.

