Decadent 3-Ingredient Fudge: A Super Easy Fudge Recipe Without Condensed Milk
~ You can make this incredibly easy fudge recipe without condensed milk! It has only 3 simple ingredients and takes just 5 minutes to prep … and no fancy equipment or techniques! So decadently creamy-dreamy and deeply, darkly chocolaty – absolutely perfect for romantic dinners and for holiday treats. And, since it freezes well, you can always have some tucked in your freezer for chocolate emergencies, or for make-ahead gifts that will be truly appreciated. Psssst … we’ve got lots of great flavor combinations for you to try, too! (Originally published as 4-Ingredient (No Butter!) Chocolate Fudge with Coconut on February 12, 2015)~
This Recipe Is: • Ready in 30 Minutes or Less • Freezable • Make Ahead • Vegetarian • Gluten Free •
Luscious, melt-in-your-mouth fudge without condensed milk … or butter … or loads of extra sugar.
You might think I’m kidding here, but I promise: I’m definitely not!
This stuff is amazing and magical and just flat-out decadent. I was absolutely astonished how well this recipe works. And how much I loved it (as in … completely addicting, hold-me-back, can’t get enough LOVED it).
Why You’re Gonna Love This Easy Fudge So Much
• It’s just plain awesome. Rich and creamy with really deep chocolate flavor that’s not too sickeningly, over-the-top sweet.
• It’s sooooo easy to make. I mean: 3 ingredients and 5 minutes is about as simple as simple gets. You don’t need sweetened condensed milk or even butter.
• You also don’t need fancy equipment. No candy thermometers and no double boilers. It’s a microwave chocolate fudge. Yep, you read that right: microwave! Again … simple, simple, simple!
• It’s super versatile. Check out my suggestions (toward the end of this post) for lots of different mix-ins and flavor combos to try. Or – hey – get creative and think up some of your own (and then tell me what they are, so I can try them too!).
Now buckle up, ’cause here’s the real “you totally won’t believe this” kicker:
This Fudge Recipe Is Actually Healthier, Too!
Whaaaaa???
It’s true!
So many “traditional” chocolate fudge recipes call for calorie-packed sweetened condensed milk or butter – or both. And on top of all that, most also have loads of added sugar dumped in.
But, it turns out, you don’t actually need all that extra sugar and fat to make fantastic fudge. Nope! This recipe is insanely fantastic, and so much less naughty!
It’s a decadent treat you won’t feel guilty enjoying … or sharing with the ones you love.
All the yumminess, with none of the guilt!
Let me walk you through the process and give you a few handy tips along the way …
How Do You Make This Fudge Recipe Without Condensed Milk?
Step #1
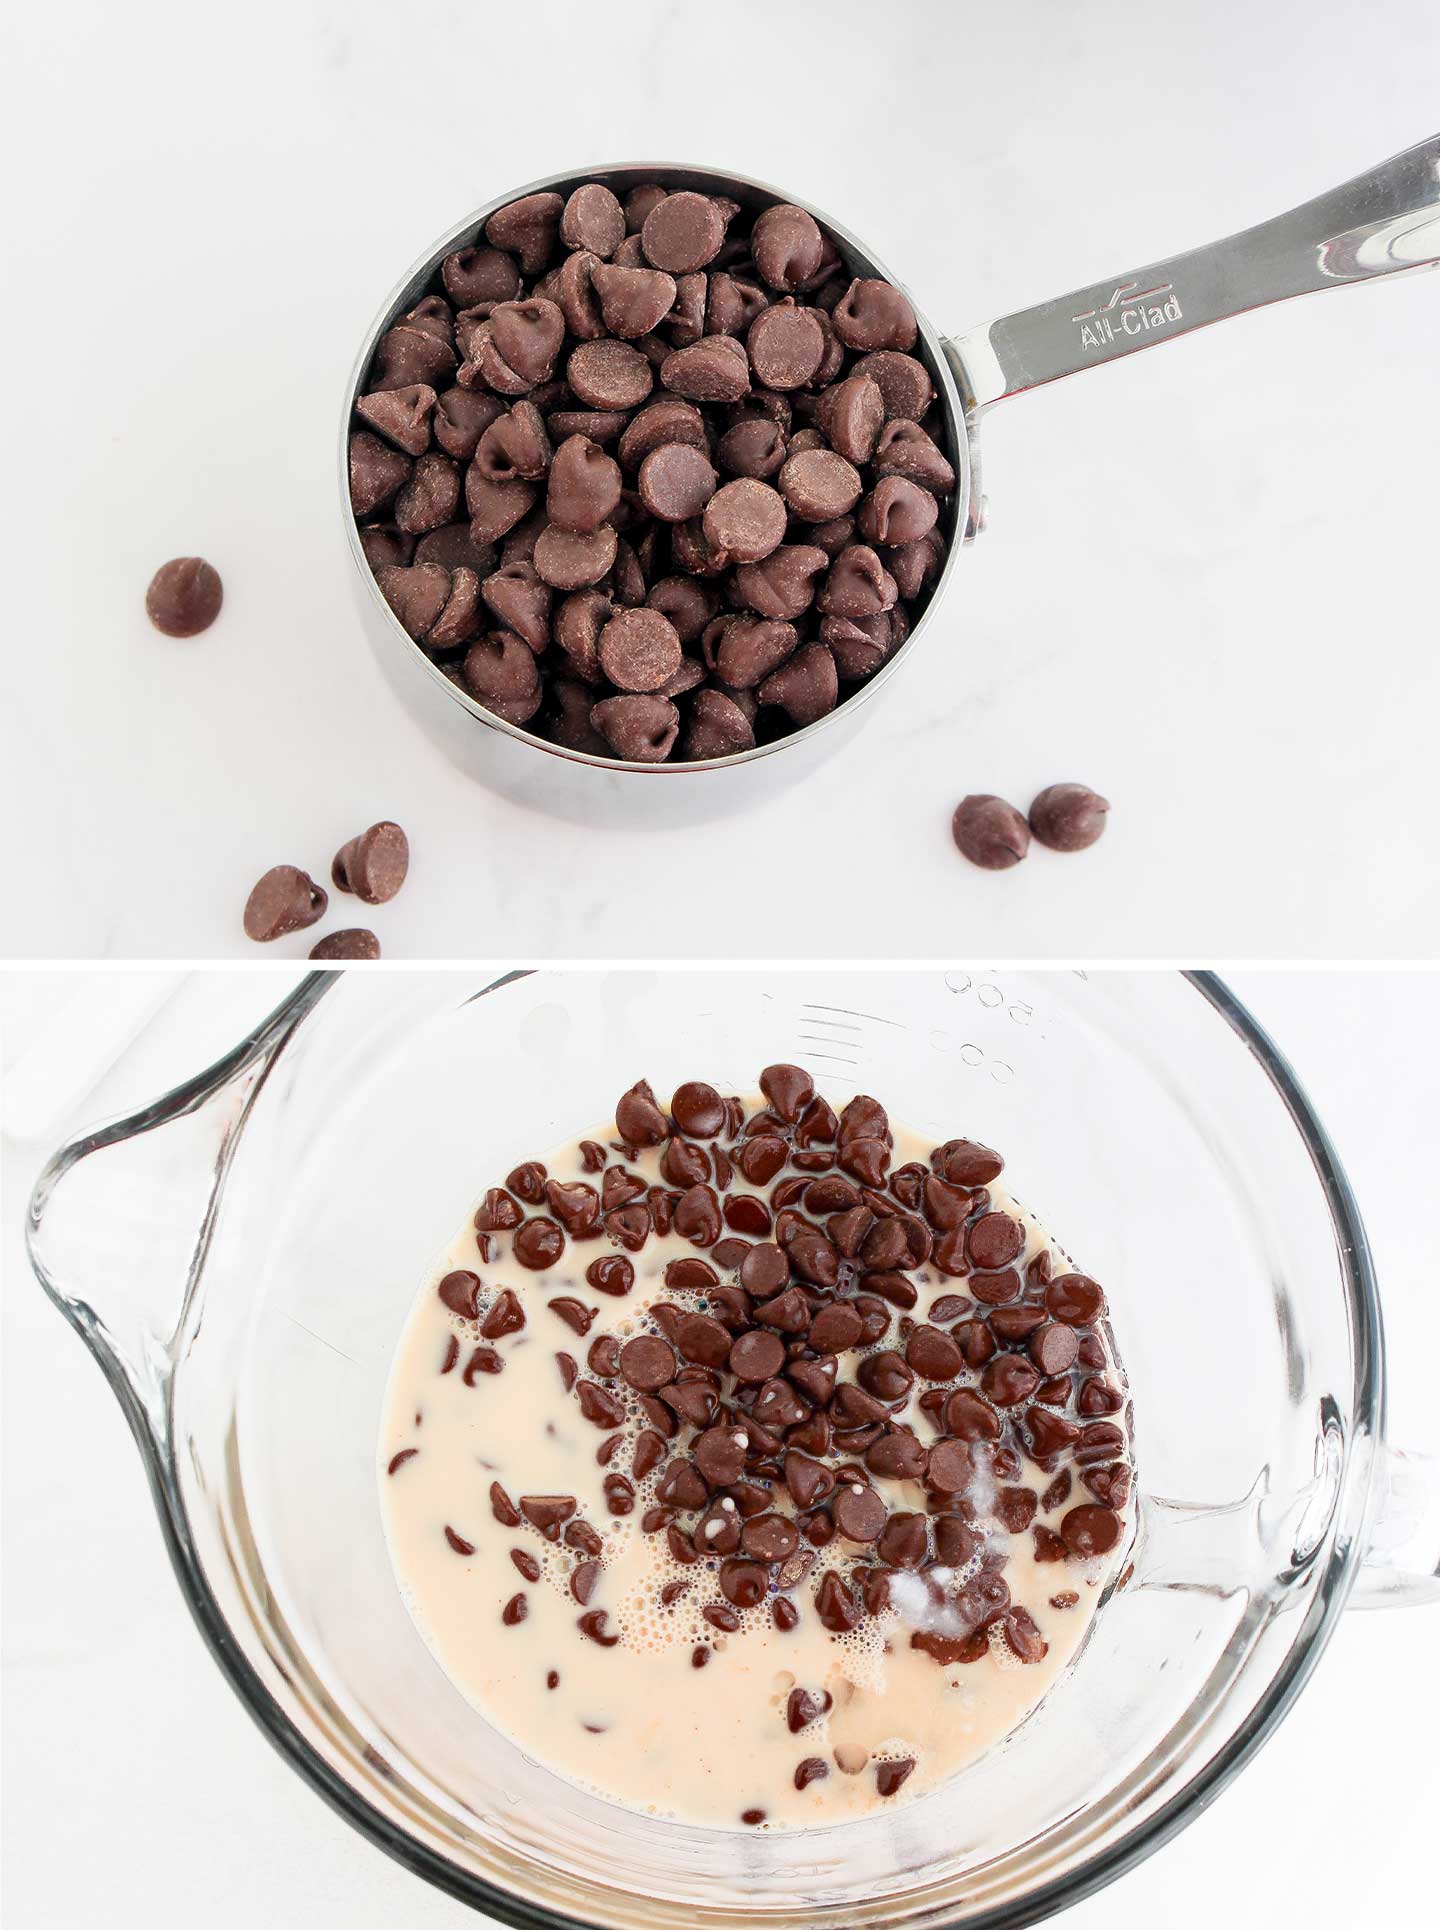
Put your chocolate chips, evaporated (NOT condensed!) milk, and coconut oil in a medium-sized, microwave-safe bowl, and microwave them for about 1½ minutes.
Ingredient Tip: Virgin or unrefined coconut oil tends to have a more pronounced tropical, coconut-y flavor than refined coconut oil. You’re using such a small amount in this recipe, however, that it’s pretty unnoticeable, either way. Use whichever you have on hand.
Pro Tip: Before you open your can of evaporated milk, be sure to follow the directions on the can that say to SHAKE WELL. Evaporated milk often separates, with a thick layer forming at the bottom of the can. Since we’re using it to create thickness and creamy body in this fudge, you WANT that silky layer – don’t leave it behind! If shaking the can around before you open it doesn’t get all those solids incorporated back in, then briskly whisk them into the milk before using it.
Step #2
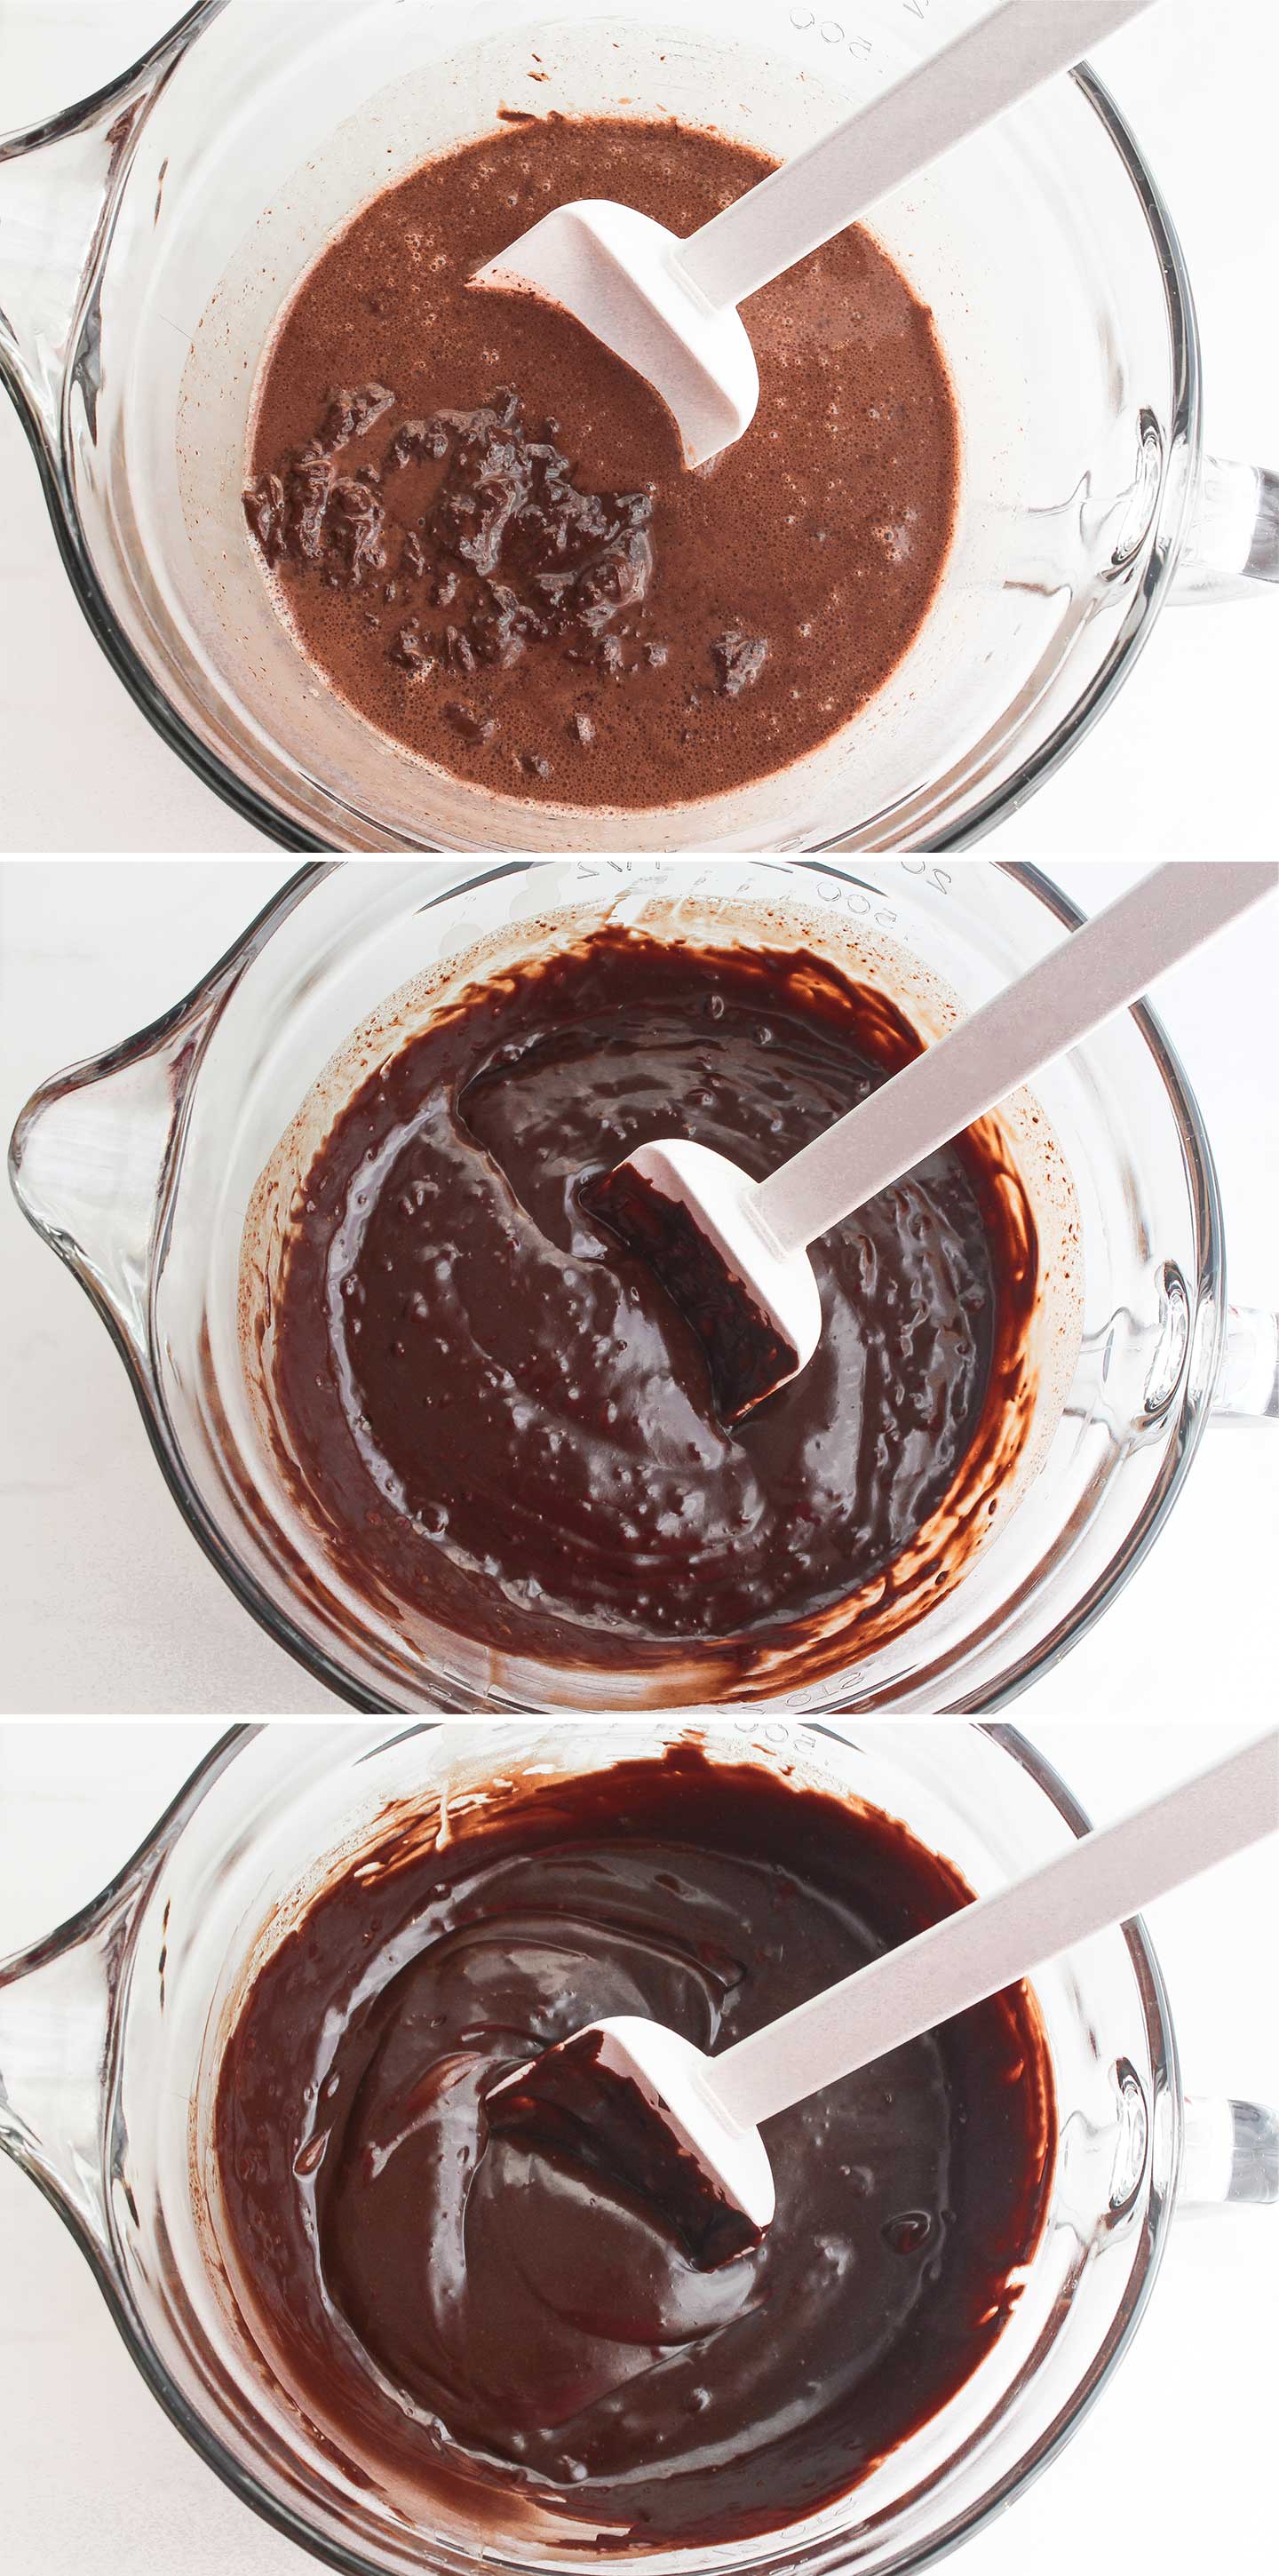
Immediately stir the warm fudge mixture until it’s completely smooth.
At first, it will seem like it’s not quite going to work … like it’s not quite going to get smooth. I feel that way every single time I make this fudge recipe!
But don’t worry … just keep on stirring.
And whatever you do … DON’T microwave your fudge mixture again (which could scorch it). Just use the residual heat to continue melting all the chocolate chips until they’re velvety smooth.
Pro Tip: Just like with our 3-Ingredient Chocolate Dip, the reason we can get away with skipping the double-boiler and using this easy technique to make microwave fudge is because we gently heat the milk and the chocolate together, rather than introducing the milk into the mixture after we’ve heated the chocolate. As a result, instead of causing the chocolate to seize, the warm milk helps to gently melt the chocolate as it smoothly incorporates into the fudgy mixture.
Step #3
If you’re using optional mix-ins like coconut or nuts (see below for yummy ideas and flavor combos!), stir them in after the microwave fudge mixture is totally smooth.
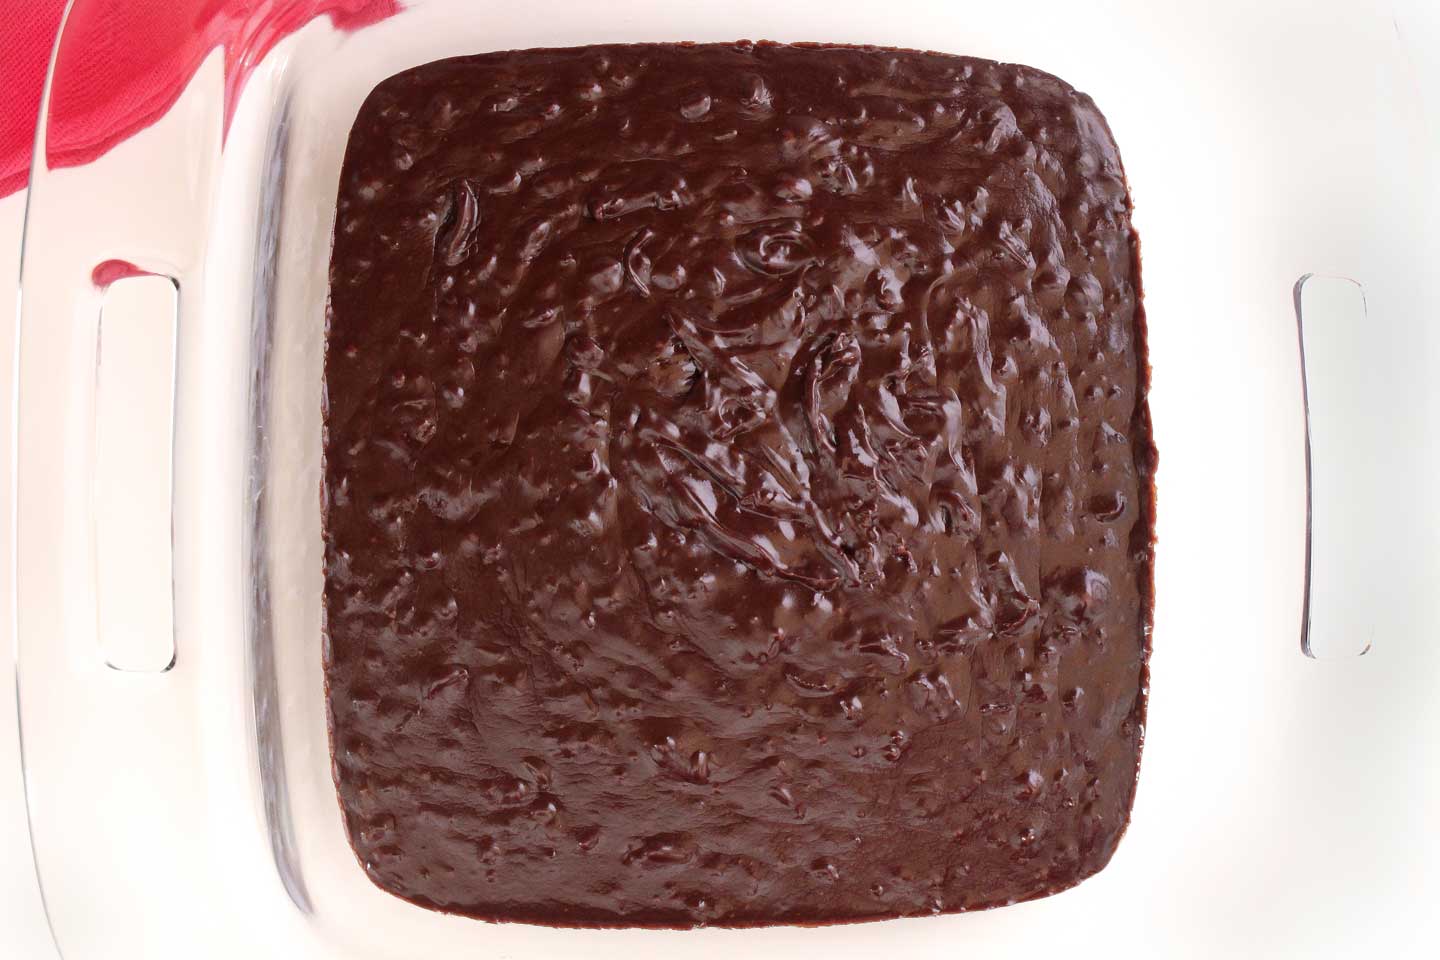
Then, pour your warm fudge mixture into a pan.
I generally use an 8×8″ pan if I’m planning to simply cut my fudge into squares. But an 11×7″ pan works, too, and it’s a good choice if you want to cut your fudge into fun shapes once it’s cooled (read on for more tips about that …)
Use a rubber scraper to spread the fudge mixture evenly in your pan. Sometimes I also find it’s helpful to tap or gently shake the pan to level the mixture out.
Step #4
Refrigerate your fudge until it’s solid, and then cut it into squares.
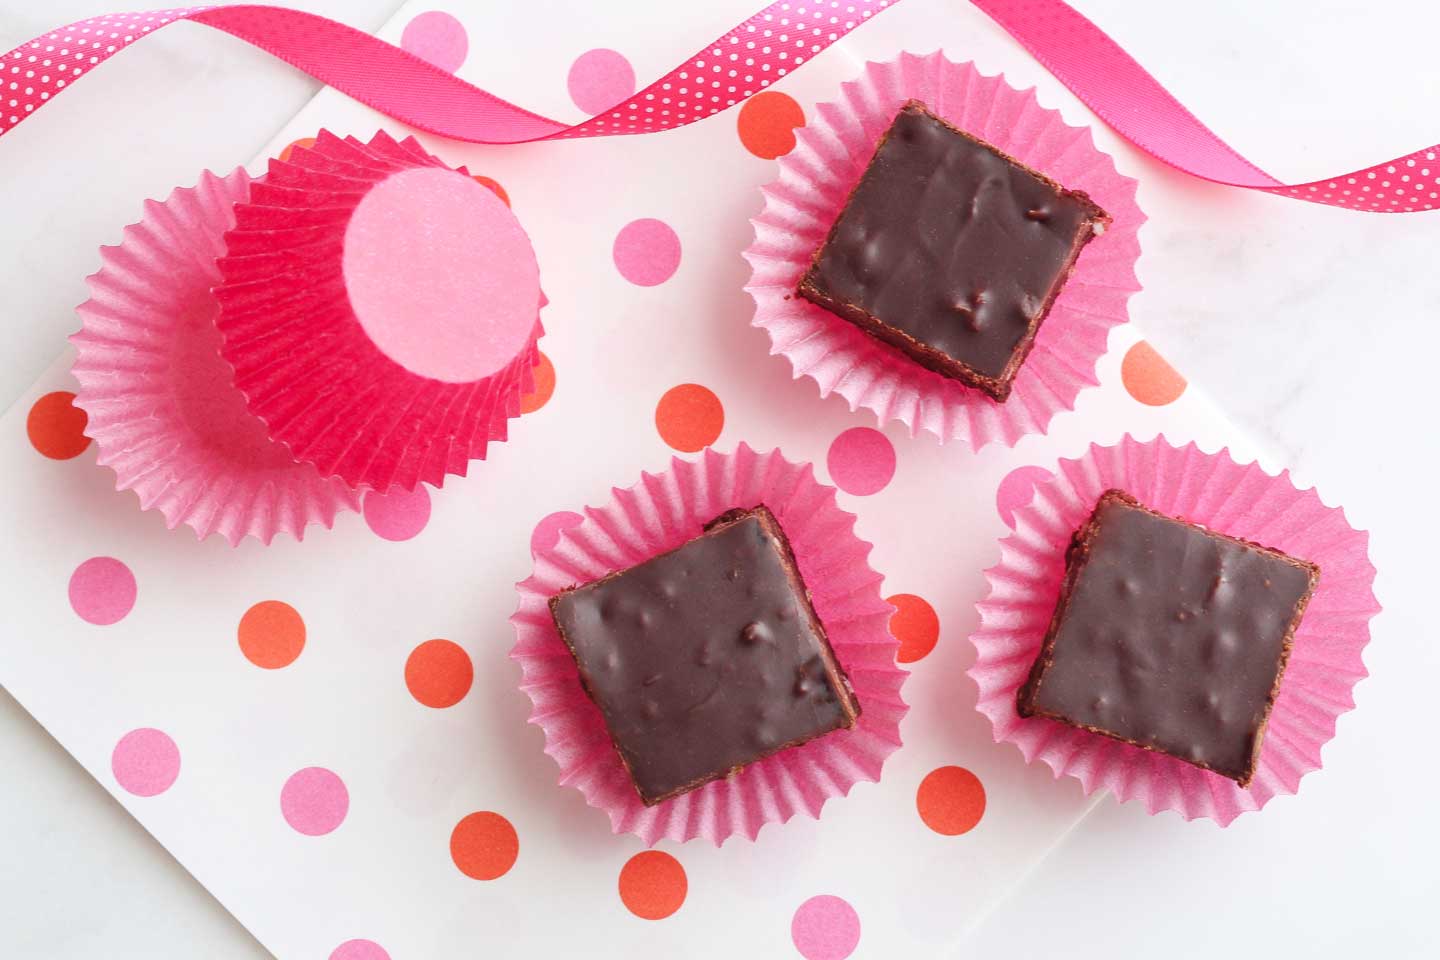
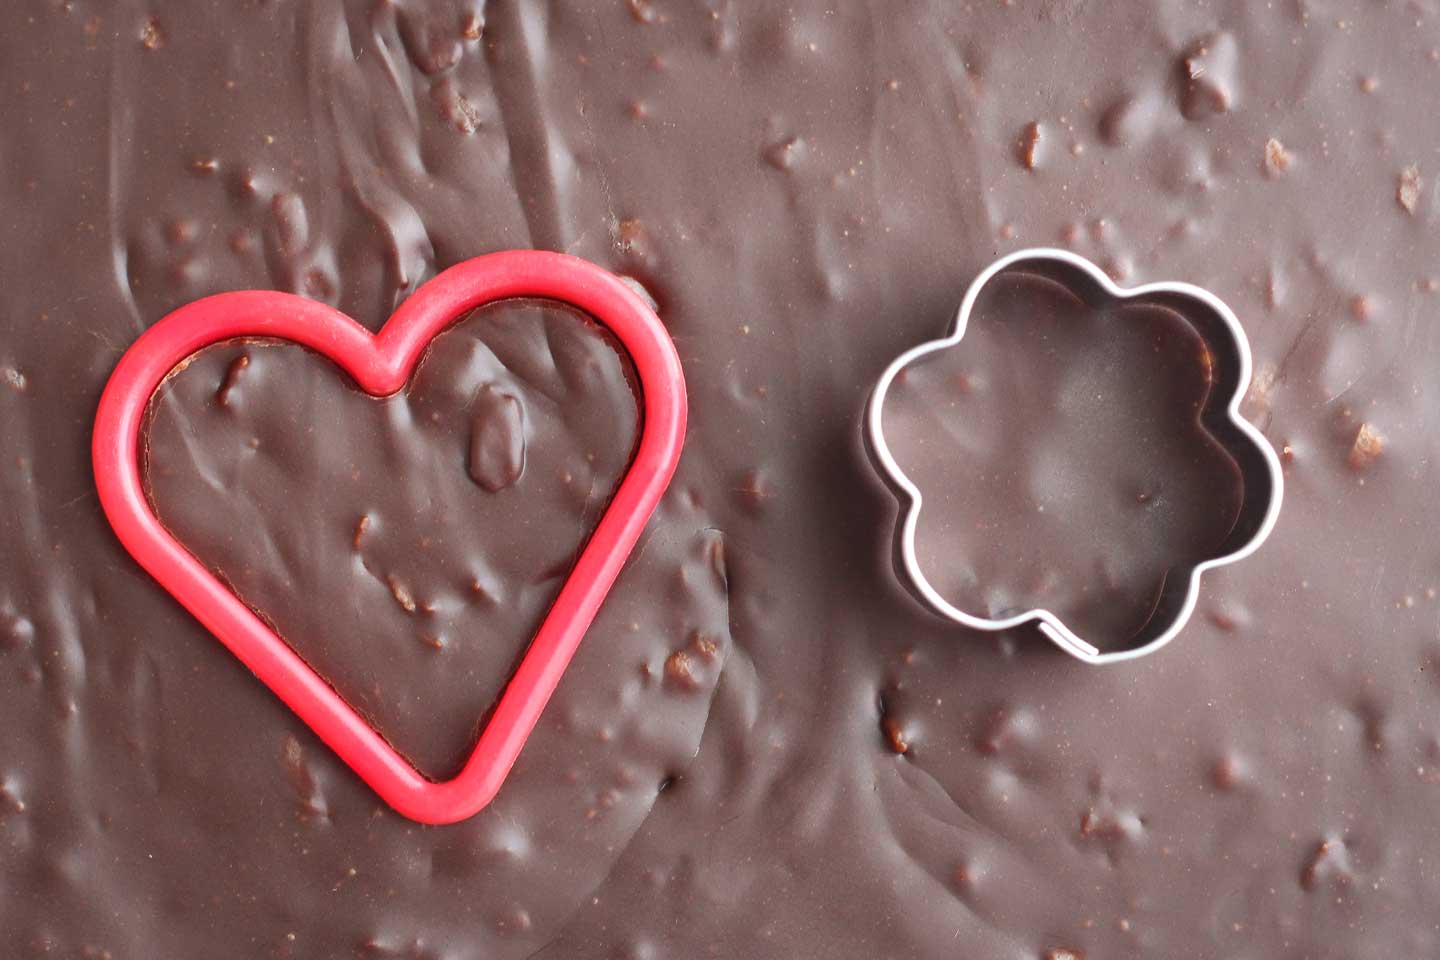
Or … for a really fun presentation for holidays or special gifts, you can use cookie cutters to cut out shapes!
This is easiest if the cookie cutters you use are taller than the fudge. (Which is why you might want to use an 11×7″ pan – to make your fudge a bit thinner and easier to cut into shapes.)
Easy-peasy, right? That’s all you really need to know to make this fudge perfectly, every single time. But if you love food science and cooking tips, read on …
Is Evaporated Milk the Same as Condensed?
You might be wondering: isn’t evaporated milk the same as condensed milk? (I mean, they’re sitting right next to each other on the grocery store shelves, right?)
The short answer is no: they’re definitely not the same. Although they have some similarities, they’re actually quite different in taste and their uses in recipes.
Evaporated milk (like we use in this fudge recipe) and condensed milk are both made from regular ol’ cow’s milk, with about 60% of the water removed (evaporated) out of it.
Both products are shelf stable, which, as Wikipedia explains, makes evaporated milk and sweetened condensed milk terrific options for situations where refrigeration isn’t possible (think of historic warfronts, or of modern camping trips and disaster relief efforts).
But that’s where the similarities end.
Condensed milk (often called sweetened condensed milk) is basically evaporated milk with a lot of sugar added.
In fact, sweetened condensed milk has about 11 grams of sugar in every tablespoon (yeah – wow), and also a whole lot more calories – about 65 in every tablespoon.
By comparison, nonfat evaporated milk has no added sugar at all. It only has 1.5 grams of sugar (milk does have naturally occurring sugar) per tablespoon and just 12.5 calories. (Note that we use nonfat evaporated milk in this recipe, although you can also buy evaporated milk made with 2% or whole milk.)
Healthy Eating Tip: With its creamy thickness, evaporated milk is a great, lighter substitution for cream or half-and-half in many recipes where you want a velvety texture without piling on unwanted fat and calories. Our Instant Pot Sweet Potato Soup and Homemade Fudgesicles and Creamy Chicken Gnocchi Soup are other examples of this simple trick.
Why This Recipe Works
So, if you’ve been following along here, you probably see exactly why it works so well to make this chocolate fudge with evaporated milk.
By making our easy fudge recipe without condensed milk (subbing evaporated milk instead) … all we’ve basically done is slashed sugar and calories.
Since both kinds of milk are evaporated down to a thicker, richer consistency, we still get the same decadent creaminess, and silky, fudgy texture from the evaporated milk as we would from the condensed milk.
We don’t want our fudge to be sickeningly, over-the-top sweet. We want a balanced, rich, deep chocolate flavor. Evaporated milk is the perfect solution!
Hey … Wasn’t This Recipe Originally a Chocolate Coconut Fudge?
Yup! Good catch – it sure was!
We first posted this recipe way back in February 2015 as “4-Ingredient (No Butter!) Chocolate Fudge with Coconut.”
My dear friend Gretchen (who used to run this blog with me way back then) developed this easy fudge with a fourth ingredient – shredded coconut – stirred in.
It was an immediate, runaway HIT.
True story. Gretchen had given me some of her newly developed fudge recipe to taste-test. (Because you know we always exhaustively test, test and re-test our recipes so we know they’ll be PERFECT for you!)
My response??? After sampling the very first batch of this decadent stuff, I texted her, “Curse you, temptress creator of fudge! We can’t stop eating it!” And we couldn’t stop. It was so fantastic!
It even passed the ultimate fudge test: my dad (a certified picky eater and 100% fudge addict) loved it, too. He never even noticed that it was easier and healthier. He just wanted more.
But here’s the thing: through the years, I’ve realized that this actually isn’t just a Chocolate Coconut Fudge.
It’s really a whole lot more.
So, I changed the name and updated this post to reflect how super-versatile and full of flavor options this recipe really is!
Here’s what I mean …
Variations and Add-Ins to Switch Up Your Chocolate Fudge Recipe
In all the times I’ve made this fudge recipe, I’ve tried so many different fun flavor combinations! Here are just a few ideas to get you started:
• Chocolate Fudge – The plain jane: 3 ingredients. No add-ins. Decadent. ’Nuff said.
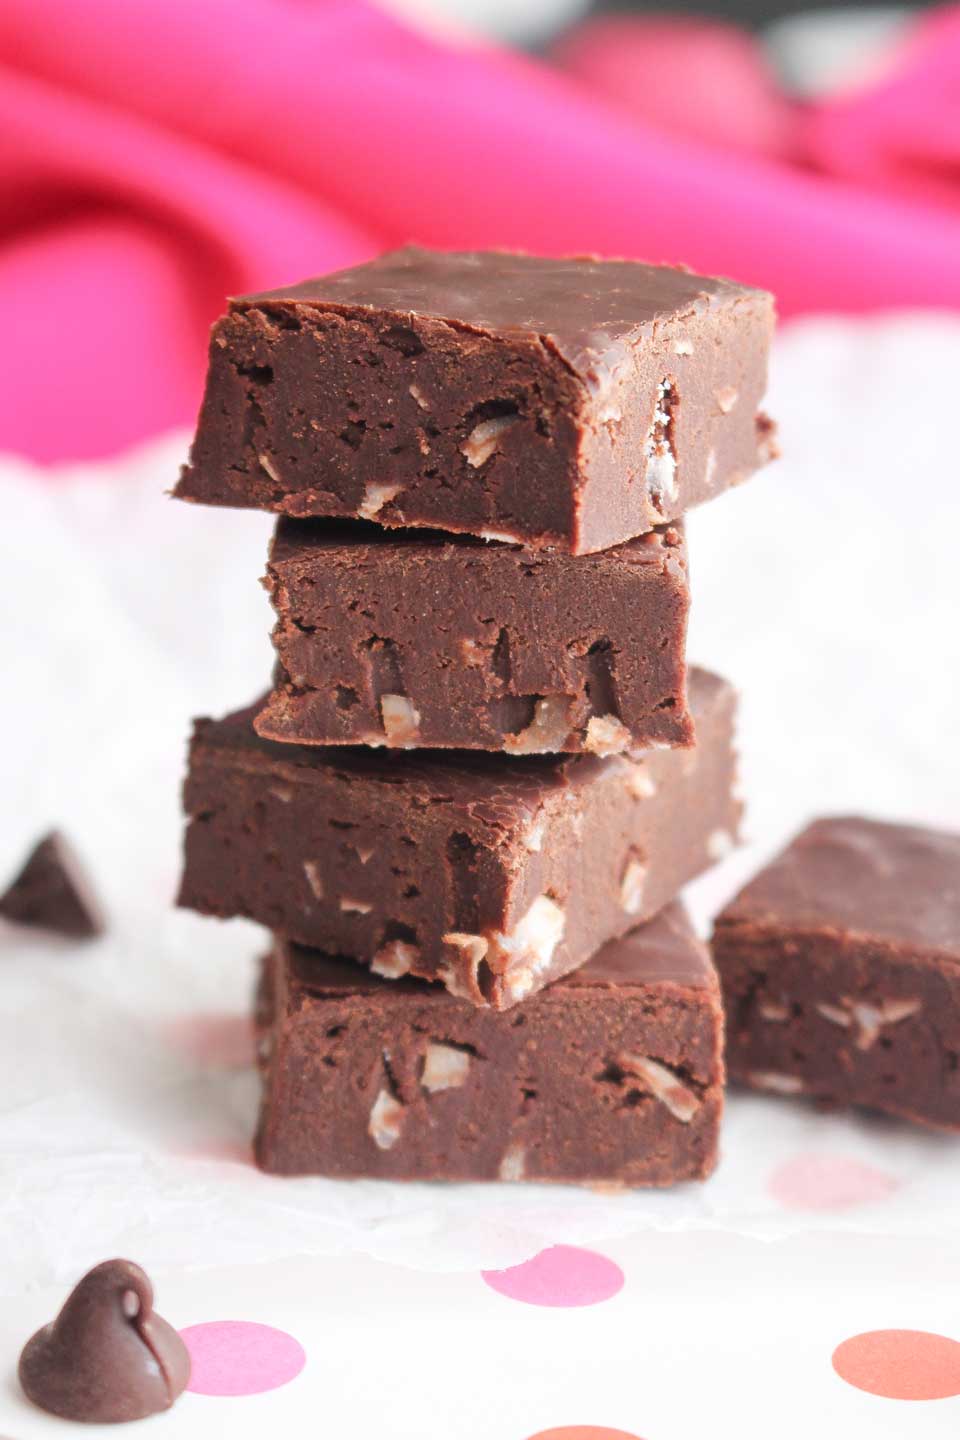
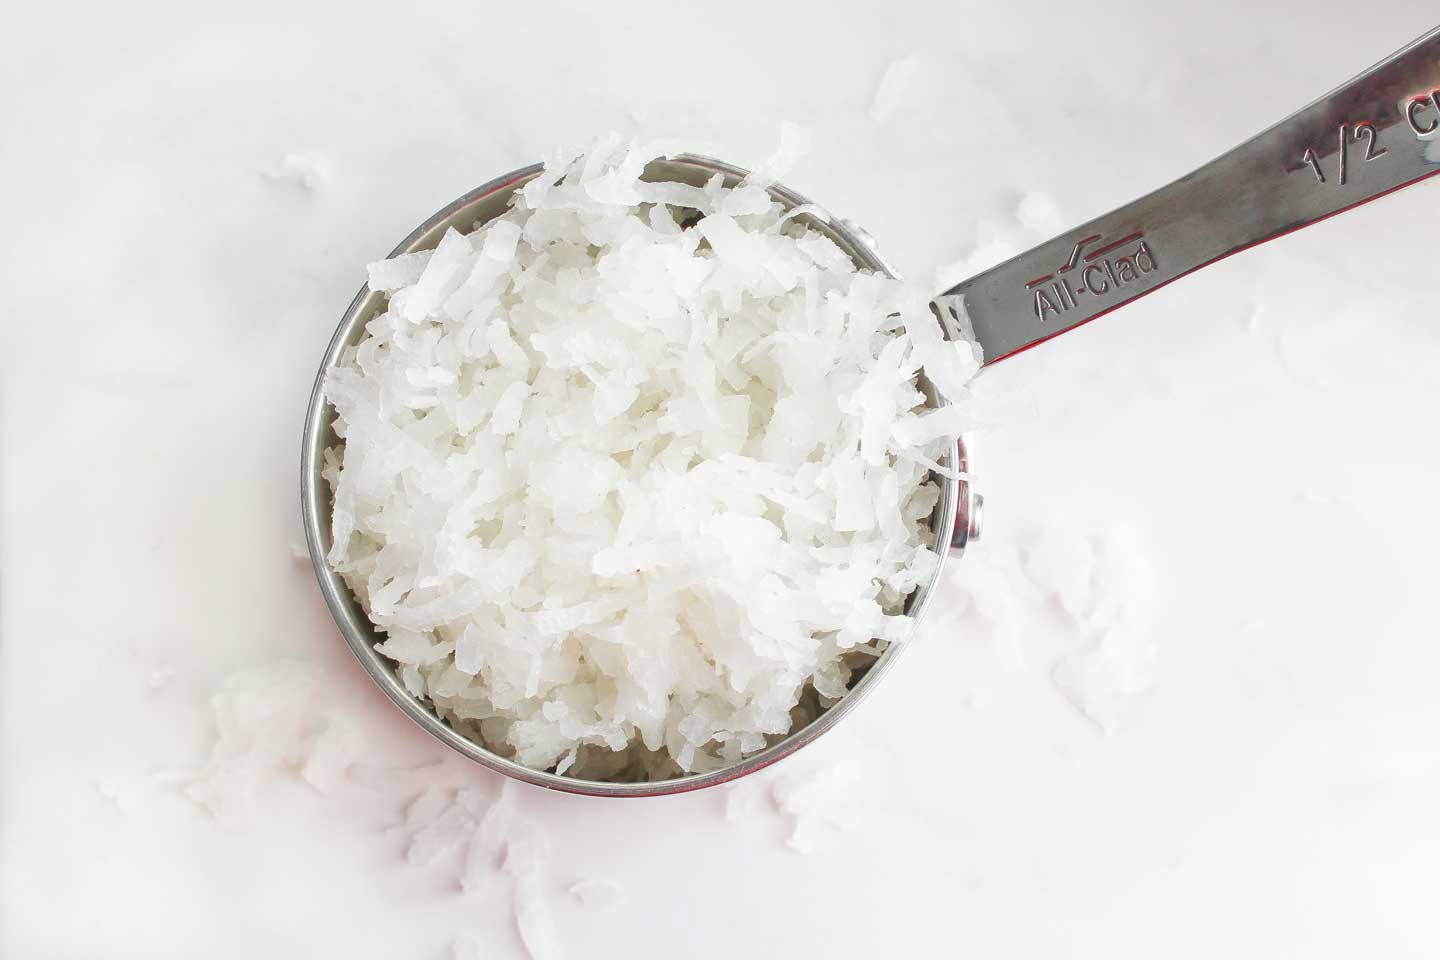
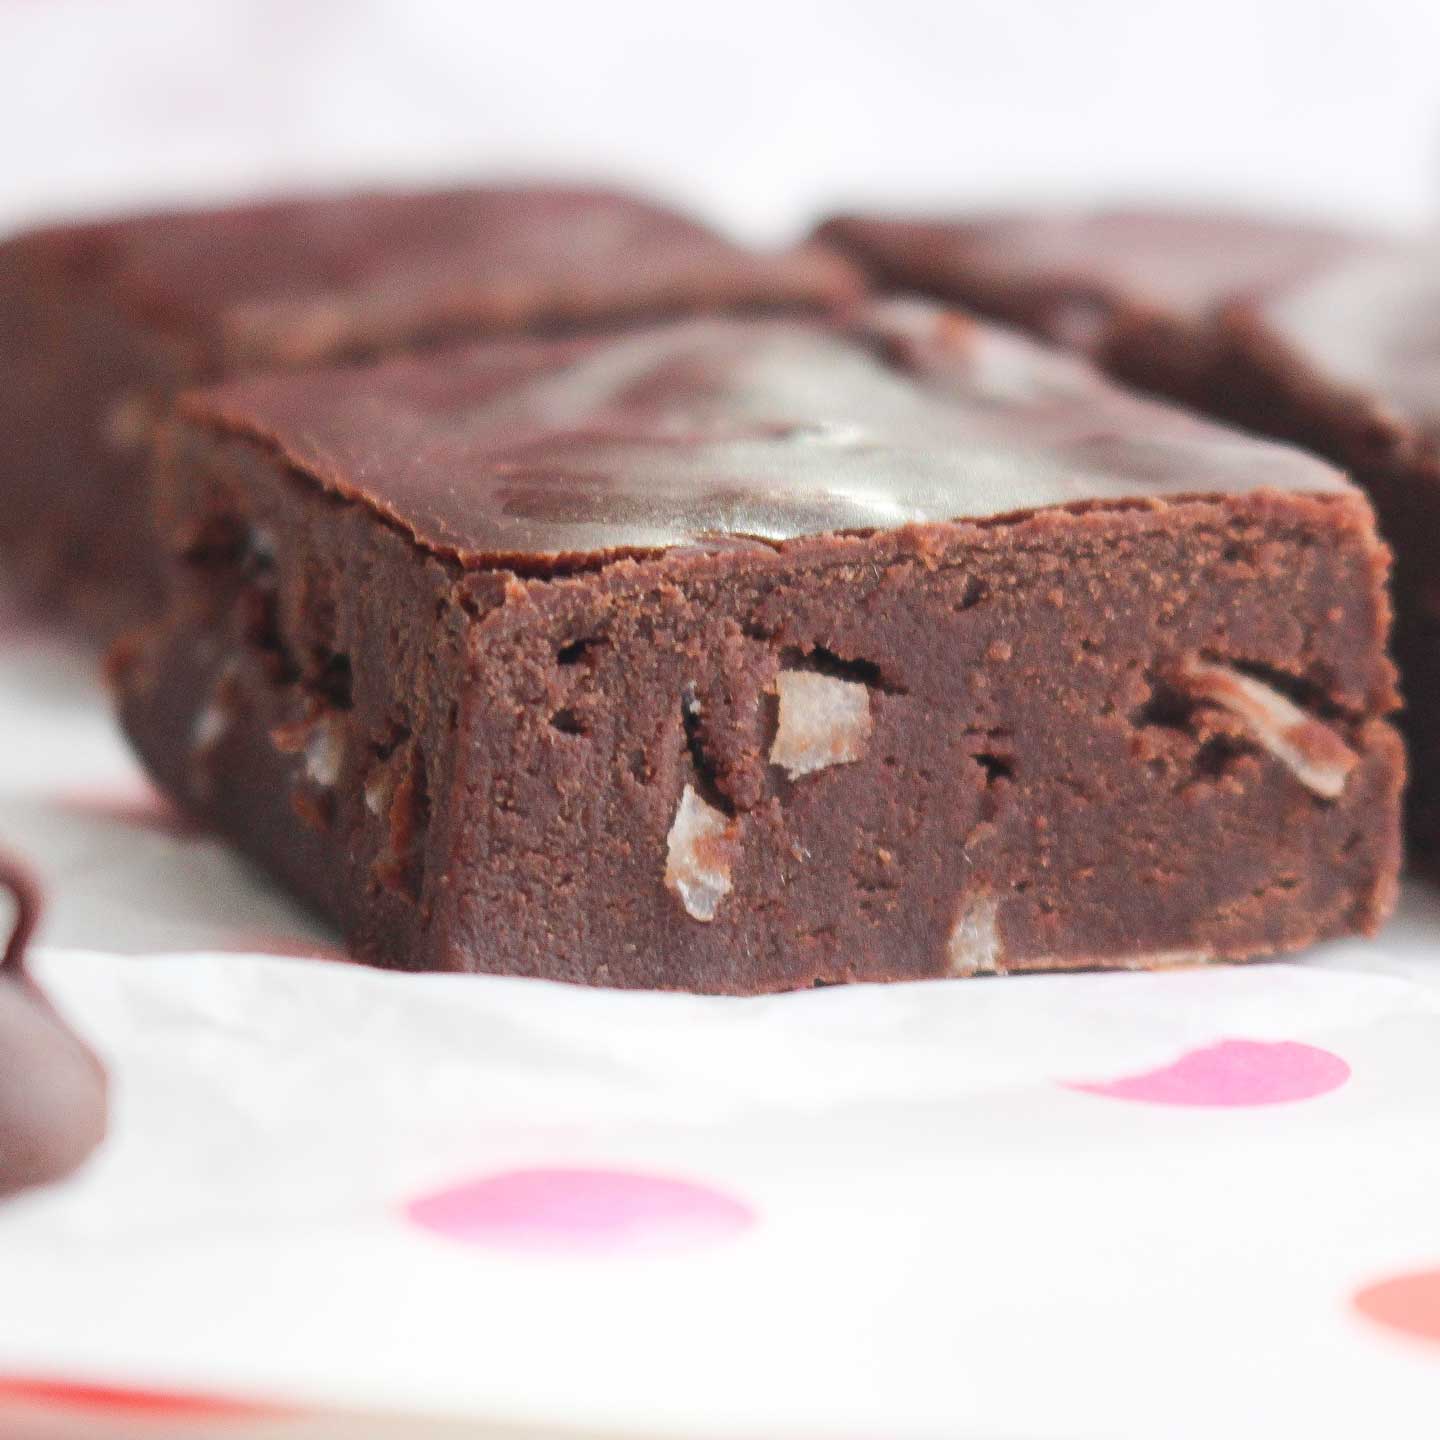
• Chocolate Coconut Fudge – And, of course, you can go for “the original” version of this recipe by stirring in about 1/3 cup shredded coconut.
• Nutty Fudge – Or go nuts. Literally. Chop up some walnuts (a personal fave of mine) … or any other nut you happen to have on hand.
• Almond Joy Fudge – Yesssssss. It’s as amazing as it sounds. Mix in some shredded coconut and also some coarsely chopped, sliced almonds.
• Cherry Pecan Fudge – I made this especially for my mom’s birthday one year. Coarsely chop some dried cherries and pecans. (She loved it BTW!)
Anddddd … the list could go on and on! Feel free to get creative!
Pro Tip: I generally shoot for about 1/2 cup total of whatever add-ins I’m using. But that’s just a starting point, and you can certainly experiment with even more (maybe more like 3/4 cup) if you enjoy a seriously loaded-up fudge.
Can You Freeze Fudge?
In general, most fudge freezes well.
This one definitely does.
I recommend cutting it and tightly wrapping each square individually in plastic wrap or wax paper, then packing them all into an airtight, zippered freezer bag.
Whenever you need a little chocolate fix, pull one out!
Ideally, you would plan ahead for your chocolate emergency and allow your little square of chocolate joy to thaw gently in the fridge.
But, let’s be real … who plans ahead for chocolate emergencies???
In a pinch, you can definitely eat this fudge straight from the freezer – it doesn’t freeze totally rock-hard-solid. Or, it should thaw to a fudgy, room temperature consistency on the counter in about half an hour (if you can wait that long).
Oh! And, since you can make it ahead and freeze it, this fudge is always ideal for easy (no-stress!) homemade gifts. Wonderful if you like to work ahead on DIY gifts for the holidays!
Fudge As a DIY Gift
Who doesn’t love receiving a box of gorgeous, decadent chocolate??
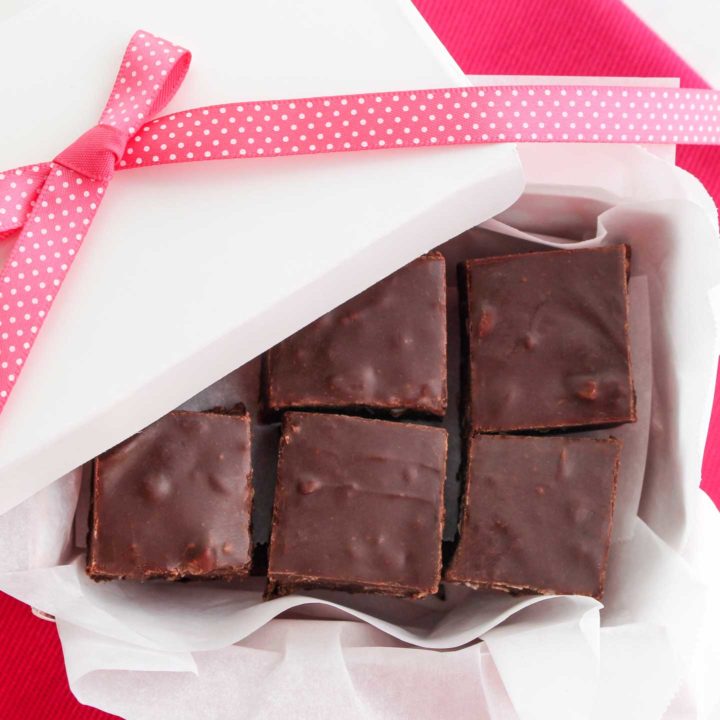
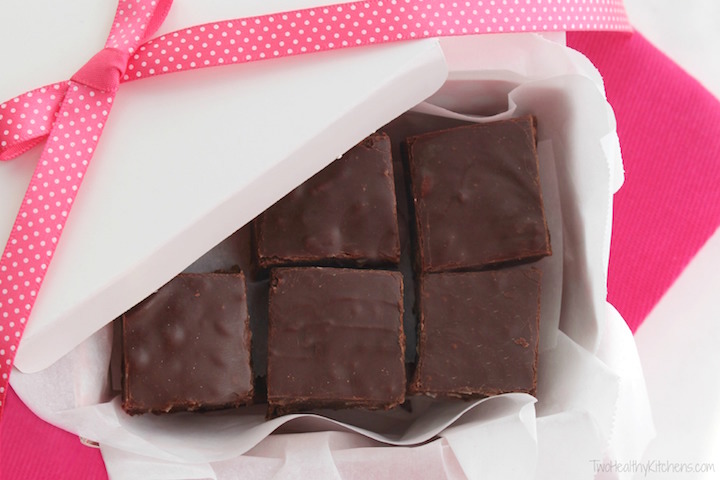
This easy fudge recipe is a great “I love you” gift for Valentine’s day (or … heck … any day) and an indulgent present for the holidays (think teachers, coaches, neighbors ….)
Whether you cut it into pretty shapes (as we mentioned above), or just line it all up in a little gift box, it’s a thoughtful homemade gift that you can make in advance, whenever you have a few extra minutes.
Easy and so appreciated!
Your New, No-Fail Fudge Recipe!
Who knew you could make such a super easy fudge recipe without condensed milk or butter or heaps of extra sugar?
And who knew all you really needed was a microwave, a bowl and a spoon … and 5 minutes?!?
This, my friends, has been a total game-changer since the very first time my sweet friend Gretchen brought me a “test batch” … and I fell happily-ever-after in love.
Because it really is that easy. And that crazy-delicious. And that incredibly flexible for whatever mix-ins I dream up. And that much healthier, too.
This is my go-to, never-fail fudge recipe. And I just bet it’ll become yours, too!
Decadent 3-Ingredient Fudge Without Condensed Milk
You can make this rich, creamy, EASY fudge recipe without condensed milk! Just 3 ingredients and 5 minutes of prep!
• Ready in 30 Minutes or Less • Freezable • Make Ahead • Vegetarian • Gluten Free •
Ingredients
- 3 cups semi-sweet chocolate chips
- 2/3 cup fat free evaporated milk
- 1 teaspoon coconut oil
- optional mix-ins such as approx. 1/2 - 3/4 cup coconut flakes, nuts, or dried fruit (see flavor combination ideas in the post)
Instructions
- Place chocolate chips, evaporated milk, and coconut oil in a medium-sized, microwave-safe bowl.
- Microwave on high for approximately 1 1/2 minutes (the exact timing can vary slightly depending on the power and wattage of your microwave).
- Stir until completely smooth and well-incorporated. (Do not microwave again; just use the heat from the chocolate to continue to melt the other chips.)
- Once the chocolate mixture is smooth, stir in any optional mix-ins that you'd like.
- Pour mixture into an ungreased 8x8" pan (or an 11x7" pan for thinner fudge that's easier to cut into shapes with cookie cutters). Smooth the top and tap or gently shake pan to level the mixture.
- Refrigerate until solid.
Notes
Storage: We recommend storing this fudge, tightly sealed or wrapped, in the refrigerator, which will keep it fresh for several days. It's decadent right out of the fridge, but will soften to a more melt-in-your-mouth, fudgy texture if you allow it to come back to room temperature before serving.
Freezing: This fudge also freezes beautifully. We recommend cutting it and wrapping each square individually in wax paper or plastic wrap, then storing in a freezer bag. The fudge can be eaten straight from the freezer, or you can allow it to soften to your liking (each piece should come to a fudgy room temperature consistency within about 30 minutes).
Nutrition Information:
Yield: 49 servings Serving Size: 1 pieceAmount Per Serving: Calories: 57Total Fat: 4gSaturated Fat: 2gTrans Fat: 0gUnsaturated Fat: 1gCholesterol: 1mgSodium: 5mgCarbohydrates: 7gFiber: 1gSugar: 6gProtein: 1g
Nutrition information does not include optional mix-ins, as those can vary. Nutrition information should be considered an estimate only, and may additionally vary depending on your choice of ingredients or preparation. No guarantees are made regarding allergies or dietary needs. Always consult a physician or dietician for specific advice and questions.





I don’t have a microwave either… can I just melt it on the stove top?
Hi, Adrienne! I’ve never specifically tested that to suggest timing, etc. – but it should work just fine. Let me know how it goes – and ENJOY! ~Shelley