Peanut Butter Tortillas
A New Twist on an Old Favorite!
~ These easy Peanut Butter Tortilla Sandwiches give your same-old-same-old peanut butter and jelly a creative, deliciously fun makeover! Warm, gooey peanut butter is sandwiched in a crispy, toasty “quesadilla.” Choose fillings like fresh strawberries, crunchy almonds and sweet coconut to take it to a whole new level. Your PB&J will never be quite the same again! ~
(Originally published as Strawberry-Peanut Butter Quesadillas on May 16, 2013. Updated photos, text and tips.)
This Recipe Is: • Ready in 30 Minutes or Less • Vegan (and Vegetarian) •
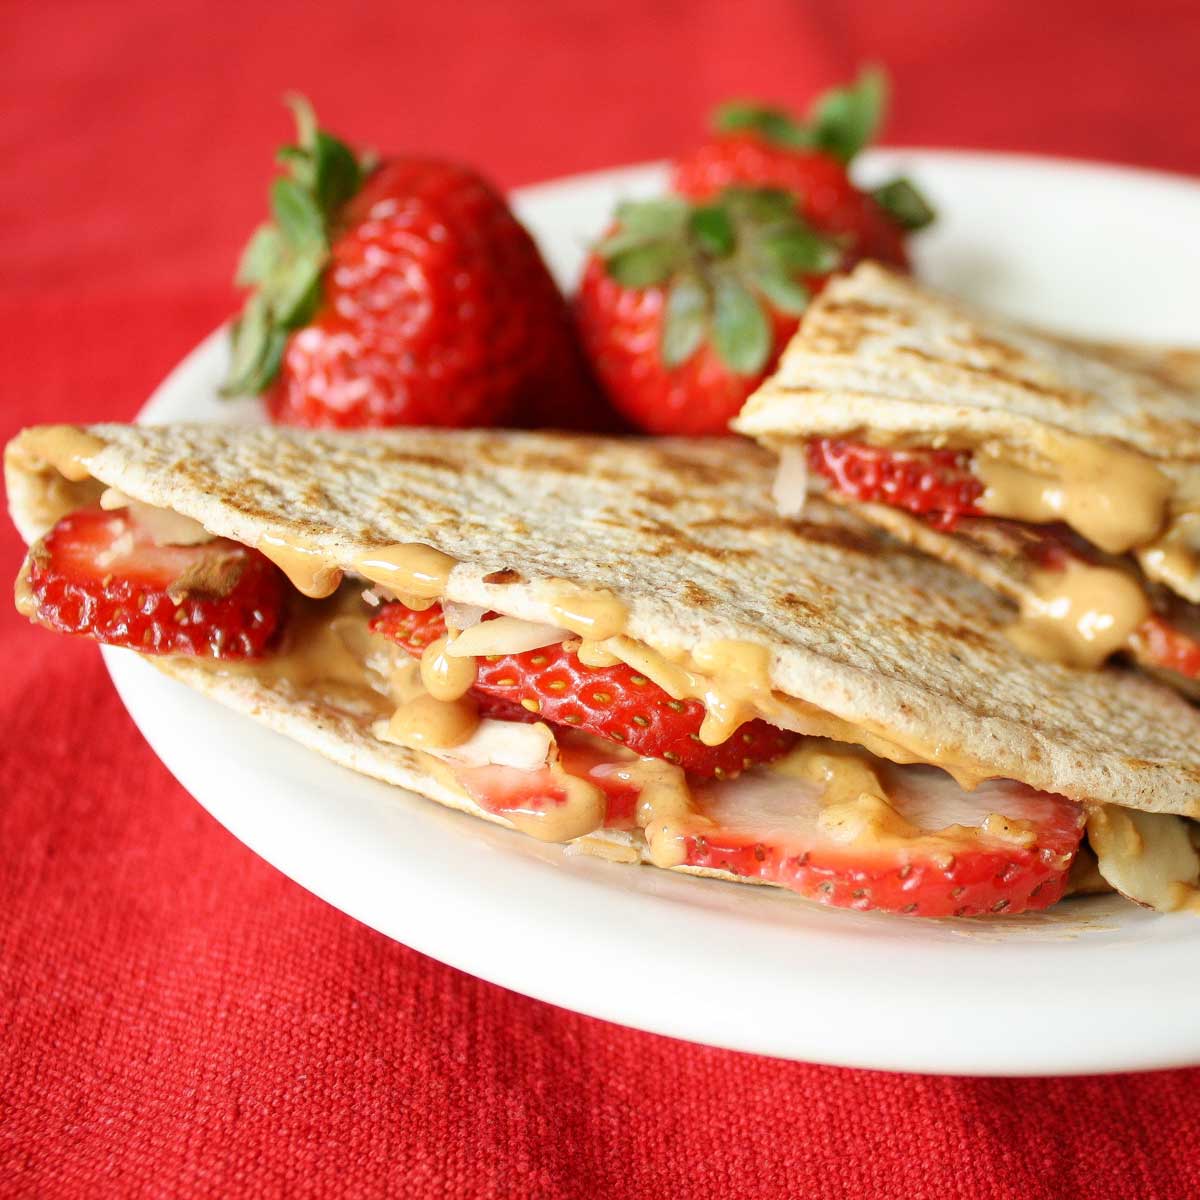
Peanut butter in a warm, toasty tortilla?? Hmmmmmmm (you ask) … isn’t that kinda like a peanut butter quesadilla? Or maybe a grilled peanut butter sandwich?
Sure is! And hey – why not?!?
Your tired-old PB&J could use a jazzed-up makeover, and your kiddos (and you!) could use a little excitement at lunchtime.
This family-favorite version of a peanut butter sandwich is a tried-and-true winner, every time!
So, What’s in This Unique Tortilla Sandwich?
The ingredients are really simple (but add up to something wonderful).
It is so, sooooo good!
And definitely not your typical peanut butter and jelly sandwich, that’s for sure.
A Perfect Combination of Two Favorites!
Here at THK, we’ve had requests to give you some fun lunch ideas, especially for summertime, when pausing playtime to make lunches can feel like a serious chore.
We know how it is – during those lazy summer months, it’s easy to fall into an uninspired lunchtime rut!
So, my dear friend Gretchen and I combined two of our families’ favorite sandwiches:
- the grilled peanut butter and jellies she loves
- and a peanut butter and fruit pita pocket that my kiddos discovered in a Better Homes and Gardens kids’ cookbook
The result? A recipe that’ll give your kids’ boring, same-old-same-old peanut butter sandwich a whole new lease on life!
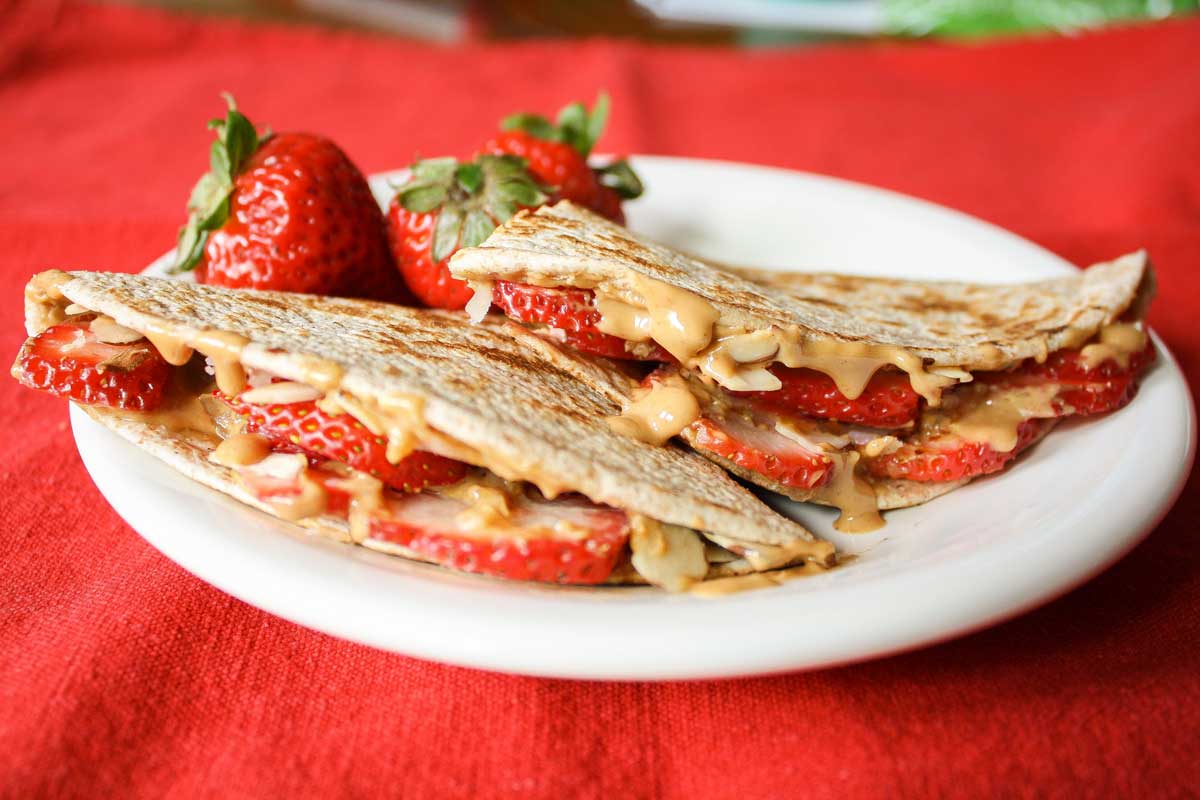
These “quesadillas” are so yummy and so versatile that my kids even request them for breakfast. (And have actually been known to joyously eat these twice in one day!)
They’re easy, fast and really adaptable – perfect any time, all day long.
How to Make A Peanut Butter Tortilla
The preparation is super simple, I promise.
Step #1
First, fire up a skillet and get it really good and hot. (Although honestly, as I explain later, you can even skip the whole cooking step if you’re in a hurry … but more on that in a sec …)
Equipment Tip: Pans … and Beyond!
This recipe works well with a cast iron griddle pan, a full-clad skillet, or a nonstick skillet – use what you’ve got. Just be sure not to preheat a nonstick pan on high heat.
Also – many of you out there may have other ways of making toasty tortilla sandwiches – in the oven, toaster oven, outdoor grill or even (for gadget lovers!) in a quesadilla press.
Do whatever works for you!
Step #2
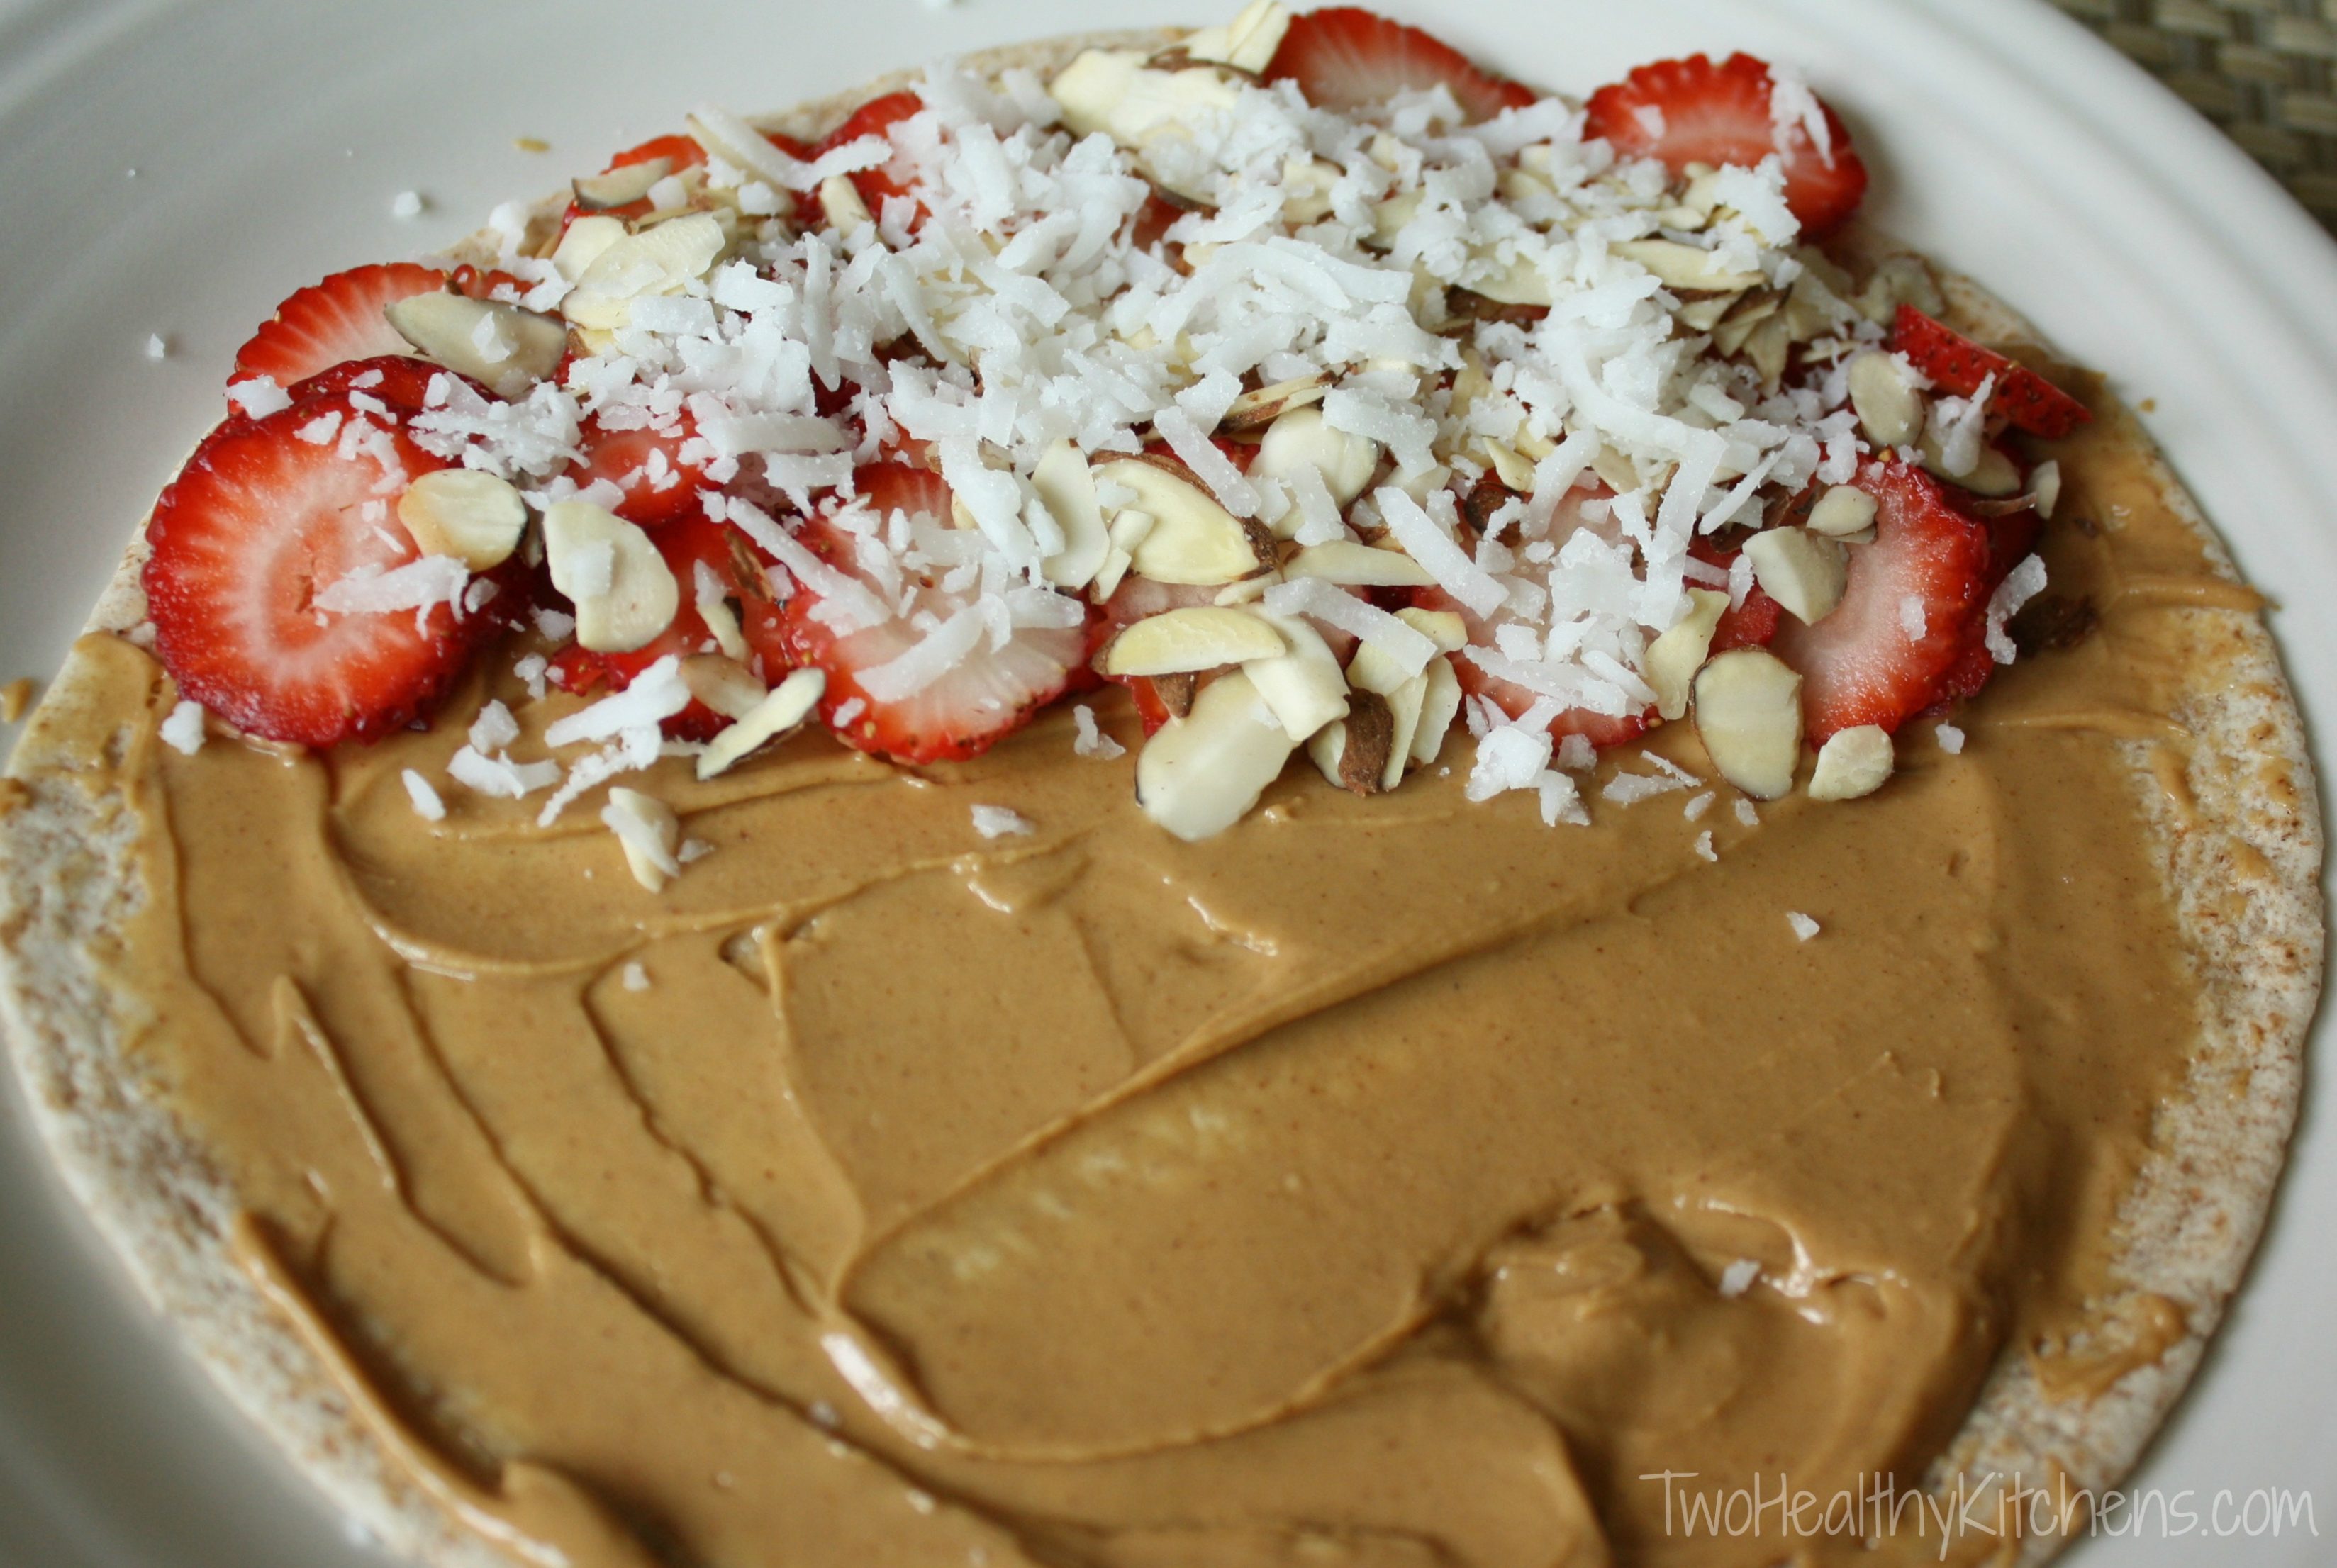
While your skillet (or oven … or grill …) is preheating, slather some creamy peanut butter onto whole wheat tortillas.
Sure, sure … you could use regular flour tortillas (NOT whole wheat ones), but we love the boost of nutrition you get from those whole grains!
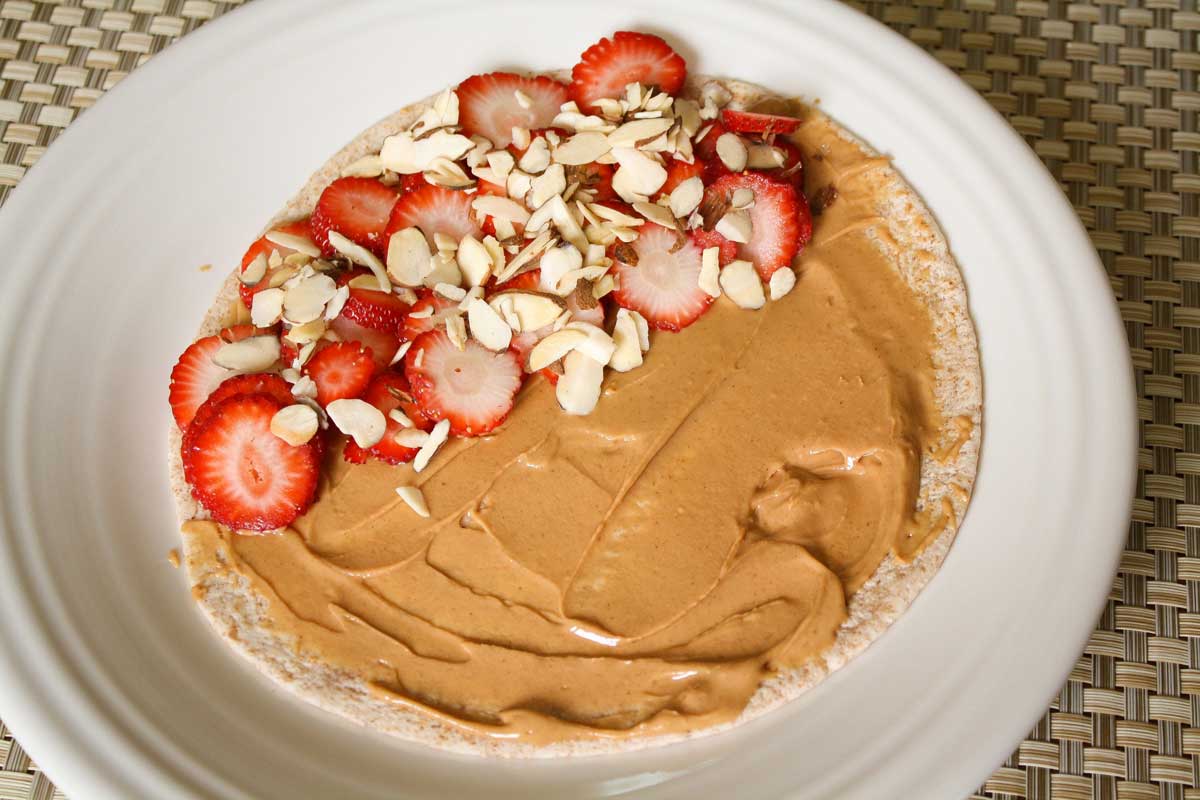
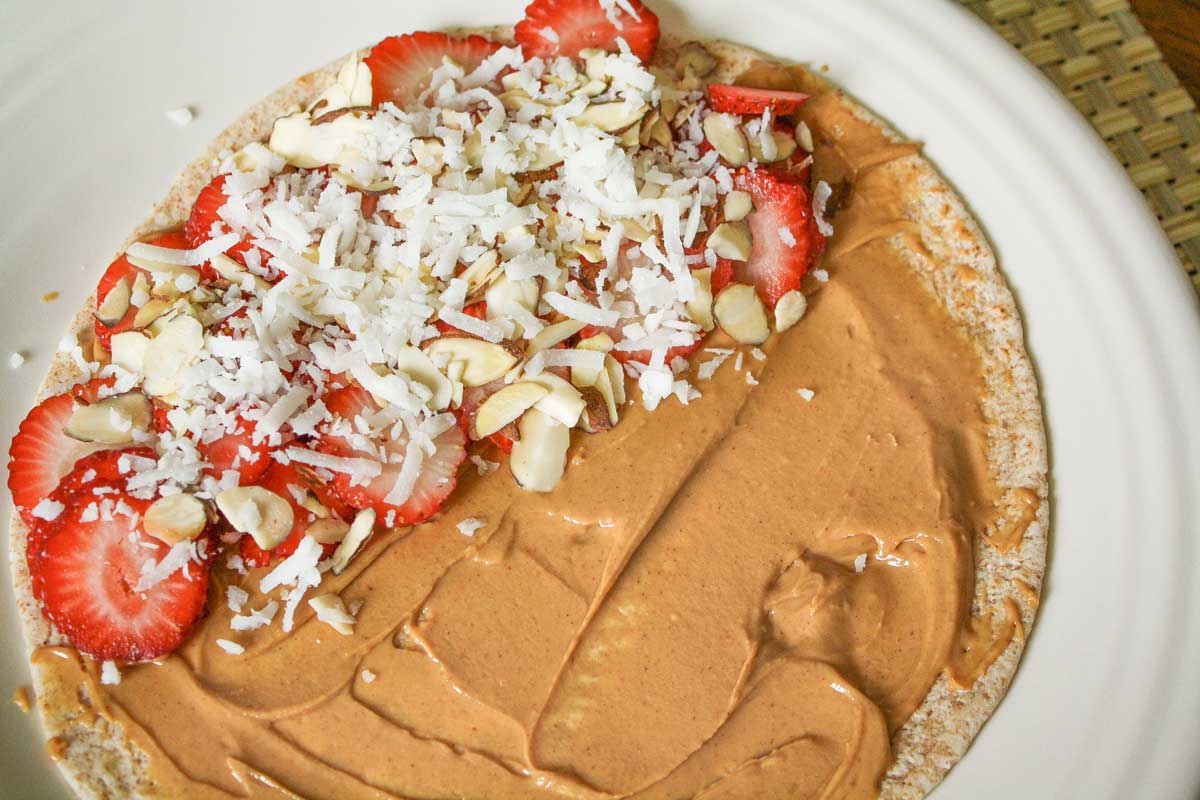
Then, arrange some luscious, juicy, sliced summer strawberries on one half of each tortilla and top the berries with a sprinkle of sliced almonds and shredded coconut.
Ingredient Tip: Choosing Your Natural Peanut Butter
We don’t usually specify brands, but we do have a little tip for this recipe.
In our own kitchens (and during recipe testing), we generally use either Jif Natural peanut butter or Smucker’s Natural. They have slightly different ingredients and nutritional profiles, and they also have different consistencies.
For this quesadilla, we highly recommend choosing the Jif Natural (hmmmmm … does that ring a bell … “Choosy moms choose Jif”???). The Jif is a bit less dense, so it easily takes on a happy, ooey-gooey consistency inside a warm, toasted tortilla.
Steps #3 and #4
Fold each tortilla in half and pop them – one at a time – into the sizzling-hot skillet. (Depending on the size of your skillet, you may be able to fit a couple of quesadillas at once.)
There’s no need to prep the skillet with cooking spray or to slather your tortillas with butter, canola or cooking spray – a dry skillet works great for this.
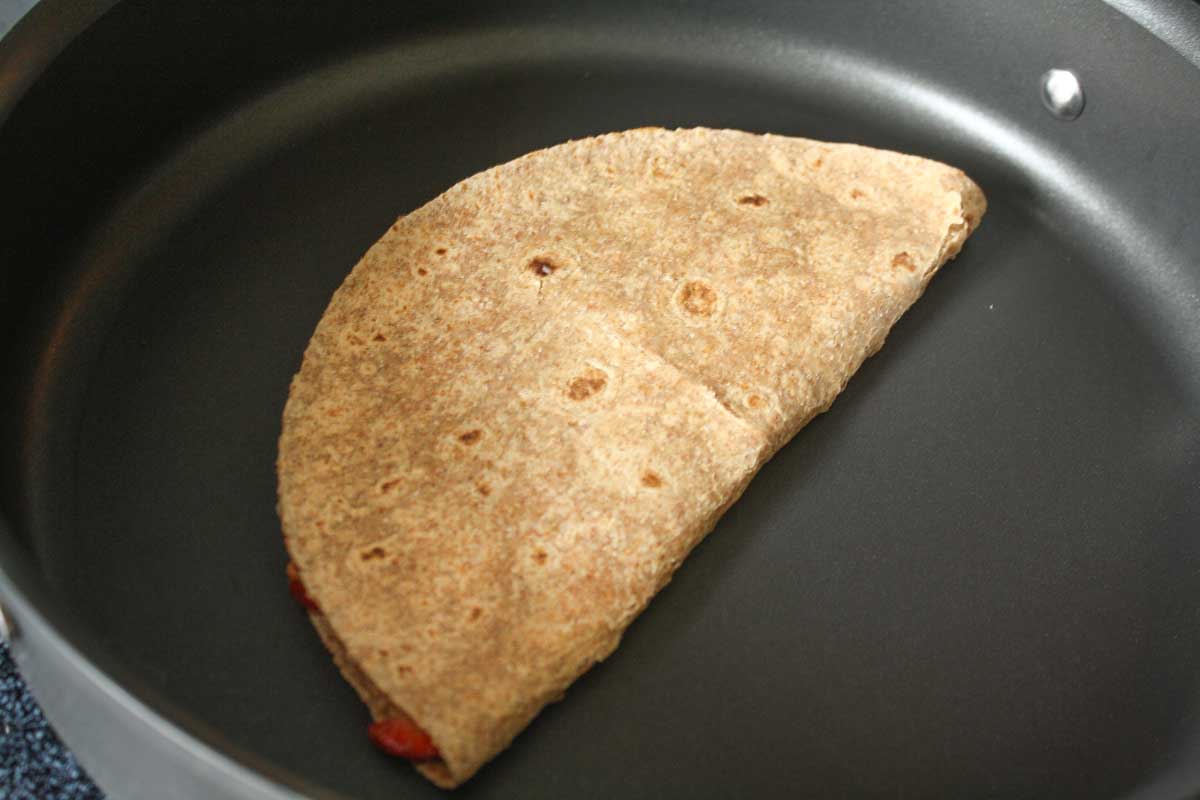
Check each tortilla after just a minute or two, and as soon as it starts to turn golden, flip it to crisp up the other side. Just a minute or two more, and you’ll be all set!
The important key here is a really hot skillet and a fast sear.
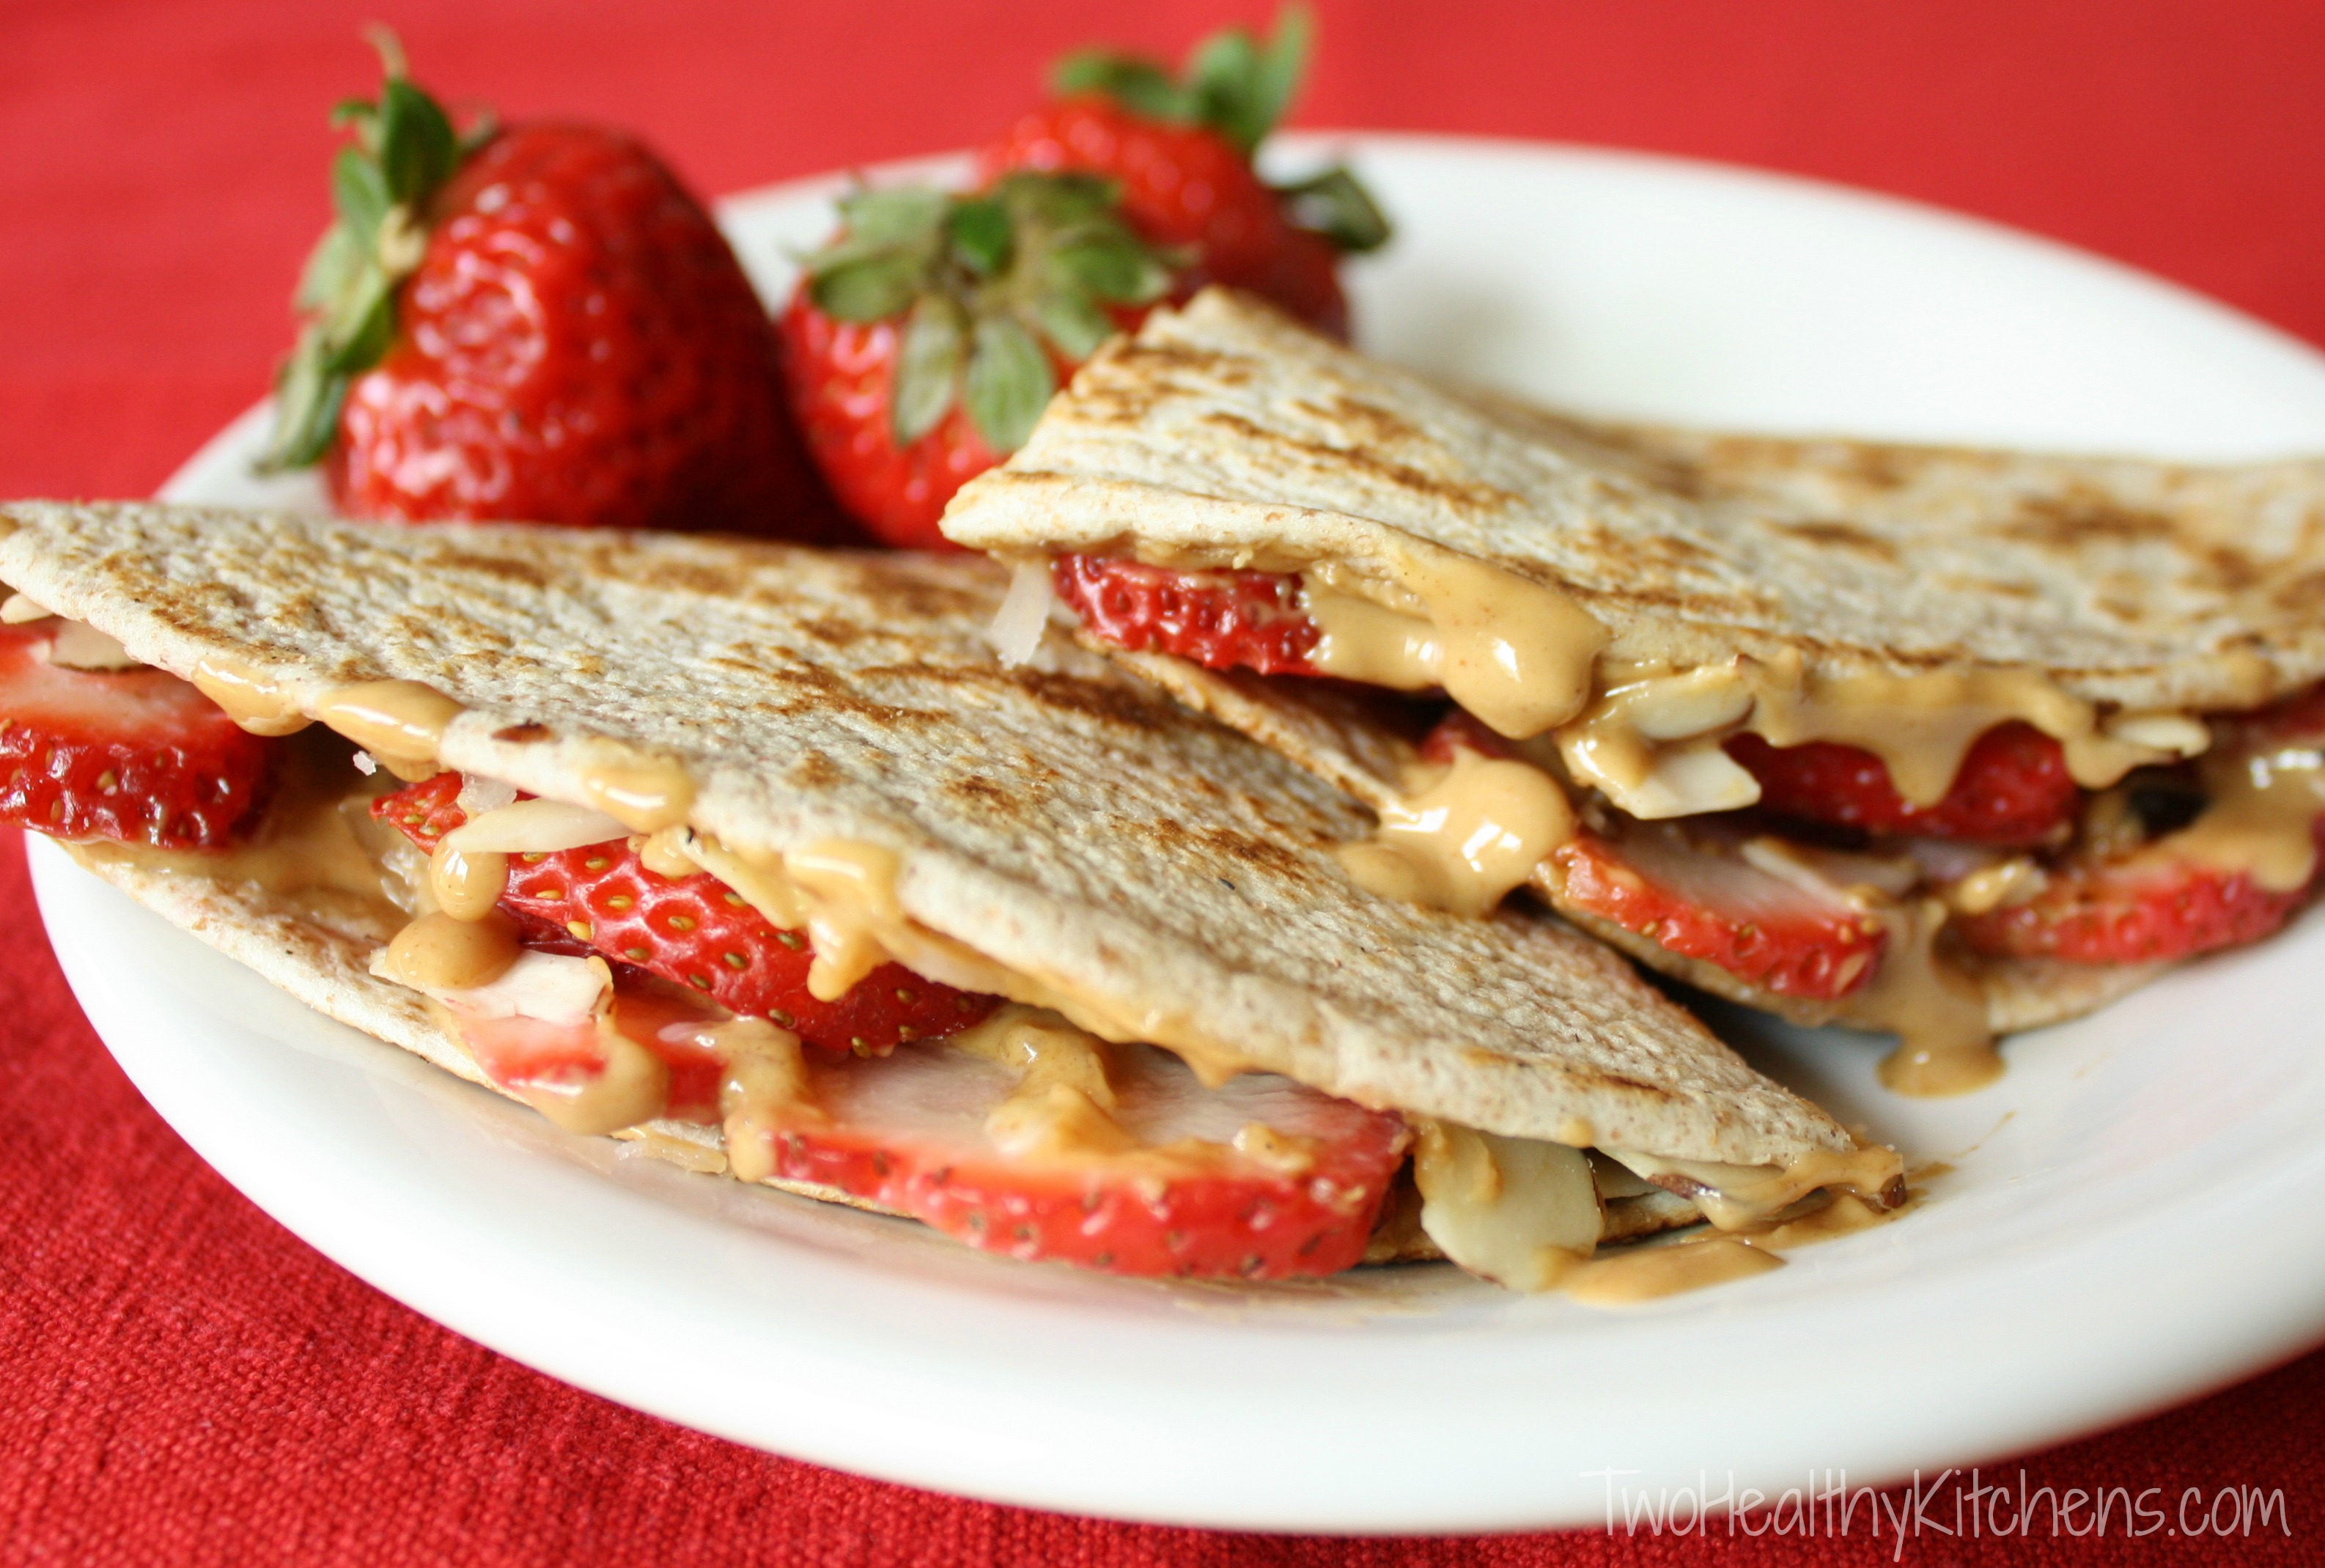
The tortillas should have a slightly crunchy exterior, but still be really tender and soft inside. And the fillings should be just barely turning warm and melty, but the fruit should still be fresh and firm.
We speak from experience when we tell you that a long, slow cook time will yield a sadly cardboard-like tortilla and overcooked, limp, sad strawberries. (This was the unfortunate end to our first test batch!)
Once your quesadillas are perfectly cooked, plate them up and cut them into wedges. Done! So fast, so easy!
Customize Your Peanut Butter Tortillas in Lots of Ways
Feel free to get creative with your fillings. This is a sandwich, not a science – get a little crazy!
Why not try throwing in some dried fruit or different nuts?
Want more peanut butter? Extra strawberries?
Go for it!
How about adding some bananas? Mmmmmmm … sounds great!
Don’t have any coconut? No problem. Skip it this time!
You get the idea. These grilled sandwiches are so flexible, so adaptable. Because who needs more stress at lunchtime?? (Not you … and not me!)
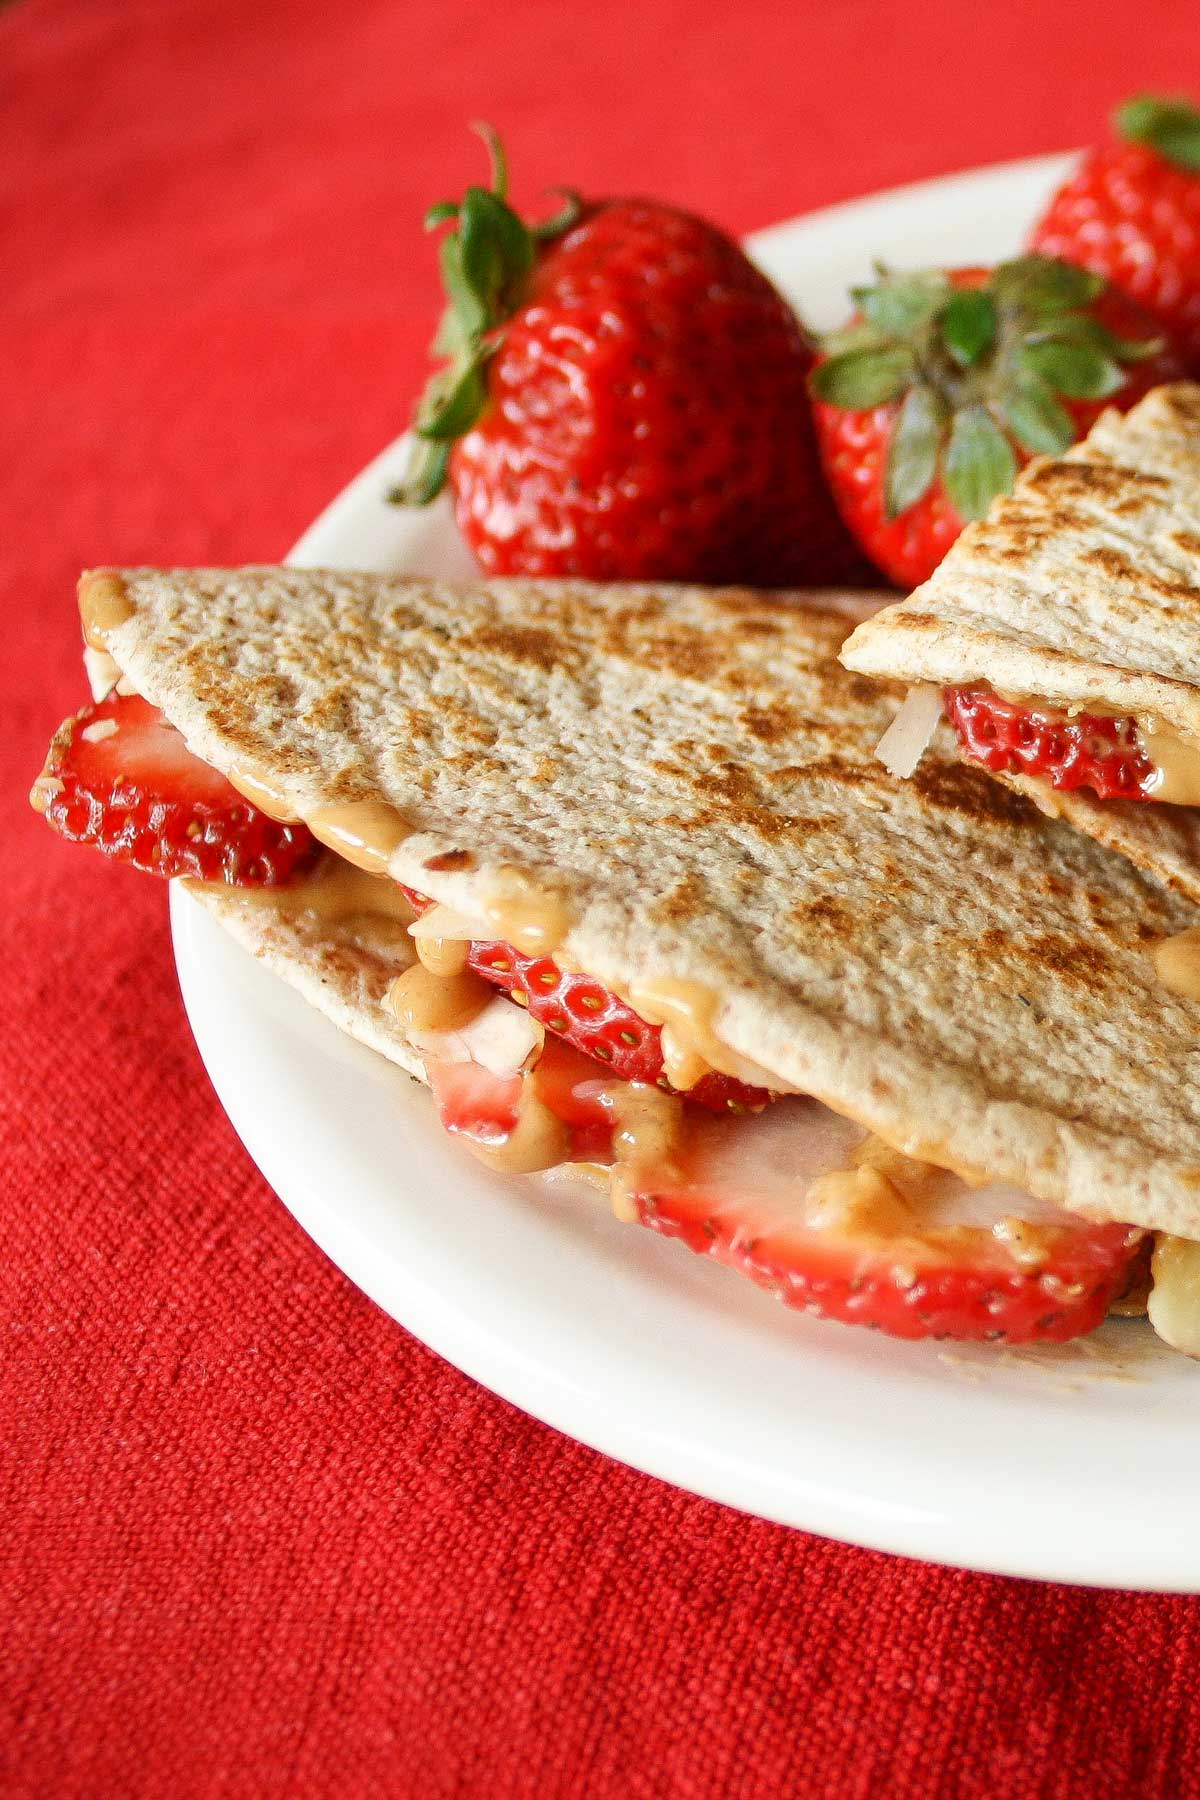
There’s one more (time-saving) way to adapt these Peanut Butter Tortilla Sandwiches, too …
The No-Cook Option
Here’s our extra-fast, get-out-the-door-ASAP tip …
If you’re really pressed for time getting to the pool, the zoo, the __________ (insert fun summer activity of your choice) … you can skip the pan altogether.
Seriously – I’ve done this in a change-of-plans moment. And it works beautifully!
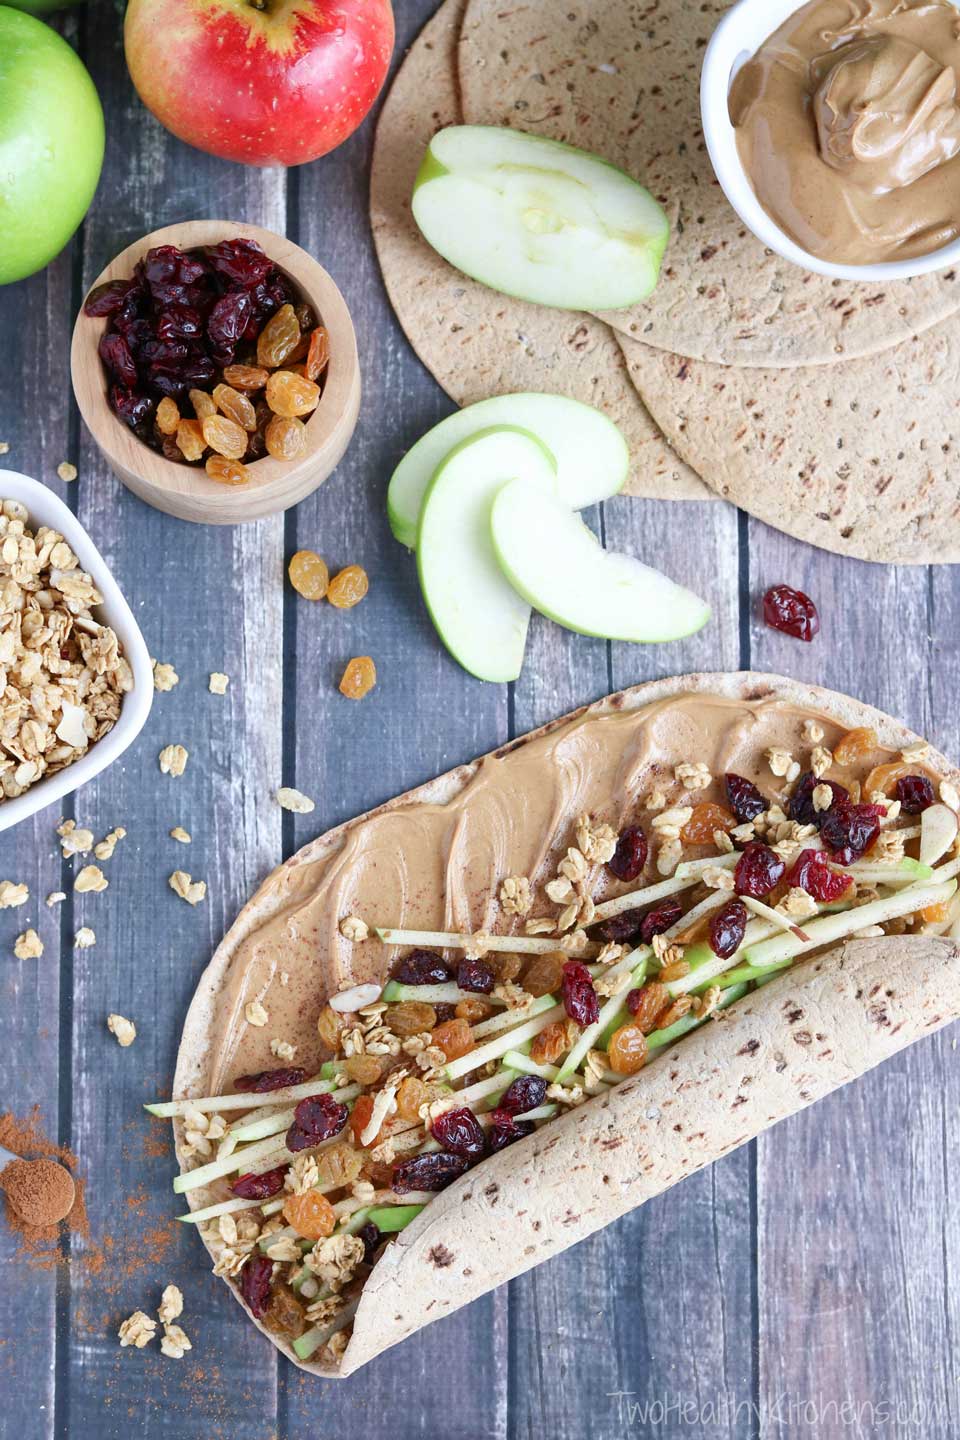
Just slather some peanut butter on your tortilla, toss on the toppings, and roll it all up like a wrap. (Kind of like our popular Granola Crunch Apple-Peanut Butter Sandwich Wraps.)
Packed Lunch Tip
This “no-cook” option works great for packed lunches for the school year. (Or for you to tote along to the office!)
Call it a burrito or a peanut butter tortilla rollup (or whatever you want!), and you’re out the door in a flash.
It’s portable enough for your family to munch in the car while the kids bicker with each other in the backseat, and you fight with your GPS over the zoo’s address! Ahhhhhhhhhh … summertime …
FAQs At-a-Glance
No, you don’t have to – these “quesadillas” will be delicious with white flour tortillas and typical peanut butter. But we definitely recommend going for the nutrition boost wherever possible!
No fresh strawberries in the fridge? No problem! As mentioned above, this recipe is super adaptable. Try other fruit like sliced bananas … or even dried fruits. You can also try swapping in different nuts or omitting the coconut. Get creative!
The key to this recipe is cooking your Peanut Butter Tortillas hot and fast, so the outside gets a nice, golden sear while the inside of the tortilla and all the yummy fillings are JUST barely cooked. You want the inside of the tortilla to still be soft, the peanut butter to be a little melty, and the strawberries to be fresh and firm and vibrant (not soggy and overcooked).
More Ways to Rev Up Your Old Peanut Butter and Jelly …
While we’re getting creative with PB&J, be sure to check out these other ideas to shake up your routine!
- Peanut Butter and Jelly Energy Balls
- PB&J Stuffed French Toast Breakfast Casserole
- Hungry Hippos Sandwiches
- Crunchy Apple & Peanut Butter Wraps
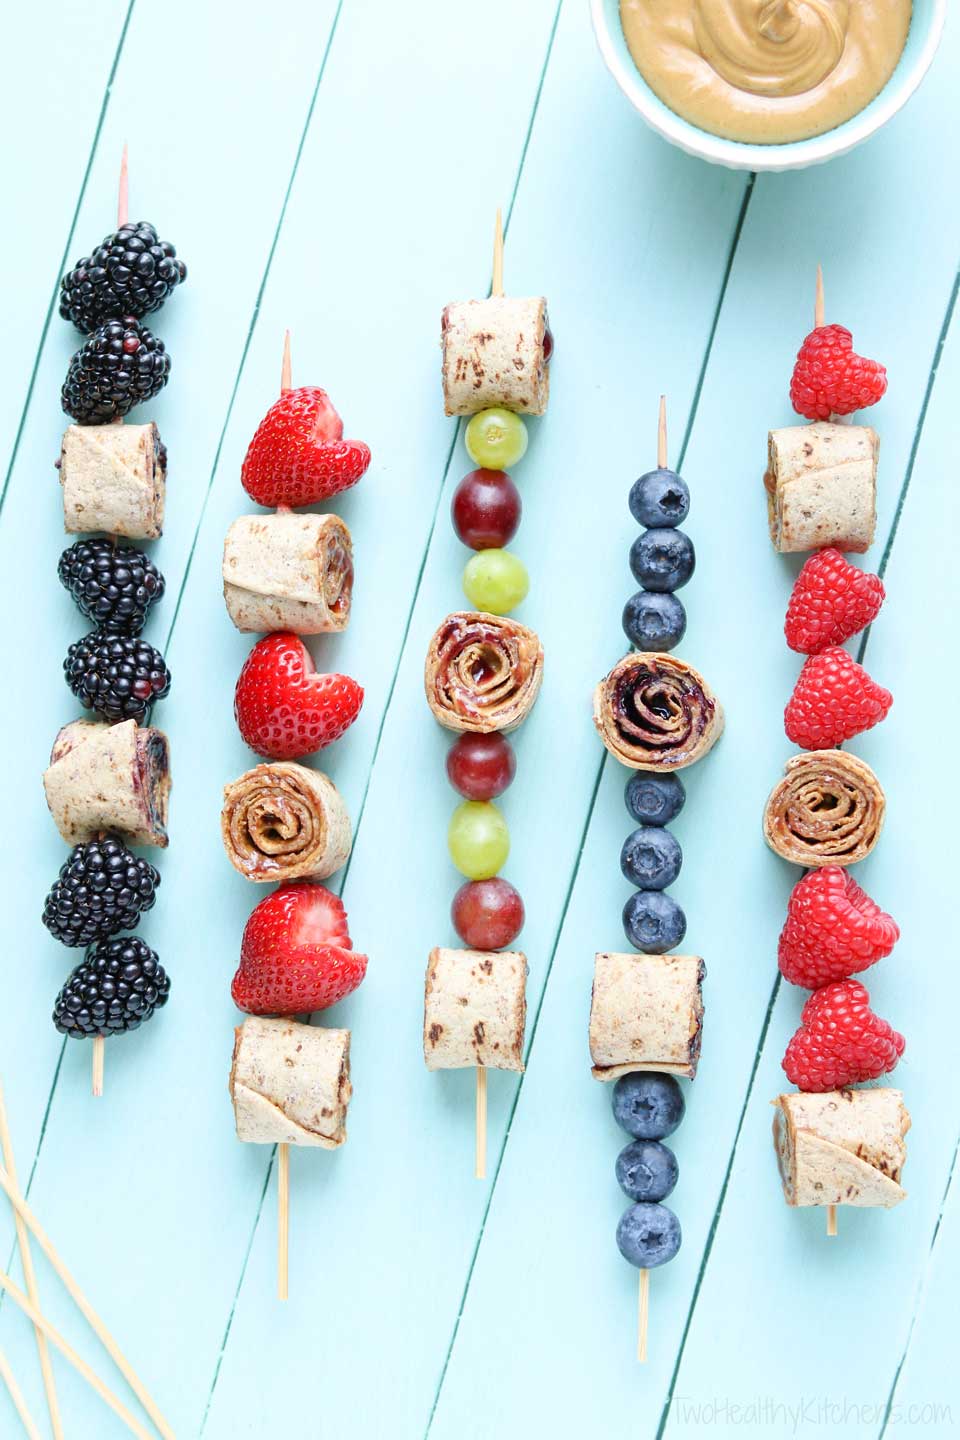
- PB&J Pinwheel Kabobs
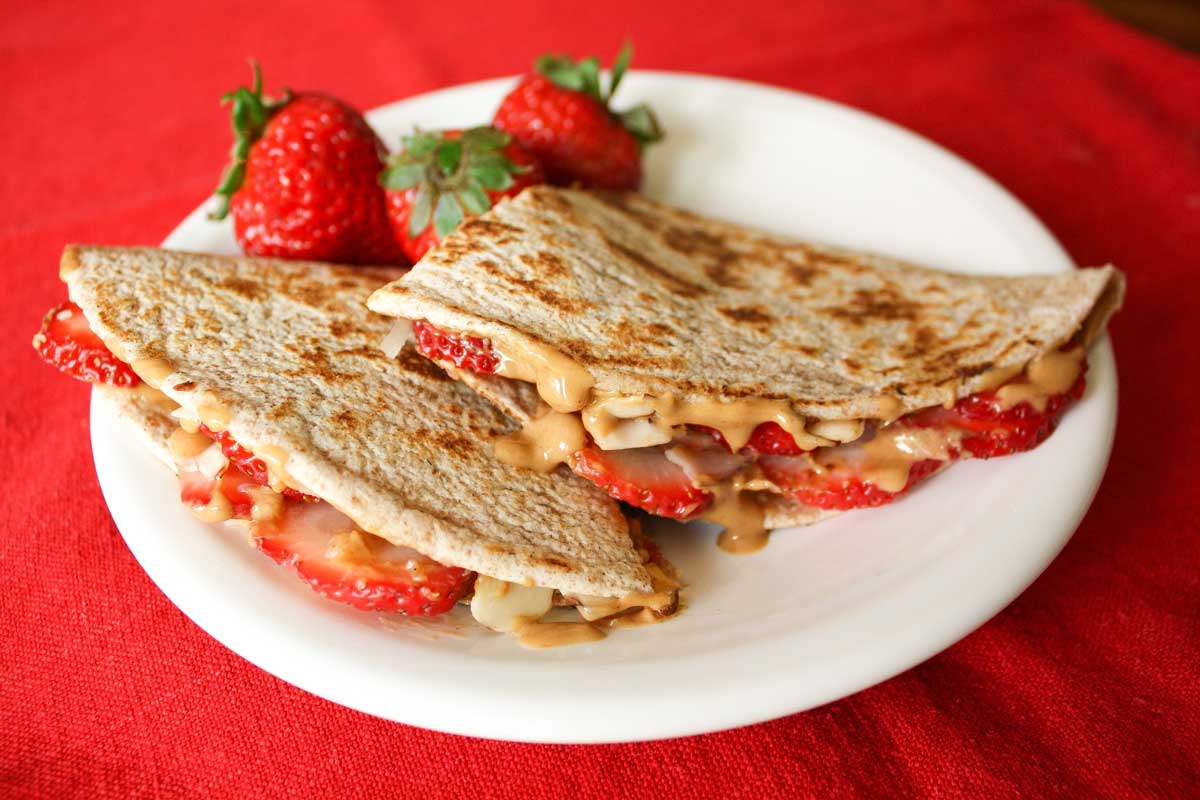
Who knew peanut butter sandwiches could be so much fun?!?!
Well, hey … now YOU do! 😉

~ by Shelley
Love the Recipe? • Were My Tips Helpful?
__________
Please leave a 5-star rating by clicking on the stars in the recipe card below. I truly appreciate all your wonderful feedback!
Peanut Butter Tortillas
Ingredients
- ½ – ¾ cup natural, creamy peanut butter
- 4 (8-inch) tortillas (preferably whole wheat)
- 1⅓ cups thinly sliced strawberries (about 12 large berries)
- ¼ cup sliced almonds
- ¼ cup shredded coconut
Instructions
- Preheat a skillet over medium-high heat.
- Spread 2-3 tablespoons peanut butter over each tortilla. Top half of each tortilla with ⅓ cup sliced strawberries, crowding the berries very closely together. Sprinkle 1 tablespoon almonds and 1 tablespoon coconut over berries.
- Fold the tortillas in half.
- Place one or two folded tortillas (depending on your skillet's size) into the hot, preheated skillet and cook on the first side for just a minute or two, checking frequently. Once the tortillas begin to turn golden brown, flip each over and cook for just another minute or two more. The tortillas should be golden and crispy outside, while remaining soft inside, and the fillings should just barely be warm and melty. Don't overcook or your tortillas will be burned or tough and your strawberries will be unappetizingly mushy.
Notes
Nutrition
* Nutrition information should be considered an estimate only, and may vary depending on your choice of ingredients or preparation. No guarantees are made regarding allergies or dietary needs. Always consult a physician or dietician for specific advice and questions.

I was skeptical, but wanted to try these. SO GOOD! It’s just like a pb&j. 🙂 My 4 year old was nuts over these.
Side note: don’t send these as a breakfast for your husband to eat in the car on the way to work. Otherwise he might text you this: that was good, but it was really messy and it looks like something died on my plate. HAHAHAHAHAHA! 🙂
Hi, Stacy! We’re so, so glad you gave these a try! They really are surprisingly awesome! And your husband’s text is HILARIOUS! Next time you send your hubby out the door with one of these, try wrapping it up like a burrito instead of in quesadilla form – my family loves that idea for last-minute, grab-n-go’s! And actually, my husband’s fave portable breakfast when he’s late and dashing out the door to work is a little baggie with about four of our no-bake Snack Bites in it – totally not messy! If your guy likes the PB&J vibe, maybe try sending him off with the PB&J version! Yum!
Either way – we’re so thrilled you took a moment to let us know how this recipe worked for you and how much your family loved it! 😀 ~Shelley
Oh Wow these look awesome! I’ve done this with bananas but never strawberries! Can’t wait to try them :->
Hi, Tammy! We’re so glad you stopped by! Seriously – try this! The sweet strawberries, crunchy almonds and chewy coconut totally elevate it above a peanut butter and banana concoction! Just make sure to get that nice, fast sear so your strawberries don’t get mushy! Yummmmm … 😀 ~G&S
Wow this looks delicious! I’m actually eyeing some leftover tortillas right now, even though I’ve already had dinner PLUS a slice of pizza later. This would be especially great with homemade peanut butter. Which, if you haven’t ever made, is incredibly simple and absolutely delicious. Anyway, great job and keep up the good work!
Yep, homemade peanut butter rocks! I definitely hope you gave in and slathered some on those leftover tortillas! So glad you stopped by, Dustin! ~Shelley
Wow! Where were recipes like this when my kids were still at home ?
Delicious Fruit Recpes:
MOM’S STRAWBERRY PIE
1 9 or 10 inch baked pie shell
1 quart strawberries (or 1 pint fresh berries and 1 pint frozen berries, thawed)
1 c sugar
3 T cornstarch
½ c water (about)
1 c Whipping cream (opt)
Put one pint fresh washed, hulled choicest berries in pie shell. Mash the rest until the juice is well extracted. Bring the mashed berries and their juices to a boil in a medium saucepan. In a small bowl, mix together the cornstarch and the sugar; add the water and stir. Add this mixture to the cooking berries and stir. Cook slowly for about 10 minutes, stirring frequently. Cool 10 minutes and pour over the top of the berries in the pie shell. Refrigerate until firm. Top with sweetened whipped cream and serve. Serves 6 to 8.
Cook’s note: This is my mother’s pie recipe and is much better than the commercially prepared glazed pies because it has the full berry (mashed and juice) in the glaze. A 10 inch pie shell will require more berries, probably about an extra pint-half for the whole berries in the shell and half for the crushed berry/glaze.
Oh, wow, Karen! That pie recipe sounds sooooo good – really summery and refreshing! It sounds like the perfect thing to make with gorgeous, perfectly ripe strawberries! Plus, it’s extra-special that it’s your mom’s recipe – that makes it such a treasure! Thank you so much for sharing it with us! We really appreciate it! ~G&S
Hi, Tallmadge MOM! Don’t worry if you don’t have kids at home any more! We can tell you that the adults in our homes chow these just as happily as our kids do – make one up for yourself and you’ll be hooked! Don’t forget that if you’re rushing off to work or to run errands and don’t want to take a moment to cook these in a skillet, you can just make them into wraps … and you’re out the door with a yummy lunch all packed in a flash! Oh, and (hint, hint) if you have grandkids, we can just bet that this will be a big hit with them, too! ~G&S