Vintage Recipe for Easy Bread
(aka Grape-Nuts Bread)
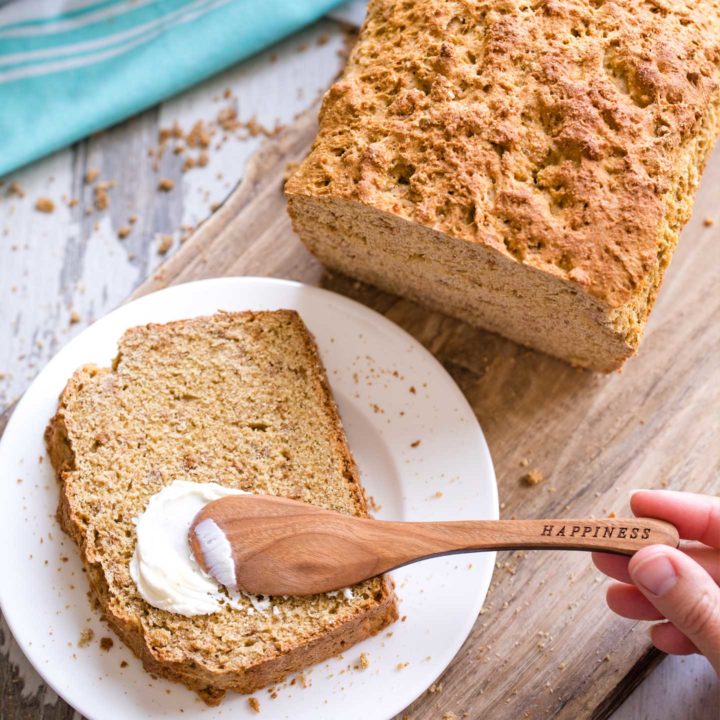
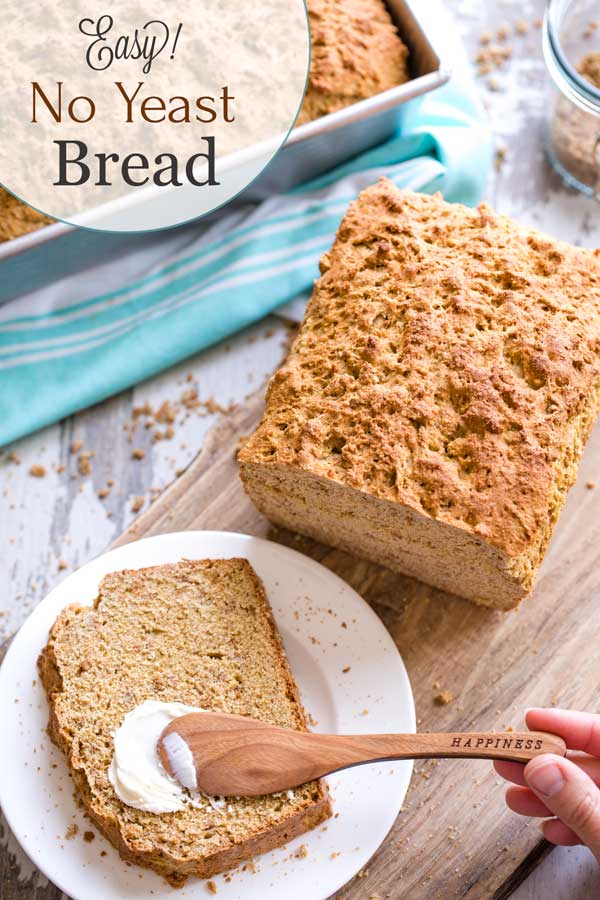
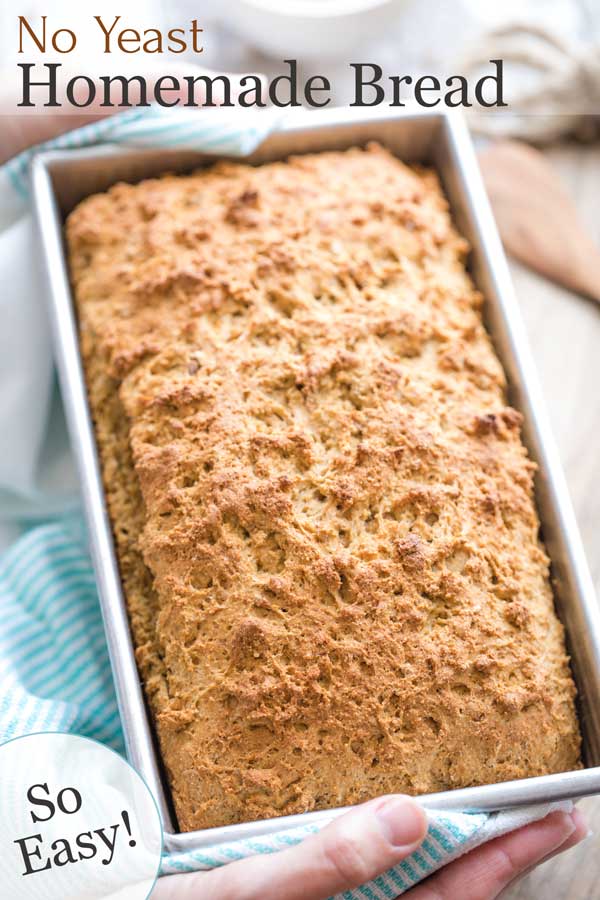
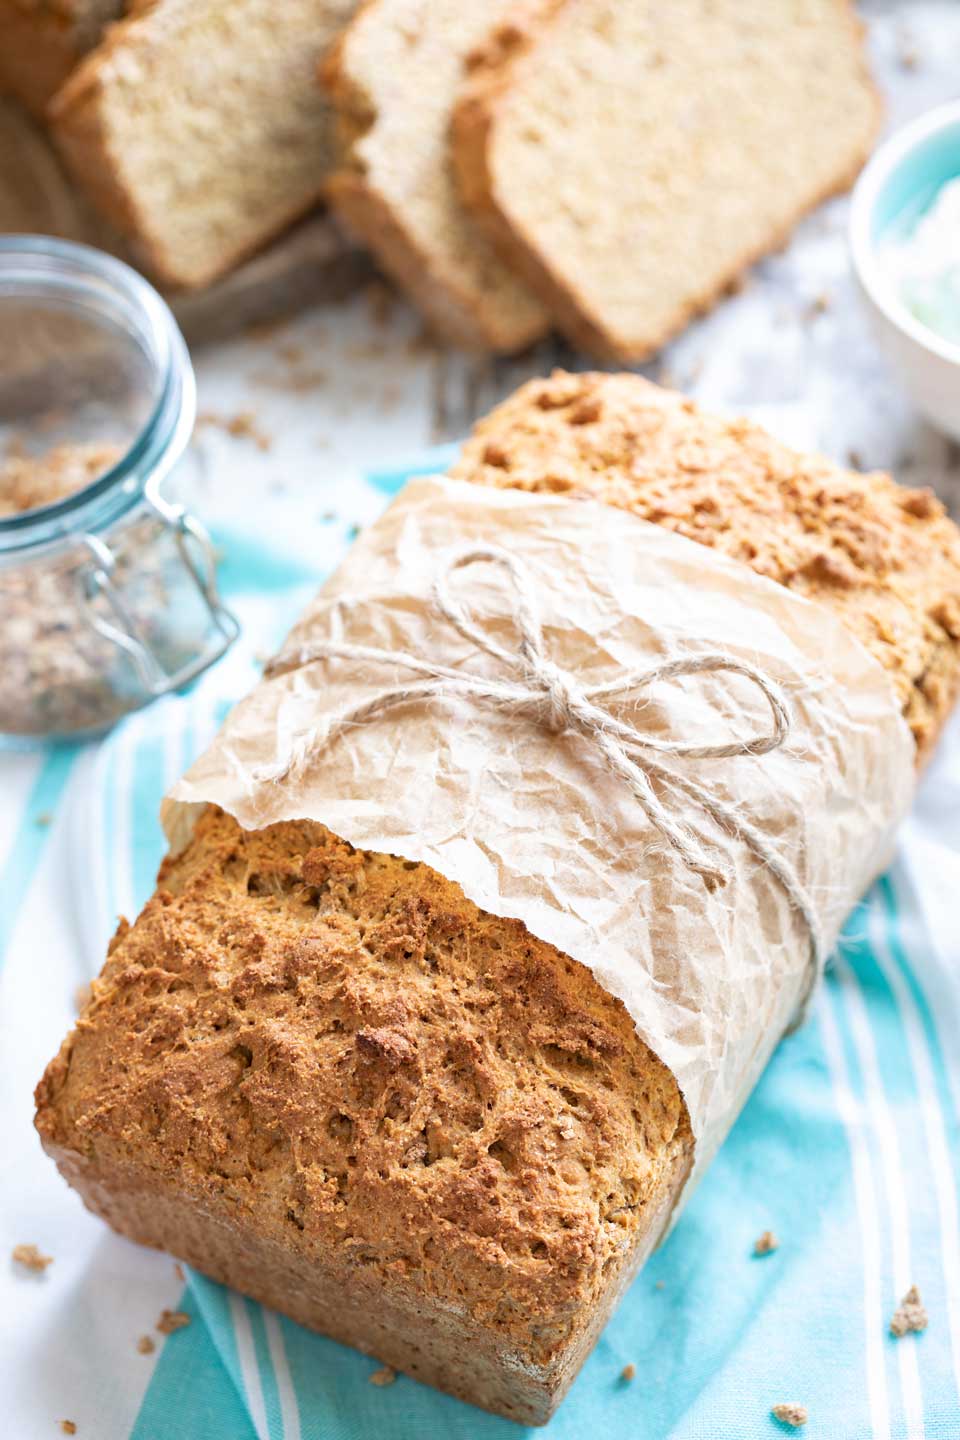
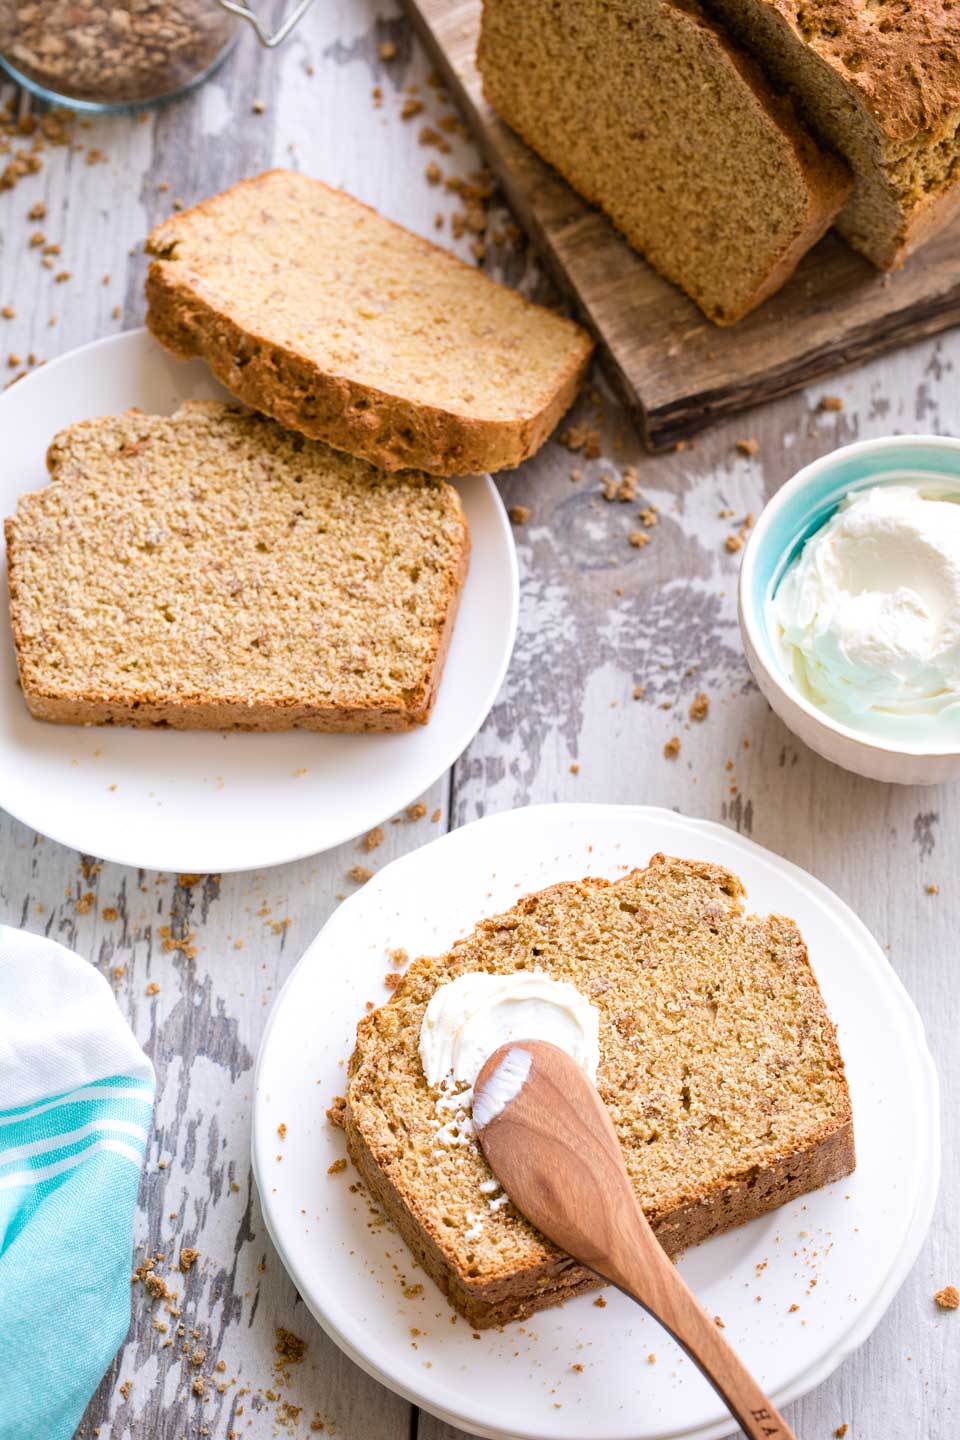
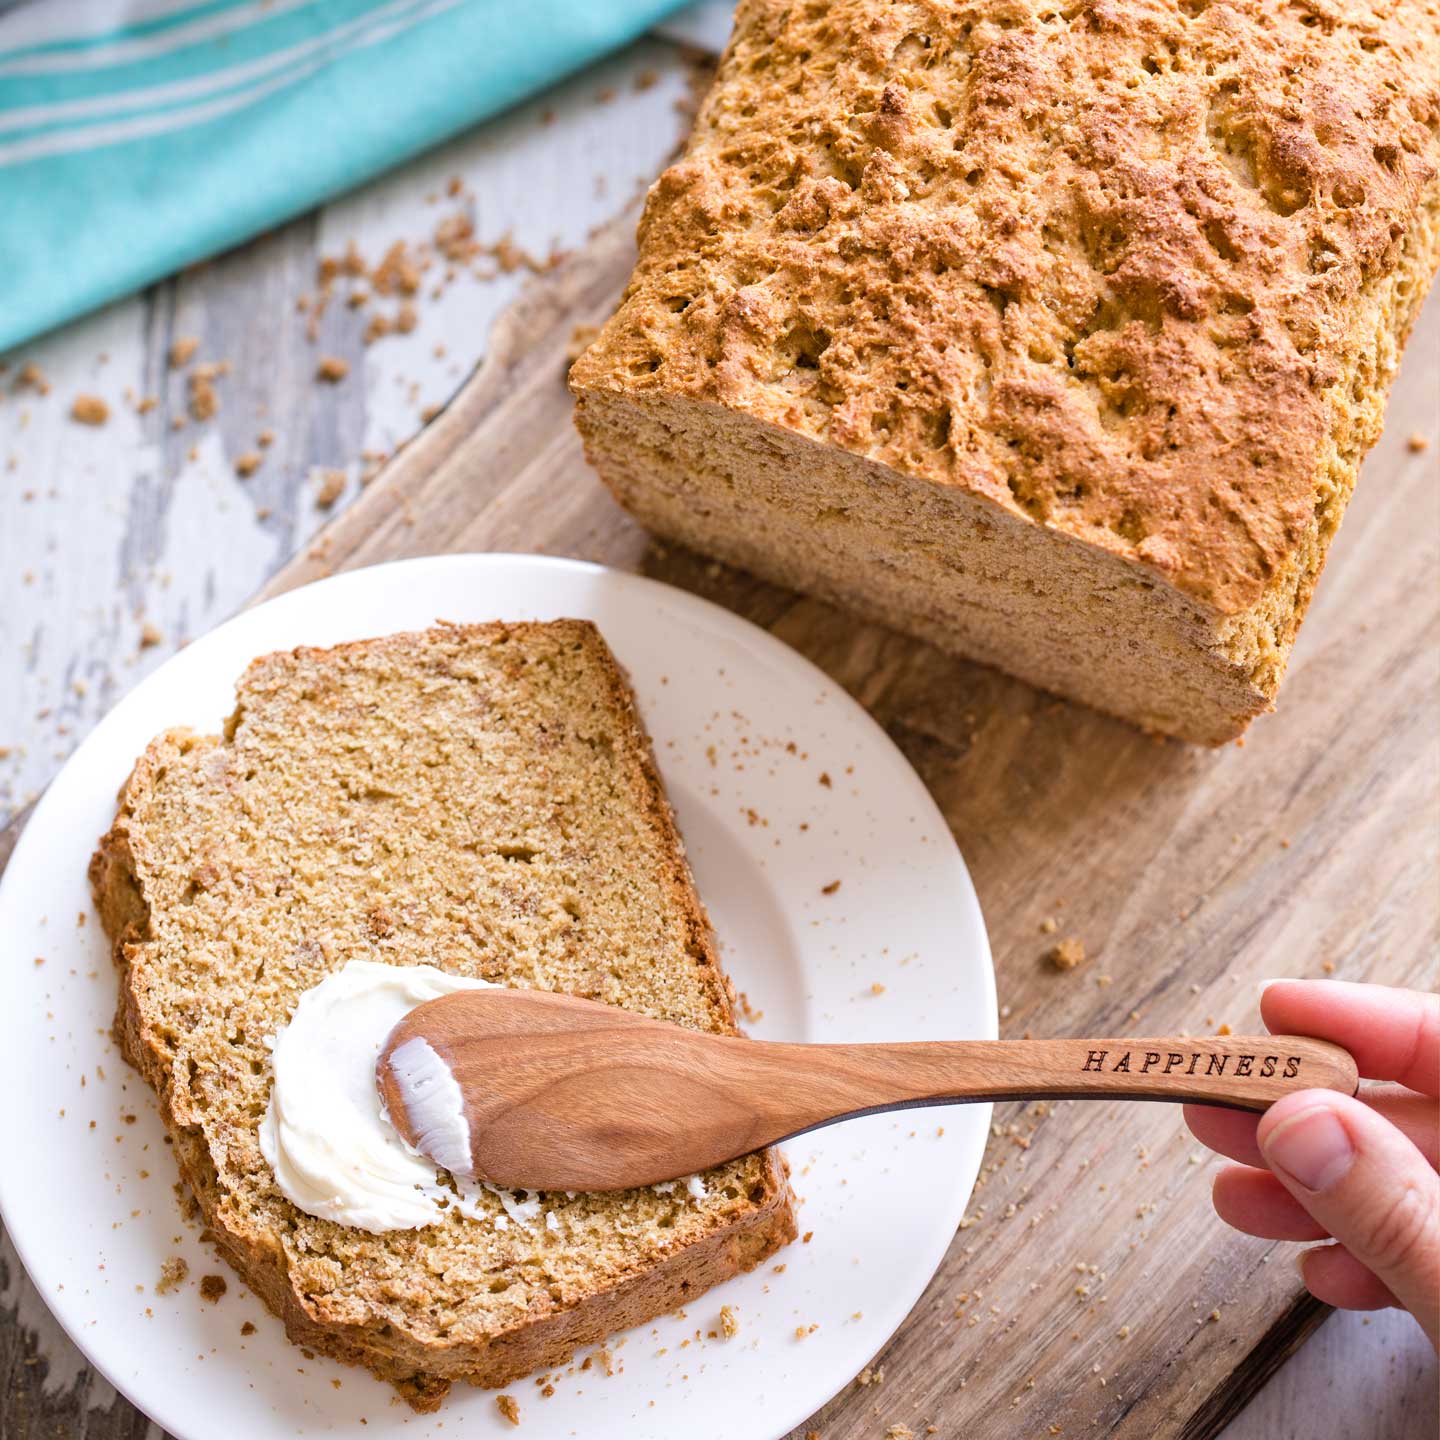
~ No yeast? No problem! Try our beloved family recipe for easy bread! My grandma’s vintage, no yeast bread dates back nearly a century. But it’s so surprisingly delicious (and nutritious) that it’s still a perfect homemade bread to whip up today! Fantastic toasted, with a slather of cream cheese or a little butter – a scrumptious breakfast bread, and also great for snacking or sliced with dinner. (Plus, it even freezes well, too)! ~
This Recipe Is: • Freezable • Make Ahead • Vegetarian •
What an unexpected delight! I discovered this – my grandma’s recipe for easy bread – tucked into her recipe box along with years and years of her other favorite dishes.
It’s fantastic …
- lightly sweet
- with a warm, nutty, homey vibe
- extra-dense but soft
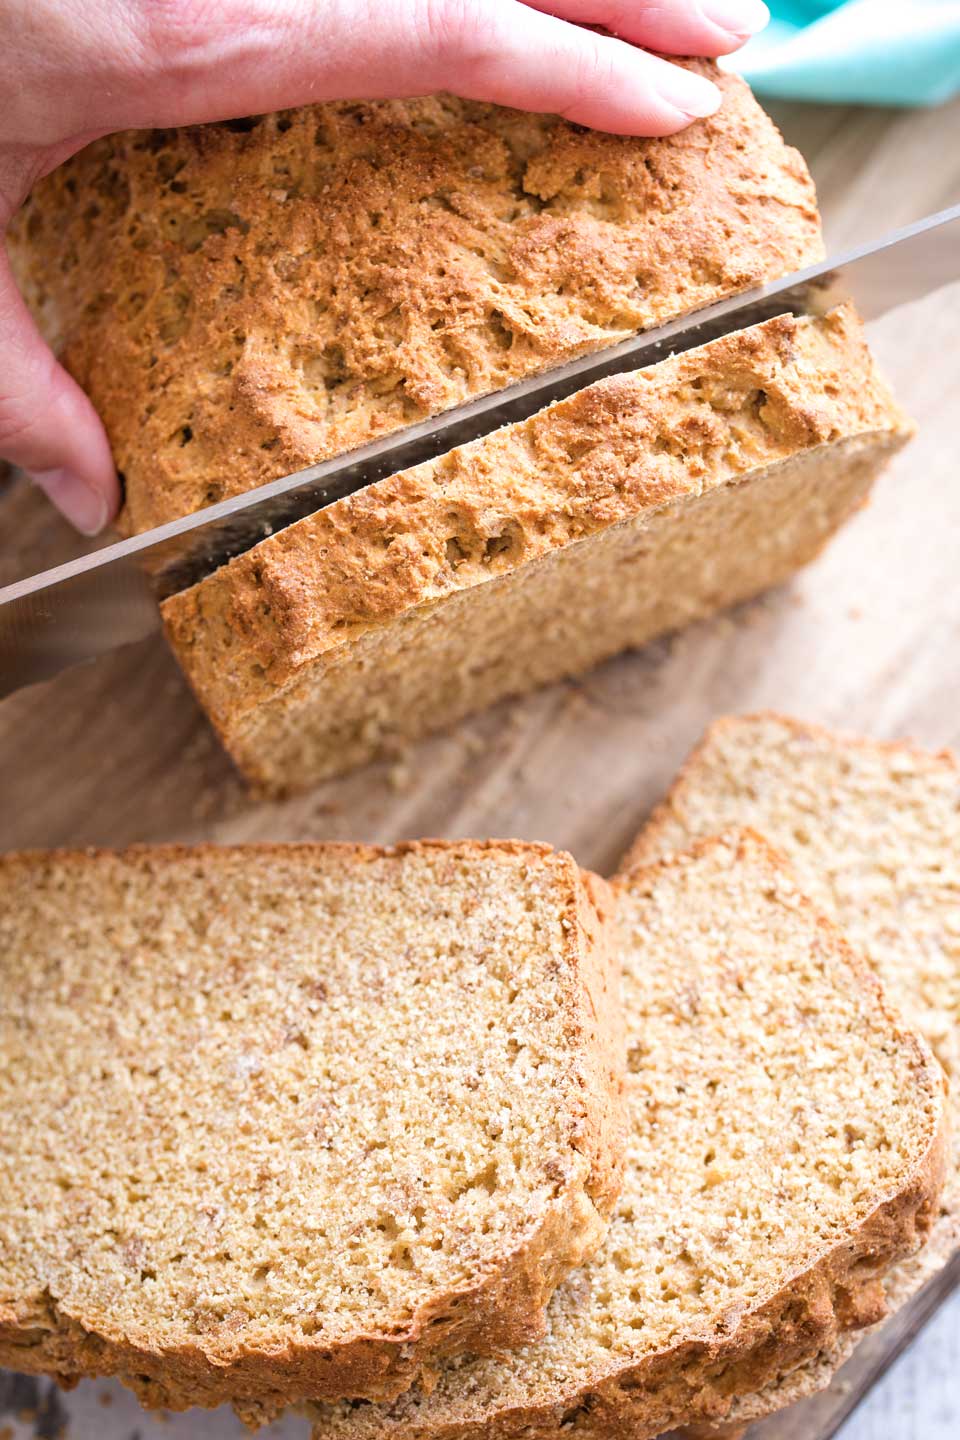
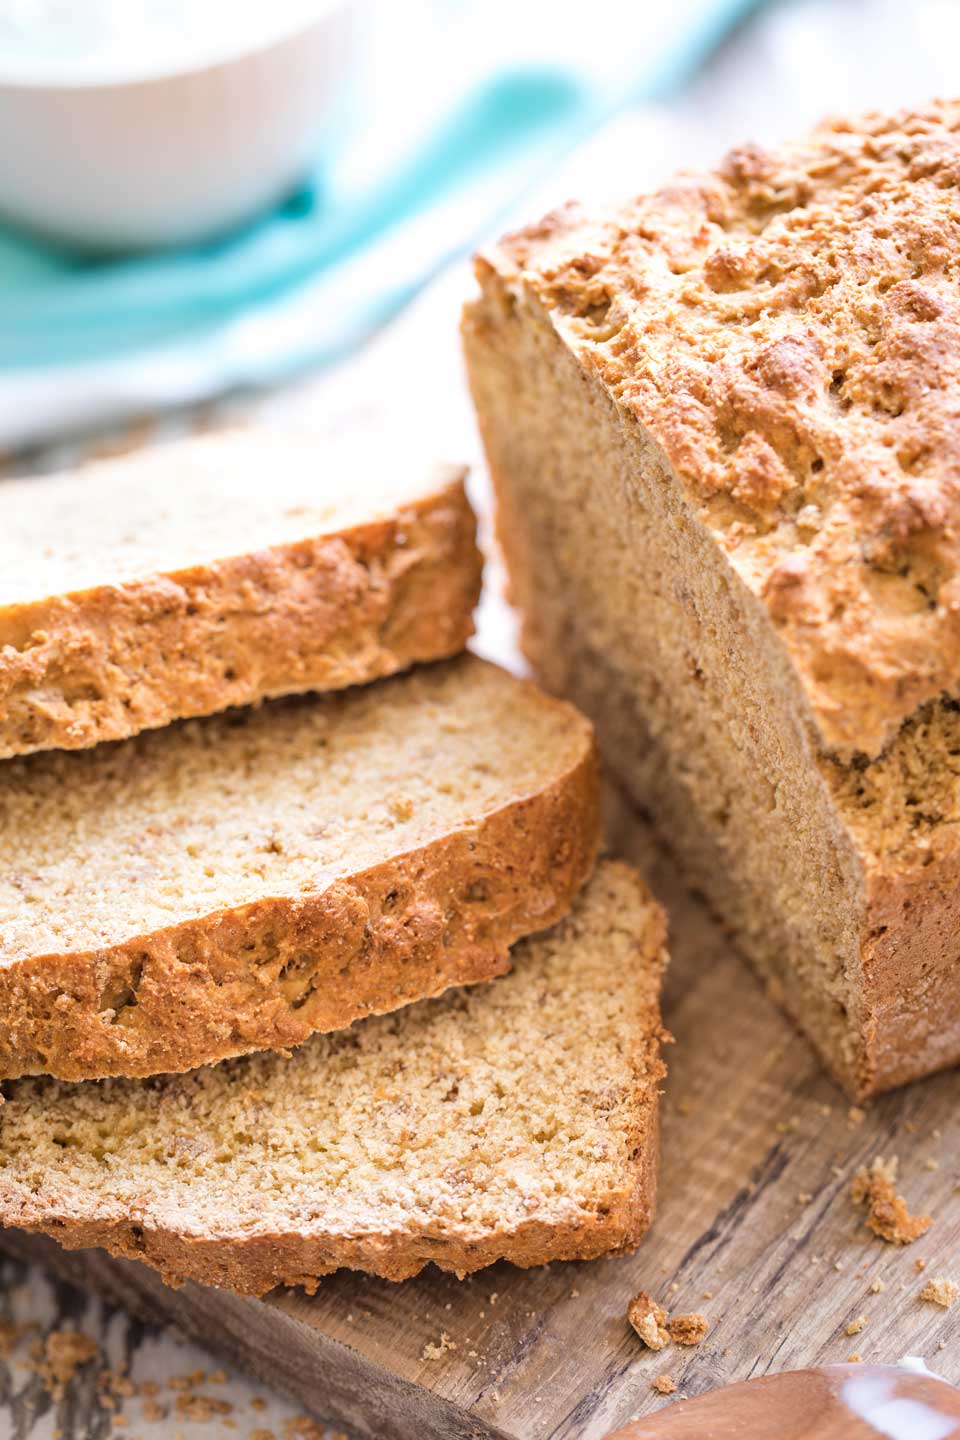
- crumbly, chewy and satisfying … with a wonderfully craggy crust!
All that yumminess isn’t the only reason we love this special homemade bread recipe, though. It’s also:
- super quick and easy to throw together
- with no yeast needed to get that beautifully risen, golden-brown top
- nutritious, too! (with plenty of whole grains and a boost of protein … more on that later …)
- and hey hey – it freezes great (so you might want to make a second loaf to stash in the freezer for later)!
But here’s the thing. I really hadn’t expected it to turn out to be so fantastic.
The Unexpected Triumph of This Bread
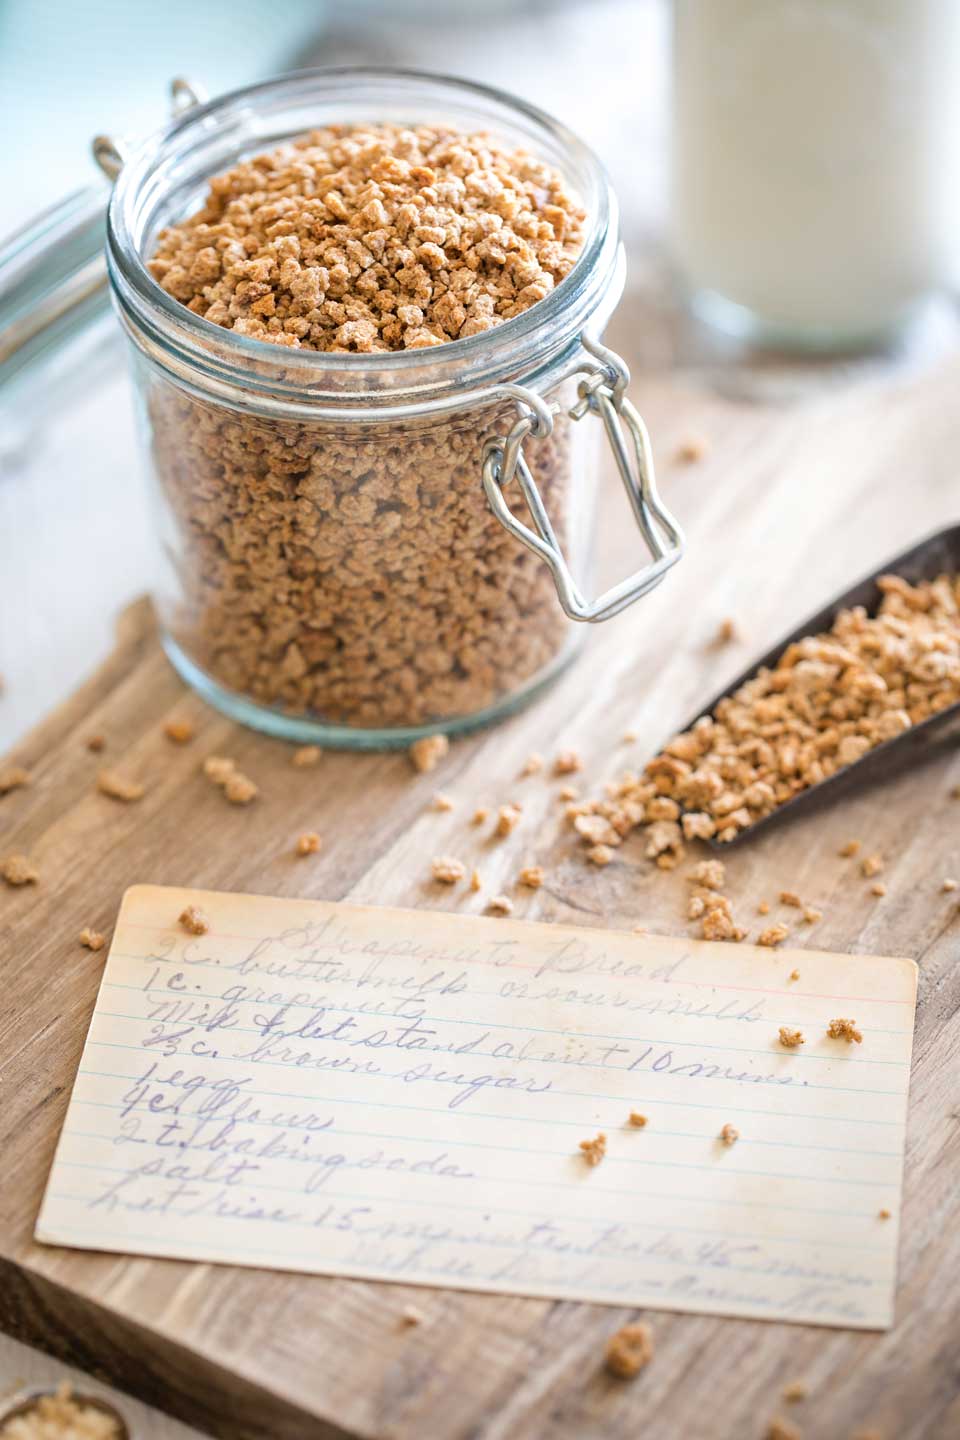
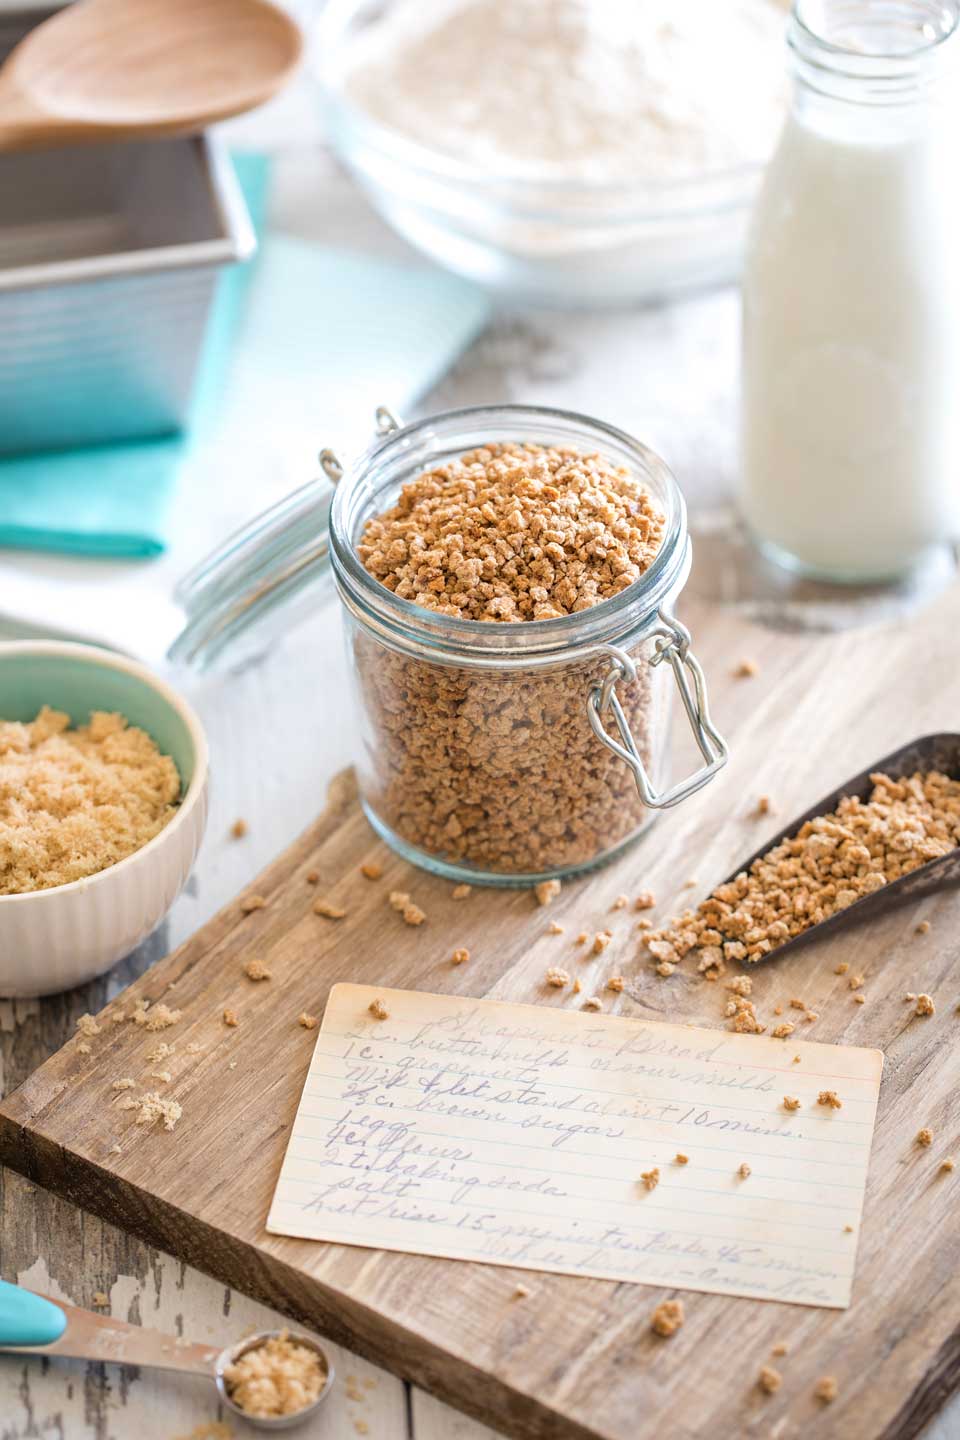
I’ll be honest. When we found the faded, yellowed recipe card for “Grapenuts Bread” tucked in my grandma’s heirloom recipe box (right along with her Date Bar recipe), I didn’t have much hope that it would be any good. None of us did.
There are a lot of wonderful things about this bread, though – and maybe the best thing of all is that it will totally surprise you. At least, it sure did surprise us!
I mean, for one thing, it didn’t really sound like it would actually work.
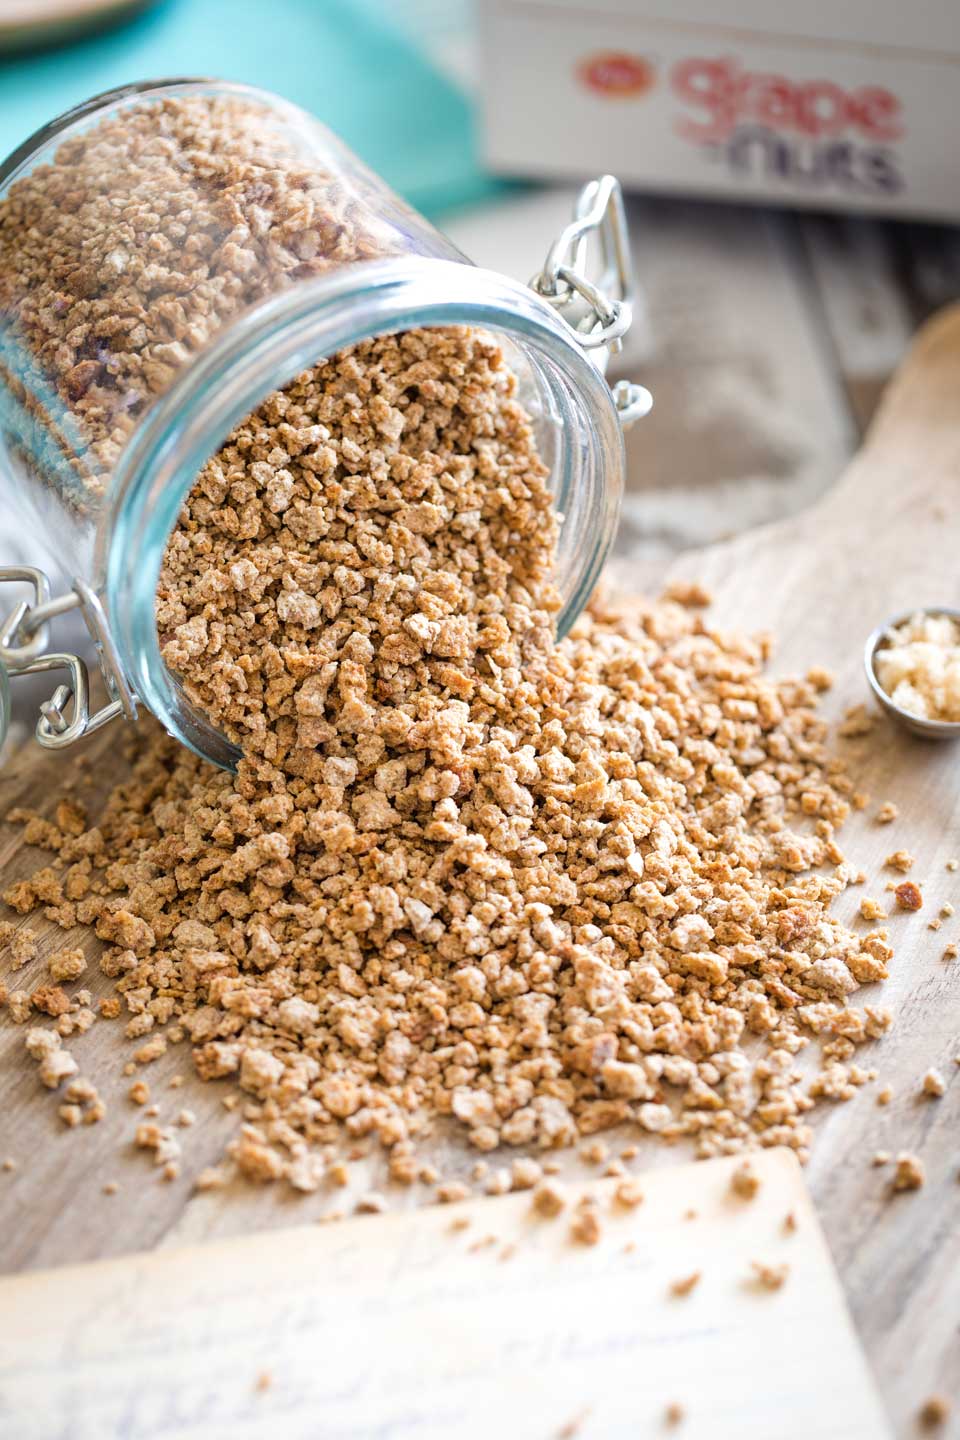
And it didn’t sound like it could possibly taste all that great, either. Seriously … Grape Nuts? Did they even still make those pebbly-looking little nuggets anymore??? (Another surprise: yes, they do.)
I was curious, though.
It was such a quirky recipe. Like one of those concoctions that wartime housewives would’ve made, cobbling together whatever they could, in order to keep their families fed. (My Grandma’s recipe for Creamed Tuna on Toast comes to mind here, too.) Historically interesting, but not something we’d be excited to eat, nearly a century later. Right?
Turns out, we were very, very wrong!
My mom joined Ty and me in my fun little experiment. This recipe was her mom’s (my grandma’s). So, we figured that, if nothing else, we’d share some special family time together, celebrating the memory of my grandma.
As we slipped the first loaf into the oven, we weren’t hopeful.
But then, the most delicious, nutty-sweet smell began to fill the house. And we started to have a little hope. Maybe … just maybe …
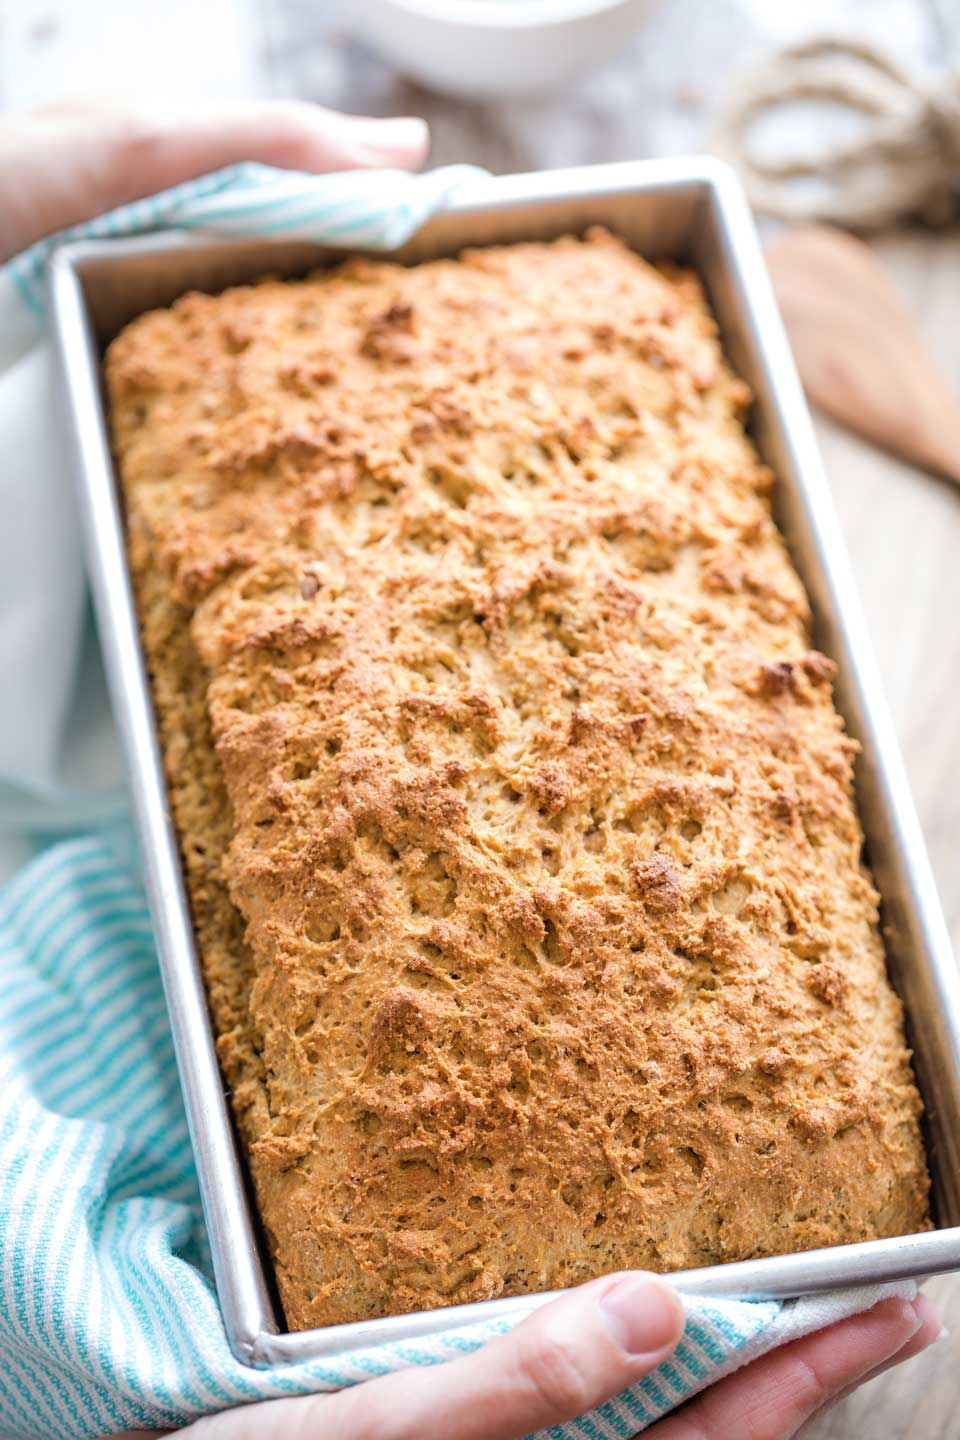
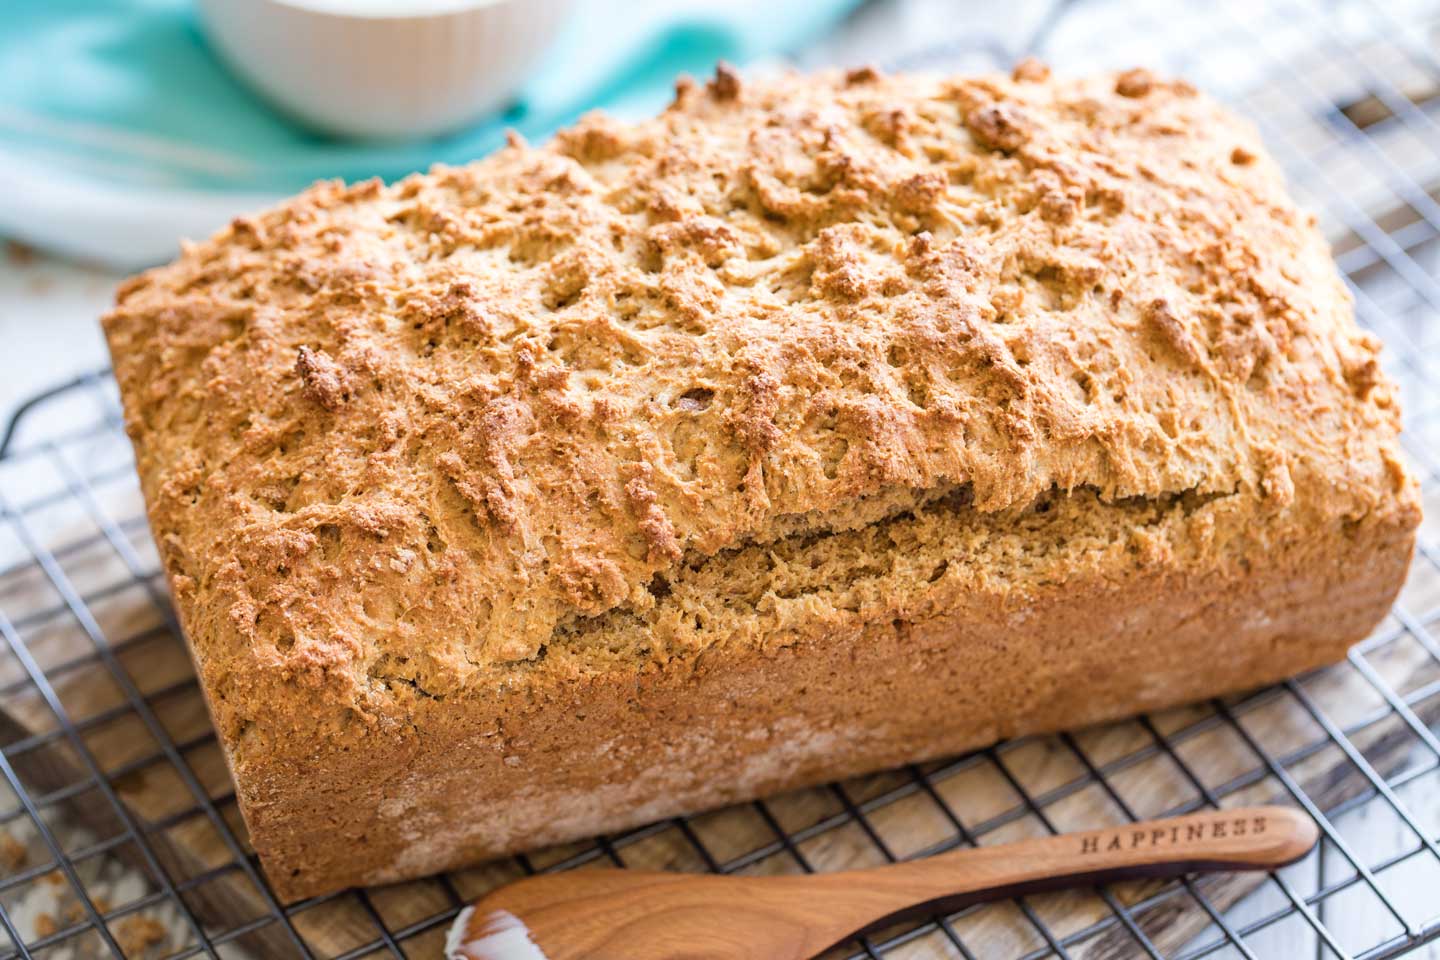
We peeked in the oven and discovered that the dense, sticky batter had actually risen. Beautifully, in fact. And the raggedy top was a lovely golden-brown.
Huh.
Finally, it was cool enough to cut. And all of our doubts vanished. This was delicious bread! Not just good, but great! And it was seriously addictive. The more we nibbled, the more we craved it.
And (surprise, yet again), those Grape-Nuts pebbles (which taste sooooo meh all on their own) actually add terrific, toasty flavor to this vintage recipe for easy bread. So much flavor, so simply. Yet, somehow, the cereal bits meld perfectly into the texture of the rest of the loaf, fading quietly away into the structure. Unexpectedly wonderful!
We couldn’t wait to bake more! (And to share this recipe with all of you, too!)
We should have known. We shouldn’t have been surprised. Grandma was right, of course.
And actually, a little research convinced me that Grape-Nuts Bread has been a long-time favorite in lots of vintage recipe boxes across the country.
A Beloved Vintage Homemade Bread
Let’s take a quick little tromp through history, shall we?
According to Wikipedia, Grape-Nuts cereal was created back in 1897 and marketed as a “natural cereal that could enhance health and vitality.” (Sidenote: I’m not sure how the marketing geniuses dreamed up the name “Grape-Nuts,” though – since this cereal has absolutely nothing to do with either nuts or grapes. Maybe the marketing budgets were pretty small back then.)
Anyway, as nearly as I can tell, a recipe for Grape-Nuts Bread first appeared on boxes of Grape-Nuts cereal in the 1940s. A clever little marketing ploy to nudge housewives into using up more Grape-Nuts cereal.
I’ve even found this photo of the original recipe from the cereal boxes.
The Grape-Nuts add such a lovely sweet, nutty flavor to this easy homemade bread … all while blending stealthily into the background. You don’t crunch on bits of Grape-Nuts, or really even notice they’re in there at all. Sly little nuggets!
Interestingly, though, the version of Grape-Nuts Bread that I found in my grandma’s old recipe collection isn’t exactly like the “original” recipe on the box of Grape-Nuts breakfast cereal.
And, I can’t find a recipe just like my grandma’s version anywhere else online, either.
My grandma’s recipe is extra-dense and extra-hearty, with more Grape-Nuts and twice the flour of many other recipes I’ve seen. And her choice of buttermilk, instead of regular milk, adds lots of wonderful, homey flavor to the deliciously subtle sweetness of the Grape-Nuts cereal.
I treasure my grandma’s version (passed to her from long-forgotten friends whose names I can barely read, scrawled at the bottom of the recipe card) even more because it’s not straight-off-the-box. It feels uniquely ours.
And you know what? Besides being unexpectedly yummy in this recipe, those strange little cereal bits actually add a lot of nutrition to this bread, too.
Are Grape Nuts Healthy?
The simple answer is: yep, those vintage Grape Nuts are healthy!
They’ve got a clean and simple ingredient list (that starts with whole grain flour).
And, they’ve got a hefty pop of fiber and protein. In fact, the cupful of Grape-Nuts we dump into this bread recipe boasts 14 grams of fiber and 12 grams of protein. Nice!
My One Small (Nutritious) Update
I had just one, tiny, health-ification upgrade to make to my grandma’s simple, already-nutritious recipe.
I like to bake mine with white whole wheat flour, instead of the all-purpose flour my grandma undoubtedly used – for added nutrition.
The very first time we baked this bread, though, we made it with regular, all-purpose flour, just as my grandma would have done it. We can’t tell a difference, either way. So why not use the more nutritious, whole grain flour, right?
As I’ve mentioned so many times before, white whole wheat flour is my go-to choice in most baking recipes these days. Like I explain (in more detail) in my recipe for Healthy Whole Wheat Banana Bread, white whole wheat flour is lighter in both taste and color than standard (browner) whole wheat flour, but they’re nutritionally equivalent. White whole wheat flour is simply made from a different type of wheat.
We find that white whole wheat flour is a fantastic substitute for all-purpose flour in many recipes, and generally goes absolutely undetected. Nobody even notices the healthier swap!
Besides swapping the flour, I didn’t change a thing from my grandma’s recipe.
Well, except that I did have to figure out the method steps.
Like so many vintage recipes, her little handwritten recipe card didn’t really reveal some key parts of the recipe’s method … like, it didn’t bother to mention a baking temperature!
I’ll share the best way we’ve mapped out to make it (after baking this easy bread recipe again and again … and again!), so you can bake up your own scrumptious, homemade loaf.
First, though, it might be worth talking for a second about the fact that part of what makes this a recipe for easy bread is simply that it’s a no yeast bread. That one little detail actually saves loads of time! And, it’s a huge bonus when you find that there’s no yeast in your pantry (or that the one lonely packet of yeast hiding in the dark back corner expired three years ago). Don’t worry! You can still make a great loaf of bread … without yeast!
How to Make Bread Without Yeast
Making homemade bread without yeast is easy nowadays, ever since products like baking powder were invented in the mid-1800s. Bakers no longer have to rely on yeast to make breads rise. Instead, we can opt for chemical leaveners like baking soda or baking powder (which contains baking soda) – instead of yeast.
These chemical leaveners create a reaction that produces carbon dioxide gas … and makes your bread rise. Yeast breads, by comparison, require yeast to ferment sugars in the bread, which creates the carbon dioxide needed to help the bread rise.
No-yeast bread recipes are often called “quick” breads, because you don’t have to let the bread proof and rise (and often, rise again) for long periods of time, the way you need to with yeast-risen breads.
When most people think of breads without yeast (aka “quick” breads), they tend to think of recipes like banana bread or zucchini bread – sweet, moist breads that border on being similar to cakes or cupcakes.
But this Grape-Nuts Bread technically falls into the “quick,” no-yeast bread category, too (even though it’s much more dense and hearty, and definitely more of a breakfast bread, with only a faint touch of sweetness). So it’s a good (and speedy!) replacement for store-bought loaves, if you don’t happen to have yeast handy.
The baking soda in our Grape-Nuts Bread is activated by the acidity of the buttermilk, and magically lifts the dense, sticky batter to delicious (golden-brown) heights as the bread bakes.
Although … yeah … we were all surprised that this actually worked with such an unusual, super-dense batter … and at how delicious and addictive the recipe turned out to be! But the point is: it works!
So let’s do this. Let’s whip you up a warm and welcoming homemade loaf of your very own! Here’a quick pictorial run-through …
How to Make This Deeee-licious No Yeast Recipe for Easy Bread
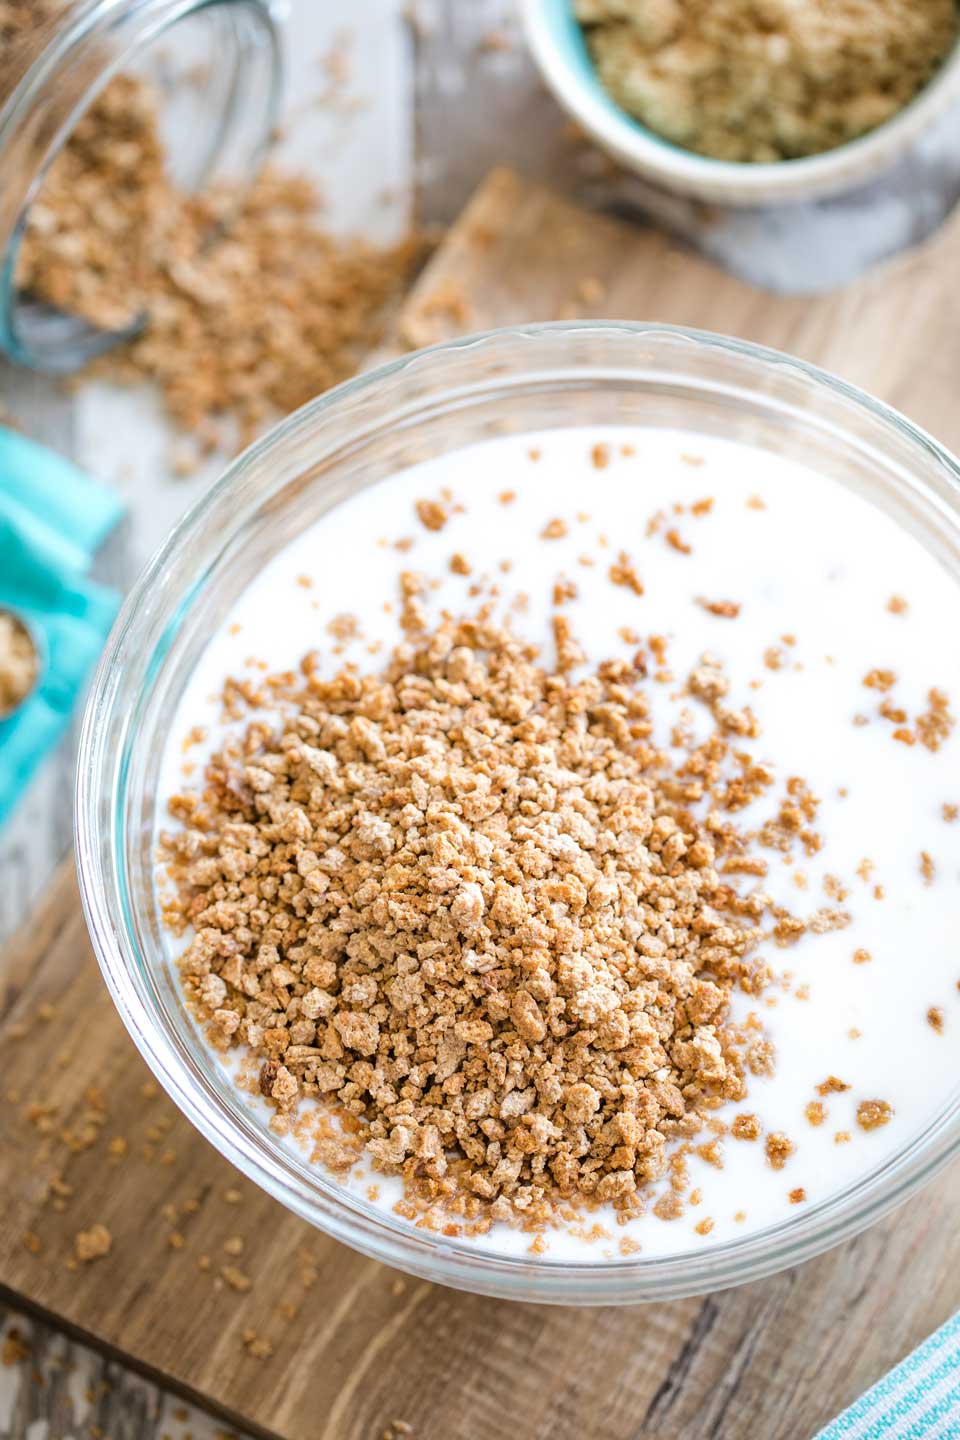
Step #1 – Start by mixing together your Grape-Nuts cereal and buttermilk.
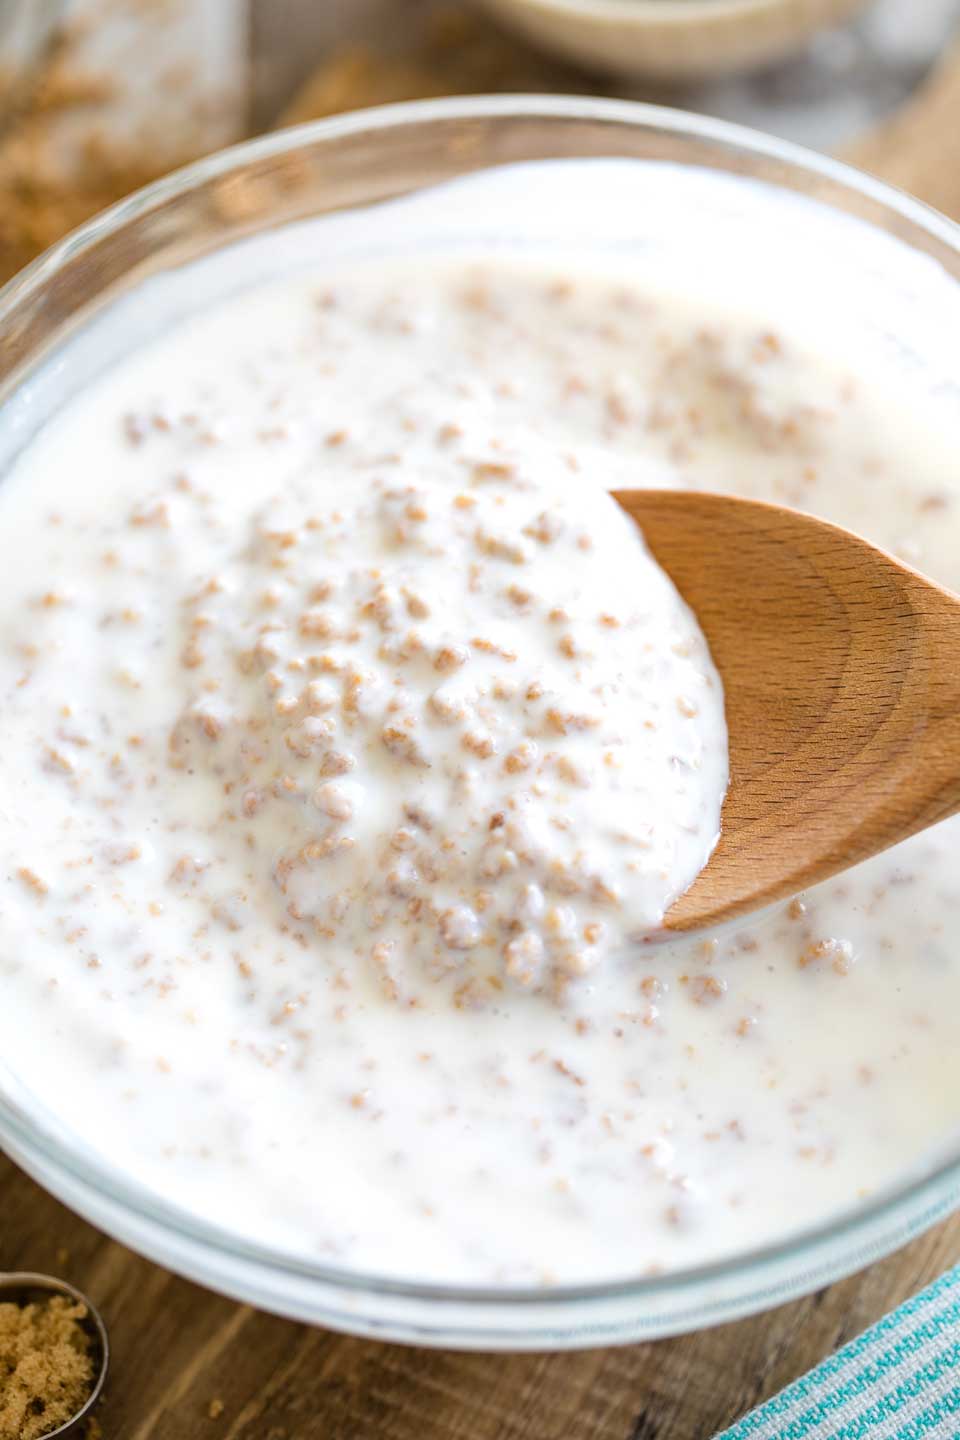
Set that aside for about 10 minutes. The mixture will thicken quite a bit as it stands, so it’ll end up looking like this …
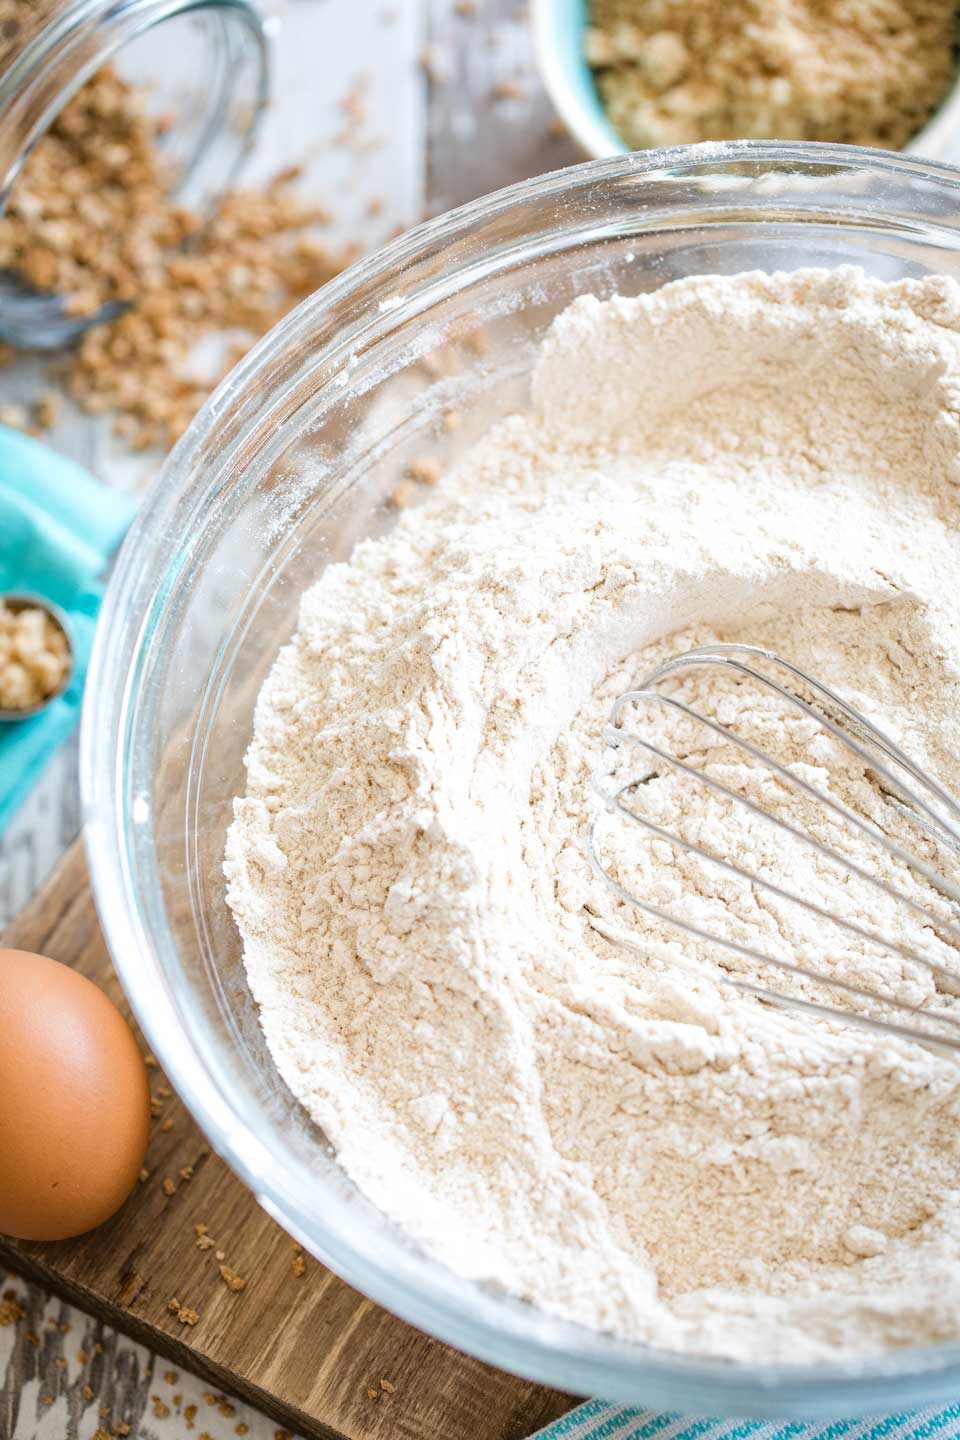
Step #2 – While you’re waiting for your Grape-Nuts and buttermilk to do their thing, you can mix together your dry ingredients (the flour, baking soda and salt).
Step #3 – Then, mix your brown sugar and a lightly beaten egg into the Grape-Nuts and buttermilk concoction … and add that bowl of wet ingredients into the flour mixture.
Super easy so far, right?
Well, here’s where it gets interesting. (But don’t worry – still easy, I promise!)
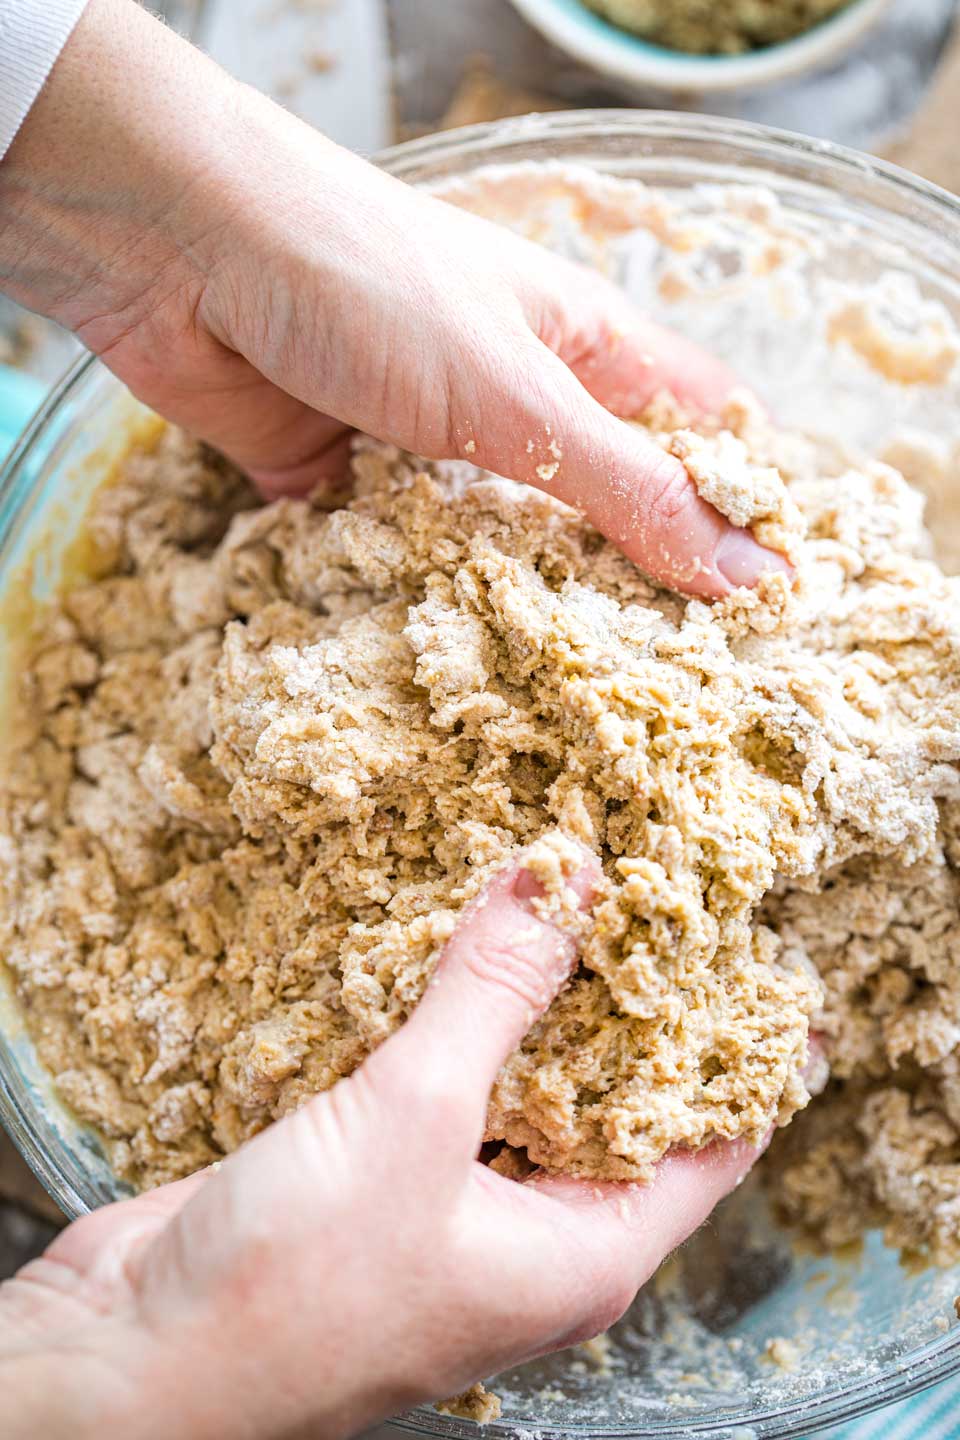
Step #4 – You can start mixing your batter all together with a spoon. But pretty soon, it’ll get impossibly thick, and it’ll seem like you still have SOOOOOO much flour that isn’t incorporated yet.
Don’t panic. (Remember, I told you this bread was surprising.) This is the point where you might feel certain the recipe won’t work … or that you’ve done something wrong (you haven’t!). The first time we made this recipe, this was for-sure the point where we figured all hope was lost. We should’ve trusted Grandma, though.
Simply put down your spoon, and plunge your hands on in there.
Keep mixing and gathering in the flour until the dough is evenly mixed together. It will be sticky and very thick.
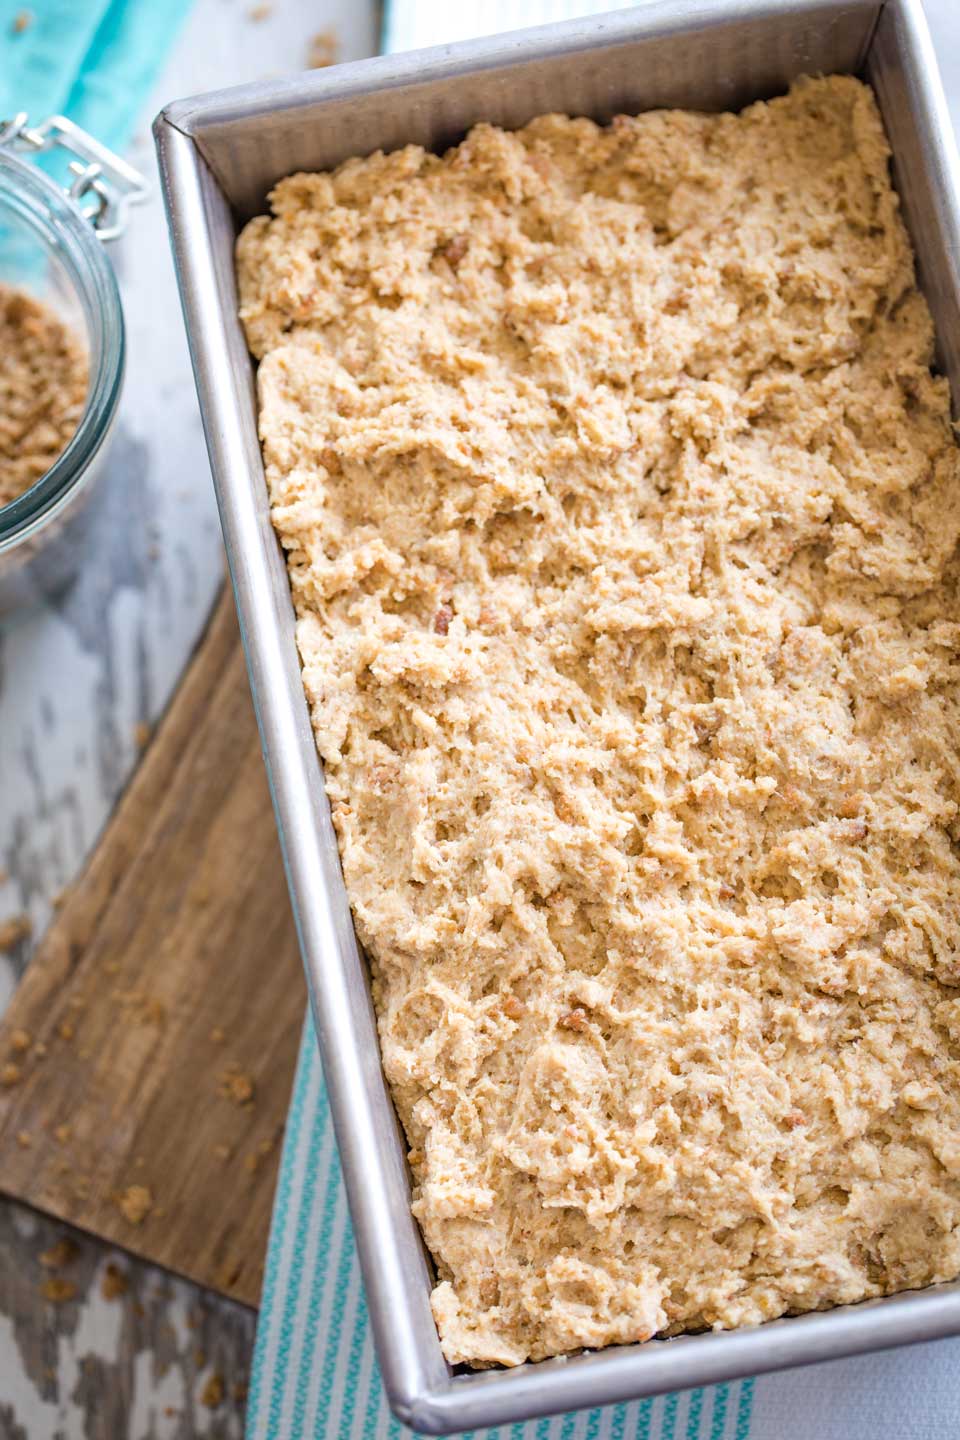
Plop that messy-looking heap of dough into your loaf pan, gently pressing it to fill the corners and smoothing over the top a bit. (Again, at this point, we were so certain this oddball dough couldn’t possibly turn into a good bread …)
Step #5 – Let it sit for about 15 minutes before you put it in the oven.
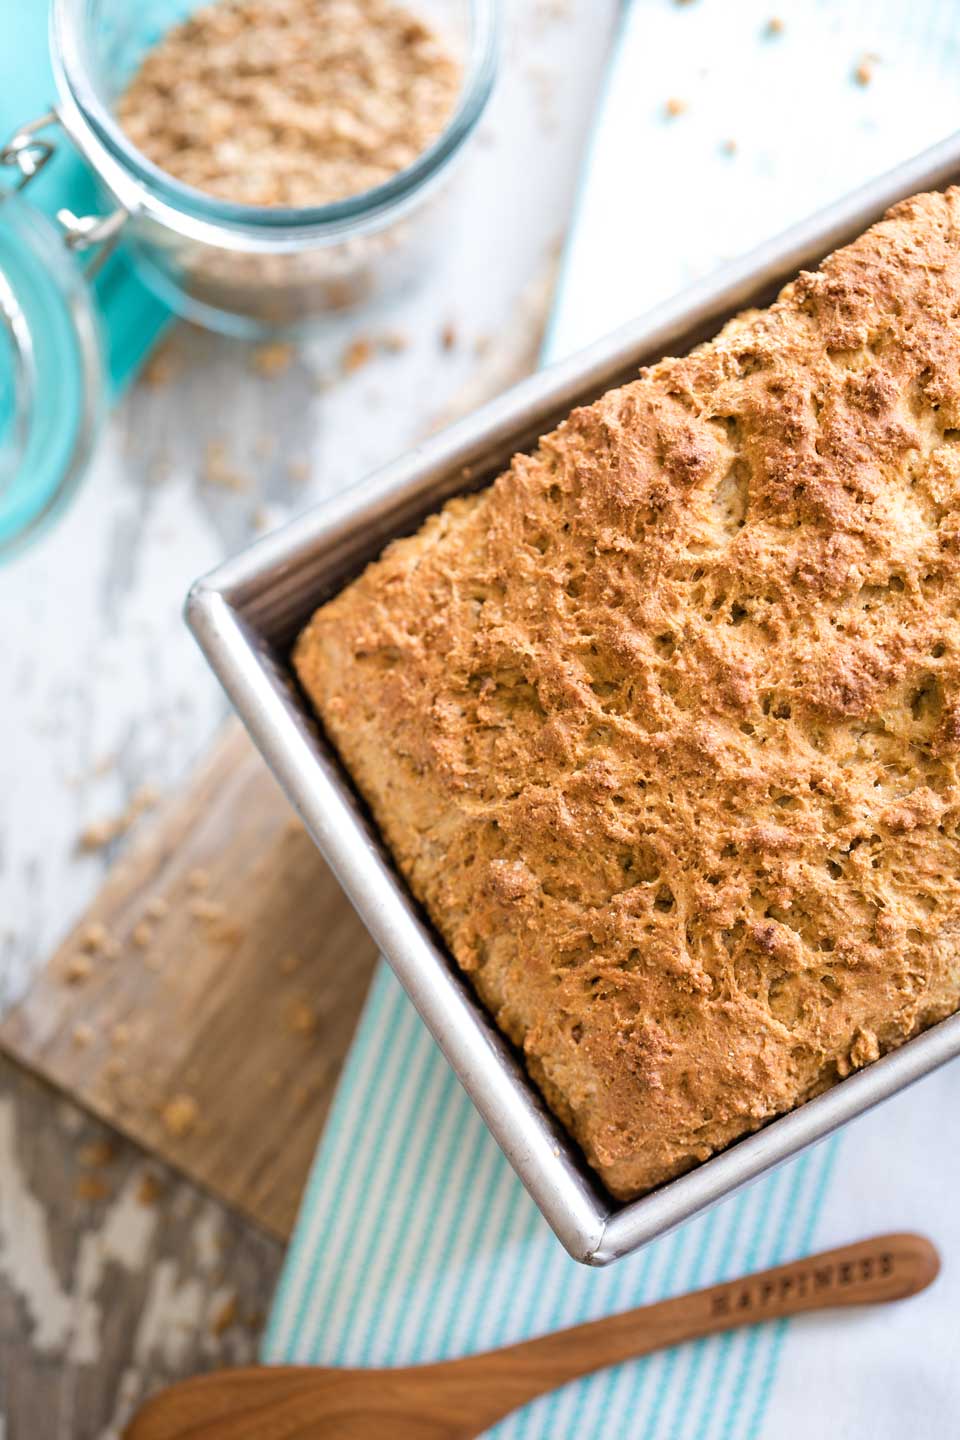
Step #6 – Then, just bake it up!
That’s it! Now relax and wait for those warm, toasty scents to begin wafting through the house. Mmmmmmm …
This bread definitely looks done – all golden-brown and gorgeous on top – before it’s actually cooked all the way through. Check it carefully with a wooden pick in the center to be sure it’s completely done inside.
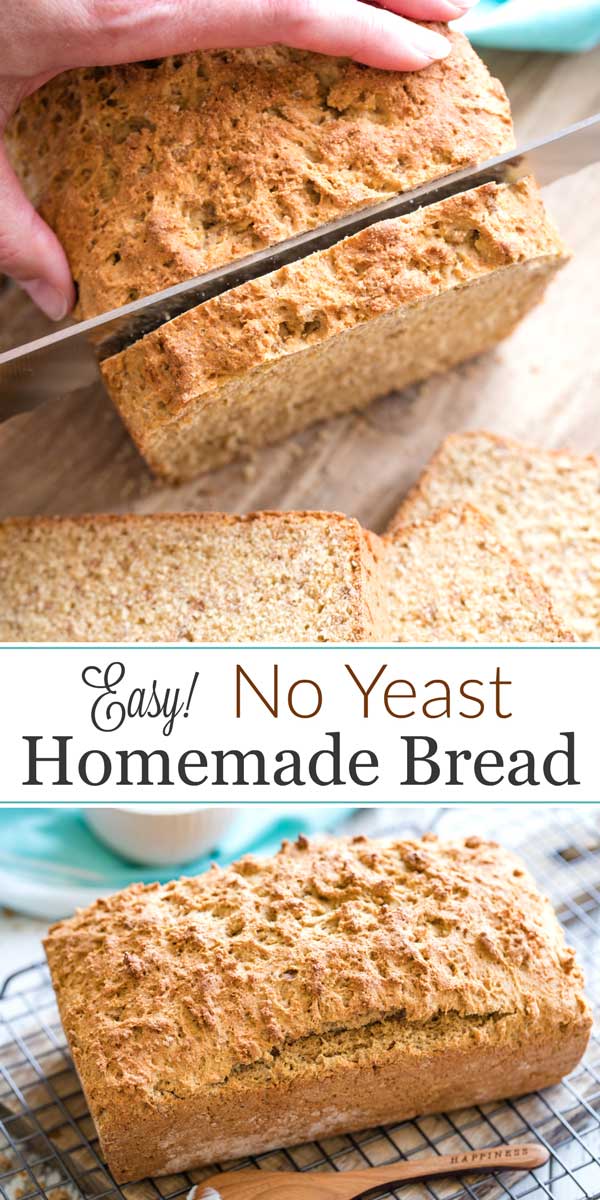
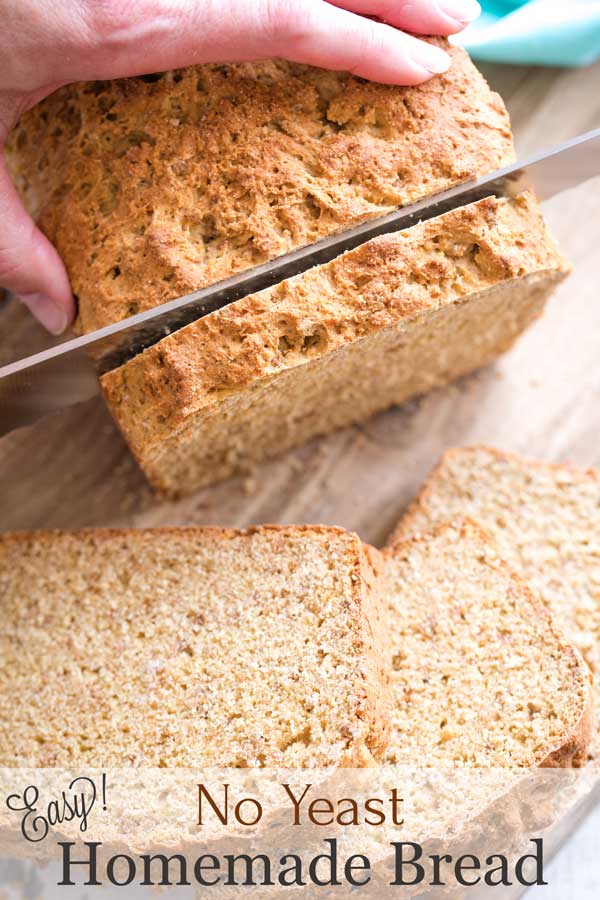
Let it cool in the pan for about 10 minutes before you dump it out onto a cooling rack. Then, try to hold back and let it cool before you cut it. Do the best you can here. It’s hard to wait. And honestly, I think this bread is at its very, very best when it’s a little warm.
Which actually brings us to my final tips …
How to Serve Your Scrumptious Homemade Bread (Hint: Think Beyond Breakfast)
This easy Grape-Nuts loaf is terrific warmed back up a little, and especially wonderful lightly toasted.
It’s incredibly filling and sustaining, and perfectly suited to be a breakfast bread. (I mean, we’re talkin’ Grape-Nuts breakfast cereal here, after all …)
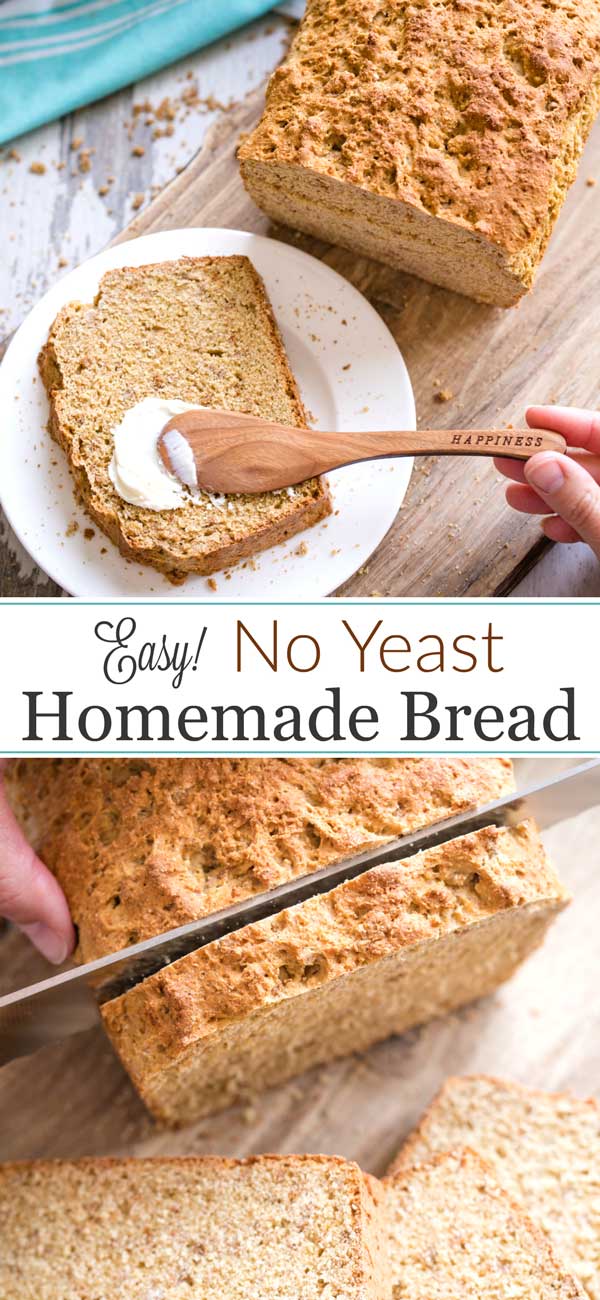
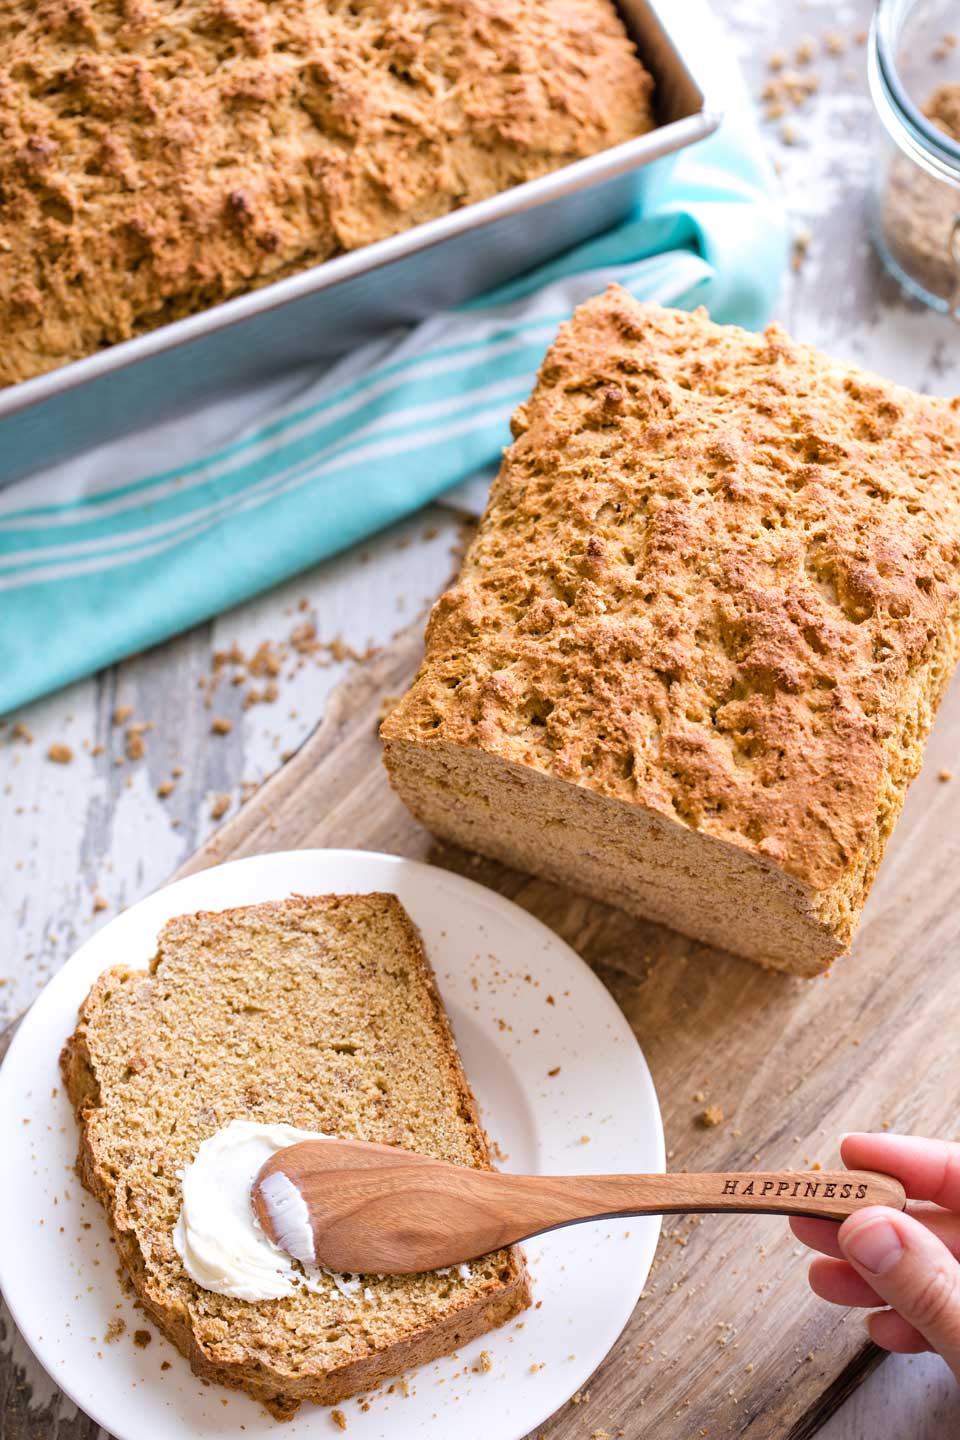
We love it slathered with a bit of reduced-fat cream cheese or even some silky, melty butter.
But, don’t save this just for breakfast! I probably don’t actually have to warn you about this – we can’t resist this bread, no matter what time of day it is, and we usually end up cutting off a little more … and a little more … every time we pass through the kitchen.
For lunch, top a thin slice with cheese (we like to pair cheddar or mozzarella with this easy bread). Slip it under the broiler … yum! … for a warm and toasty open-face grilled cheese sandwich.
Or, serve it along with dinner instead of dinner rolls. Although it has that slight, delightful sweetness, it’s not too sweet to serve alongside a meal. (Think of how a fantastic cornbread has just a little sweetness that’s a perfect complement to savory meals.)
And, all of the sudden, you’ll realize it’s gone!
And, just like us, you’ll be wishing for more.
So, despite all the pleasant surprises packed into this bread, you definitely won’t be surprised to find yourself heading back to the kitchen to bake more. (Make two this time.) Which won’t be a problem, of course, since this is definitely a recipe for EASY bread … without any yeast, even! Who knew? (Well, I guess Grandma did!)
Enjoy!
Vintage Recipe for Easy Bread
No yeast? No problem! Try our beloved recipe for easy bread! This vintage no yeast homemade bread dates back nearly a century, but it's still deliciously perfect today. With surprising ingredients (like Grape-Nuts and buttermilk) it's truly an unexpected delight!
• Freezable • Make Ahead • Vegetarian •
Ingredients
- cooking spray and flour for preparing loaf pan (if needed)
For the Batter:
- 2 cups low-fat buttermilk (shake the carton before measuring)
- 1 cup Grape-Nuts cereal
- 4 cups white whole wheat flour (can substitute all purpose flour)
- 2 teaspoons baking soda
- 1/2 teaspoon sea salt
- 2/3 cup packed brown sugar
- 1 egg, lightly beaten
Instructions
- Preheat oven to 350°F.
- Prepare a 9 x 5-inch loaf pan by spraying with cooking spray and/or lightly but thoroughly flouring the bottom (if needed – my pans don't need this). (See note below for more information on using a different pan size and adjusting baking for various types of pans.)
- In a medium bowl, combine buttermilk and Grape-Nuts cereal, stirring so Grape-Nuts are completely moistened. Set aside and let stand for about 10 minutes.
- Meanwhile, in a large bowl, mix flour, baking soda, and salt, whisking to combine thoroughly.
- After buttermilk and Grape-Nuts have been sitting for 10 minutes (the mixture will have thickened noticeably), add brown sugar and egg to buttermilk mixture, stirring to combine.
- Add the wet ingredients to the flour mixture, and combine. The dough will be very thick and somewhat sticky, and (although you can begin combining by stirring with a spoon), you will probably find it easiest to finish by kneading the mixture with your hands until all the flour is incorporated and the dough is completely combined.
- Scoop batter into the prepared loaf pan. Gently pat it into the pan's corners and smooth the top. Let stand for 15 minutes.
- Bake for 50-55 minutes, until a toothpick inserted deep into the loaf (near the center) comes out clean.
- Cool the bread in the pan for about 10 minutes, and then carefully remove from pan to finish cooling completely on a wire rack. You may find it helpful to run a thin paring knife around the edge of the loaf to help it release from the pan, if needed.
Notes
Make-Ahead and Freezing: This bread recipe freezes well. After cooling completely, wrap tightly in plastic wrap and store in the freezer in a freezer-safe zipper bag. You can also pre-slice the loaf and freeze individual portions.
Adjusting Bake Time and Temperature for Your Pans: Any quick bread recipe may need small adjustments in bake time and temperature, to account for different pan sizes and materials. If you're using a different pan size (other than the 9x5 we specify here), you may need to adjust the bake time a little. Also, if you're using a dark metal or a glass baking pan, you may additionally need to slightly change the oven temperature, possibly lowering it by about 25°F. (You can read more details about this in our post on Whole Wheat Banana Bread.) Regardless, the key to a perfectly baked loaf is to check for doneness early and often, especially until you know how a recipe will work with your equipment and your oven.
Nutrition Information:
Yield: 18 servings Serving Size: 1/2"-thick sliceAmount Per Serving: Calories: 180Total Fat: 1gSaturated Fat: 0gTrans Fat: 0gUnsaturated Fat: 1gCholesterol: 11mgSodium: 287mgCarbohydrates: 38gFiber: 4gSugar: 9gProtein: 6g
Nutrition information should be considered an estimate only, and may vary depending on your choice of ingredients or preparation. No guarantees are made regarding allergies or dietary needs. Always consult a physician or dietician for specific advice and questions.

I was really skeptical about this recipe but just had to try it. I was surprised to find that it does make incredibly wonderful bread. This recipe is a keeper!
I’m so thrilled to hear it, Elise! And I DEFINITELY understand what you mean about being skeptical! As I said in the post, we really didn’t have much hope for such an oddball recipe – how could it turn out to be delicious? And seriously … Grape-Nuts and buttermilk??? I’d never seen a recipe like this before! But I 100% agree with you – it’s wonderful! And even MORE wonderful because it’s unexpected, right?!? 😉 Thank you so much for taking a moment to let me know how much you enjoyed it – I truly appreciate it! Have a fantastic week! 😀 ~Shelley
This bread recipe was so easy and tasty I will be making it as a stand-in bread recipe ! The whole family loved it.
Hi, Heidi! I’m so glad everyone enjoyed this recipe! It’s definitely a favorite in my family, too. 😉
~Amy
Aren’t Grandmother’s recipes the best? I acquired so many from mine over the years and I am so thankful for them. I haven’t seen or heard of grape nuts in so long! Such a fun recipe!
Hi, Kacey! They are for sure!! This is definitely a surprising recipe, but trust me — the secret ingredient makes it amazing!
~Amy
This is a really easy bread recipe. I never done no yeast bread. But I will definitely do it now. Love that you used whole grain flour. So healthy and looks delicious!
Thanks so much, Natalie! I’m so excited for you to try this — I promise you’ll love it. 😉
~Amy
Yasssss!!!! There’s def a need for no-yeast bread recipes right now!!! Thanks so much for sharing :).
Hi, Daniela! I’m so happy that you found this recipe! We definitely had trouble finding yeast, as well — and this recipe sure came in handy. 😉
~Amy