How to Make Fruit Kabobs and DIY Fruit Bouquets
~ A quick, easy way to make stunning fruit bouquets or cute fruit kabobs for fun, healthy snacks! Even easier yet? A few simple fruit flowers or other pretty cut-out shapes will make any fruit platter special! ~
This Recipe Is: • Ready in 30 Minutes or Less • Make Ahead • Vegan (and Vegetarian) • Gluten Free •
Fruit kabobs are your ticket to becoming a backyard-barbecue legend.
Picture this …
You volunteer to bring one of the easiest possible dishes to your friends’ picnic: fruit.
Yet when you arrive, fruit tray in hand, the adults are wowed. The kids are delighted and immediately begin scarfing fruit instead of chips and mini cupcakes. You are a hero.
Sound impossible?
Nah. It’s so easy!
Big WOW Factor (Easily!)
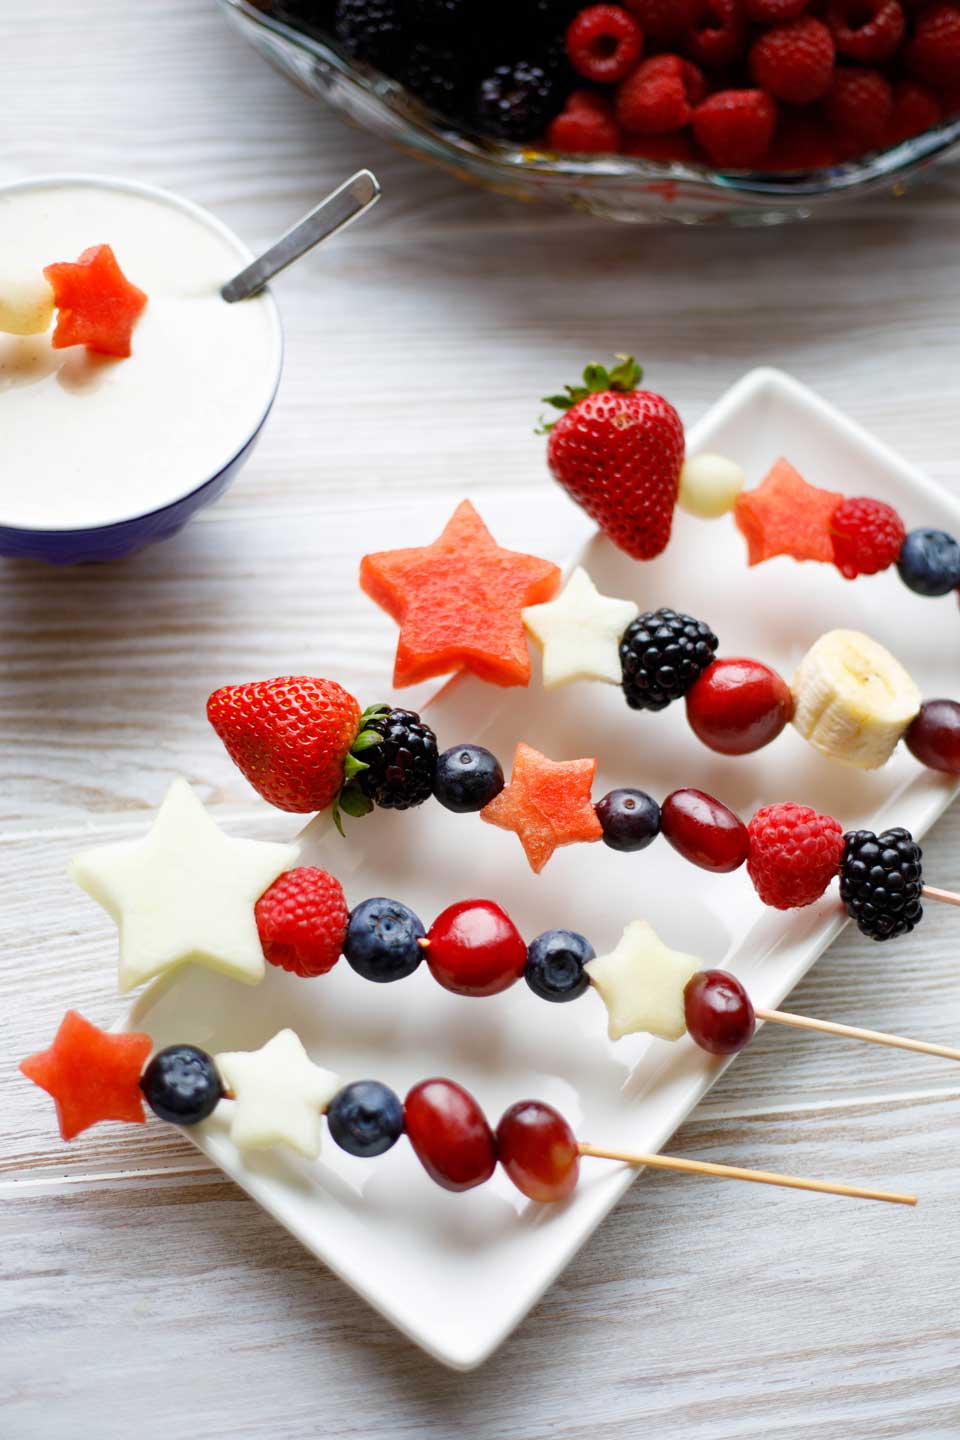
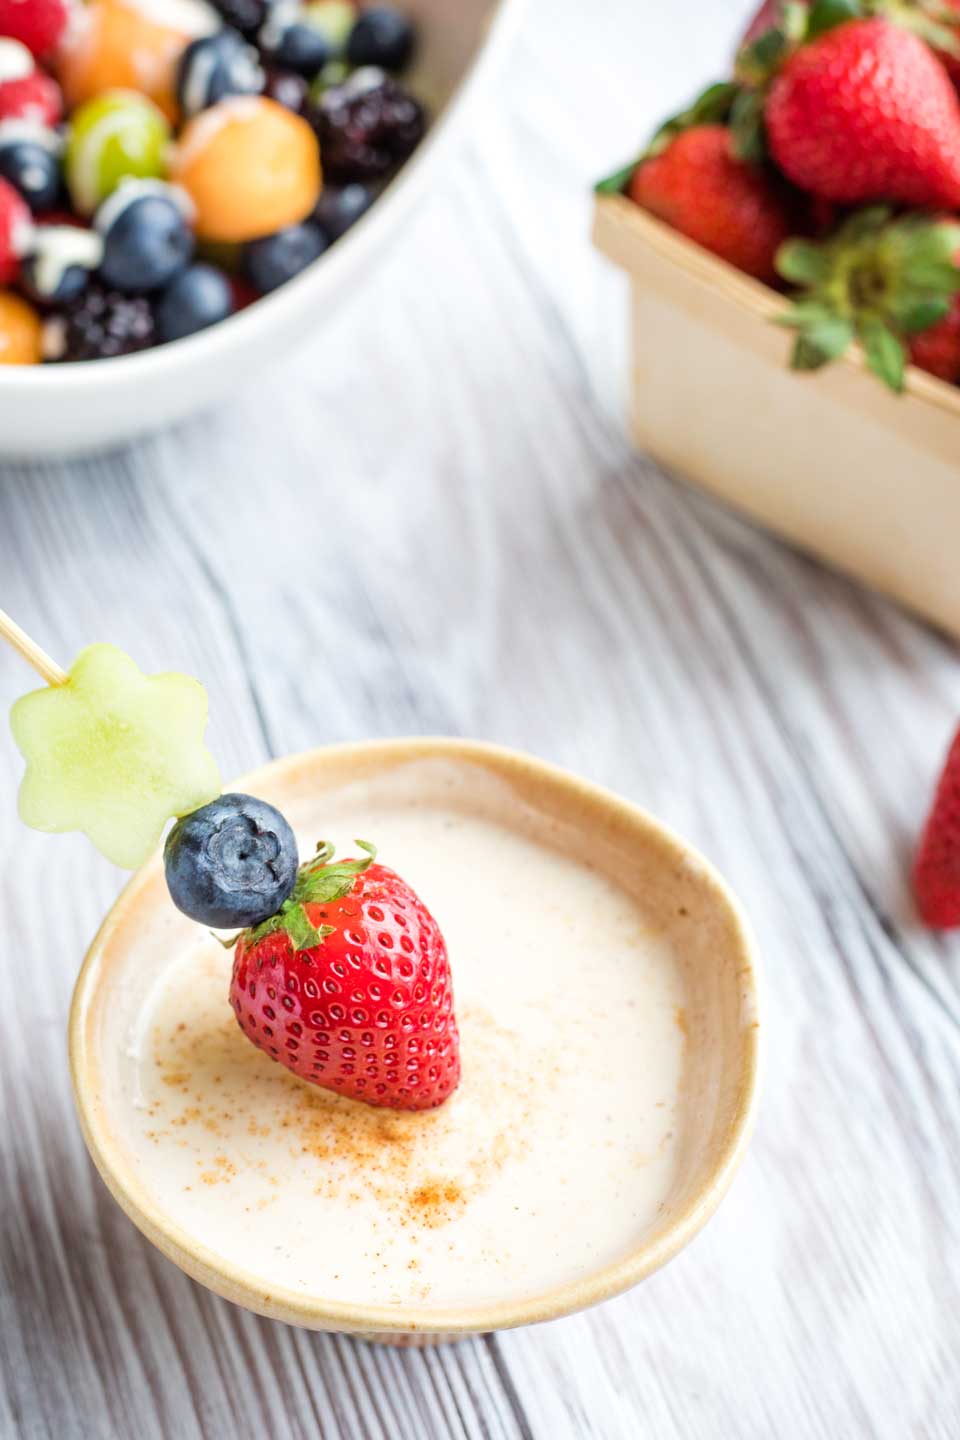
Back when we posted our Healthy Sugared-Vanilla Yogurt Fruit Dip, our photos included some fun fruit kabobs with decorative fruit flowers and other cut-out shapes. (Because that dip is the absolute perfect partner with fruit of practically any kind … hint hint).
It wasn’t just all for show, though. When we take fruit trays and that yummy fruit dip to potlucks and family parties, we actually do spend a few extra moments to create our own DIY fruit bouquets and cut-outs. You know, just to fancy ’em up a bit.
It’s so worth it!
Through the years, we’ve always been surprised at how many ooohs and aaahs this simple strategy can net. We’re also consistently surprised at how many people wonder if we actually did it ourselves.
Hmmmmm … something so simple that can turn humble fruit into a work of art?
You’ve gotta try this!
What You’ll Need
As you’ll read below, there are different variations of exactly how to make these, but basically what you’ll need are:
- A few of those bamboo kabob skewers you can purchase for just a buck or two at pretty much any supermarket.
- Some cookie cutters in fun shapes like stars and flowers (if you want to be really fancy!)
- And a small vase, or something like an apple, to serve as a base (if you’re turning your kabobs into a full bouquet)
- Oh … and fruit, of course! A wide variety of vibrantly colorful fruit! Whatever you like or whatever looks great at the market. (For the ultimate fruit kabobs, we recommend that you buy a melon or two in order to make adorable cut-outs.)
How to Assemble Your Fruit Kabobs
Super-Easy, Fastest Option
The easiest-ever fruit kabobs don’t actually require any cookie cutters at all.
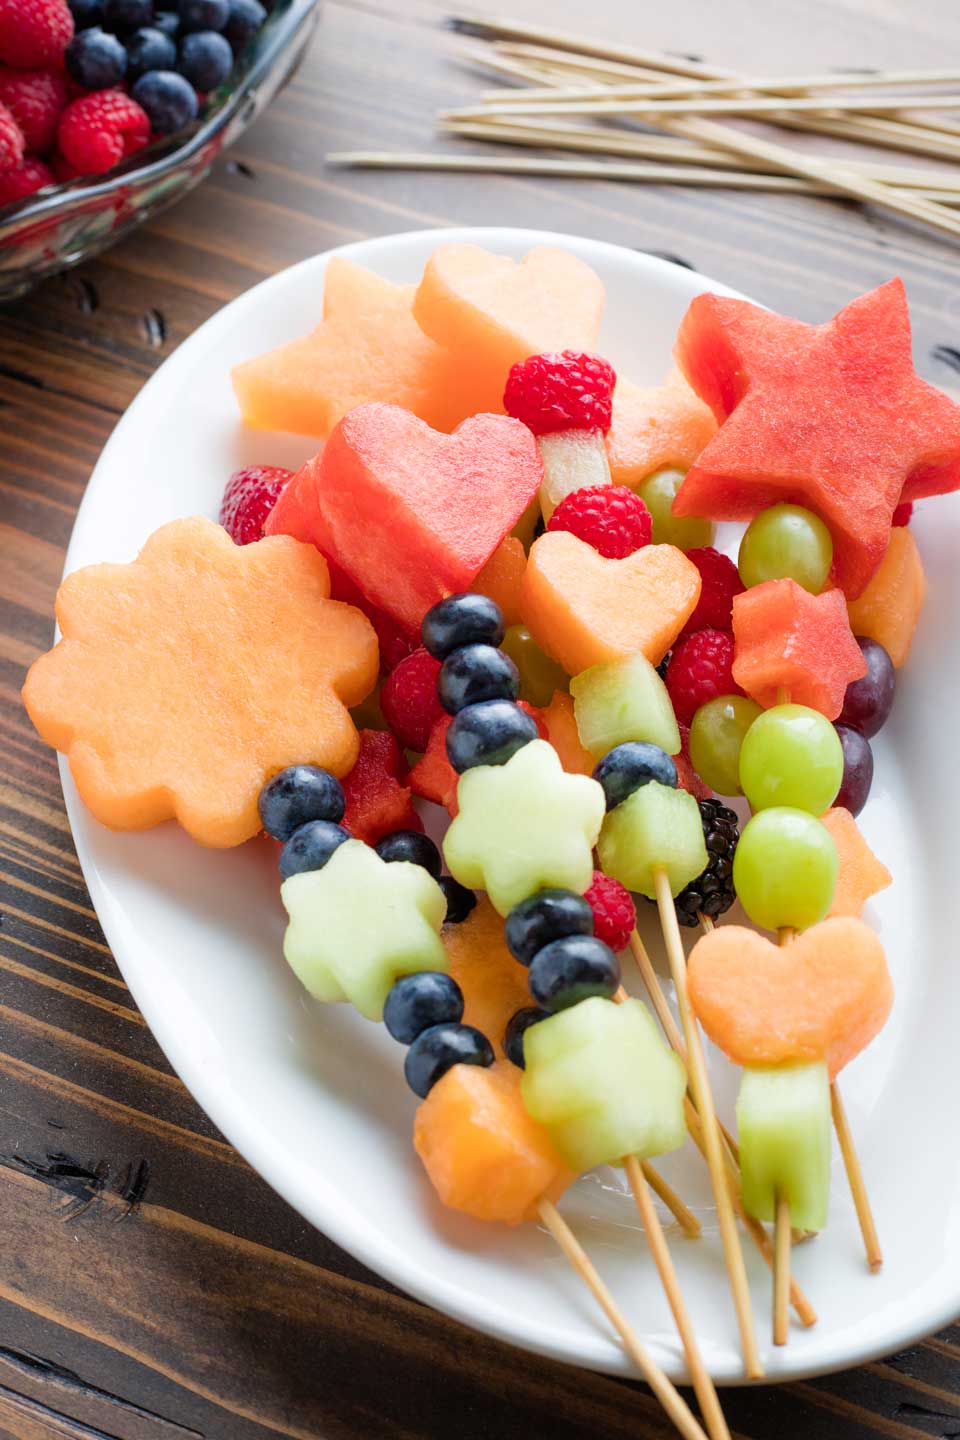
Just thread a variety of fruit onto the skewers. You can use whole berries or chop things like melons, peaches and bananas into chunks.
Done! So simple.
Adding Cookie-Cutter Shapes
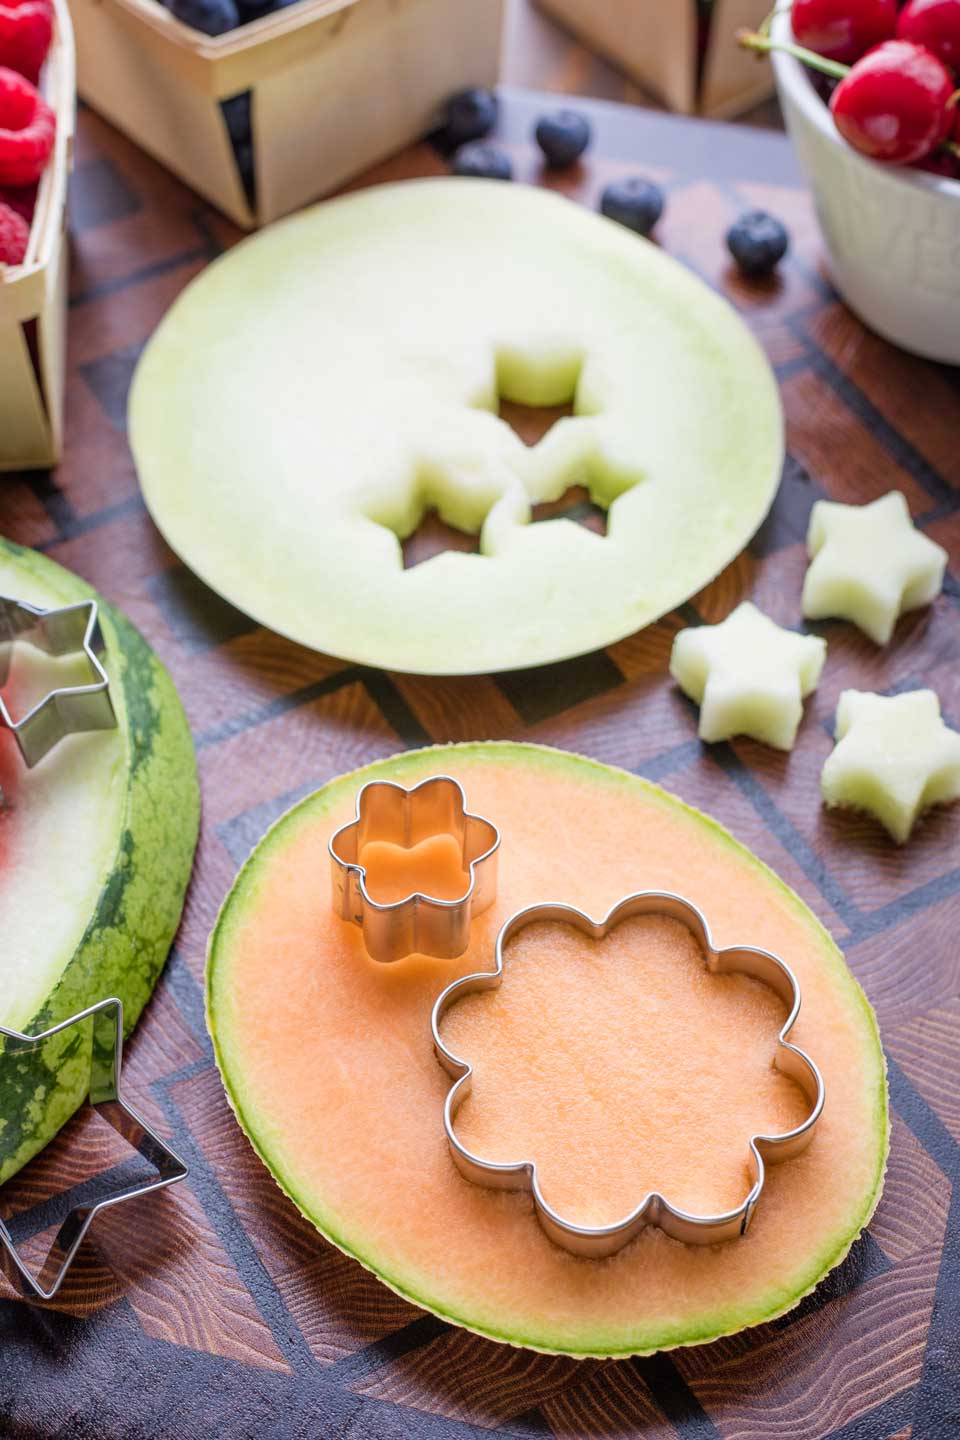
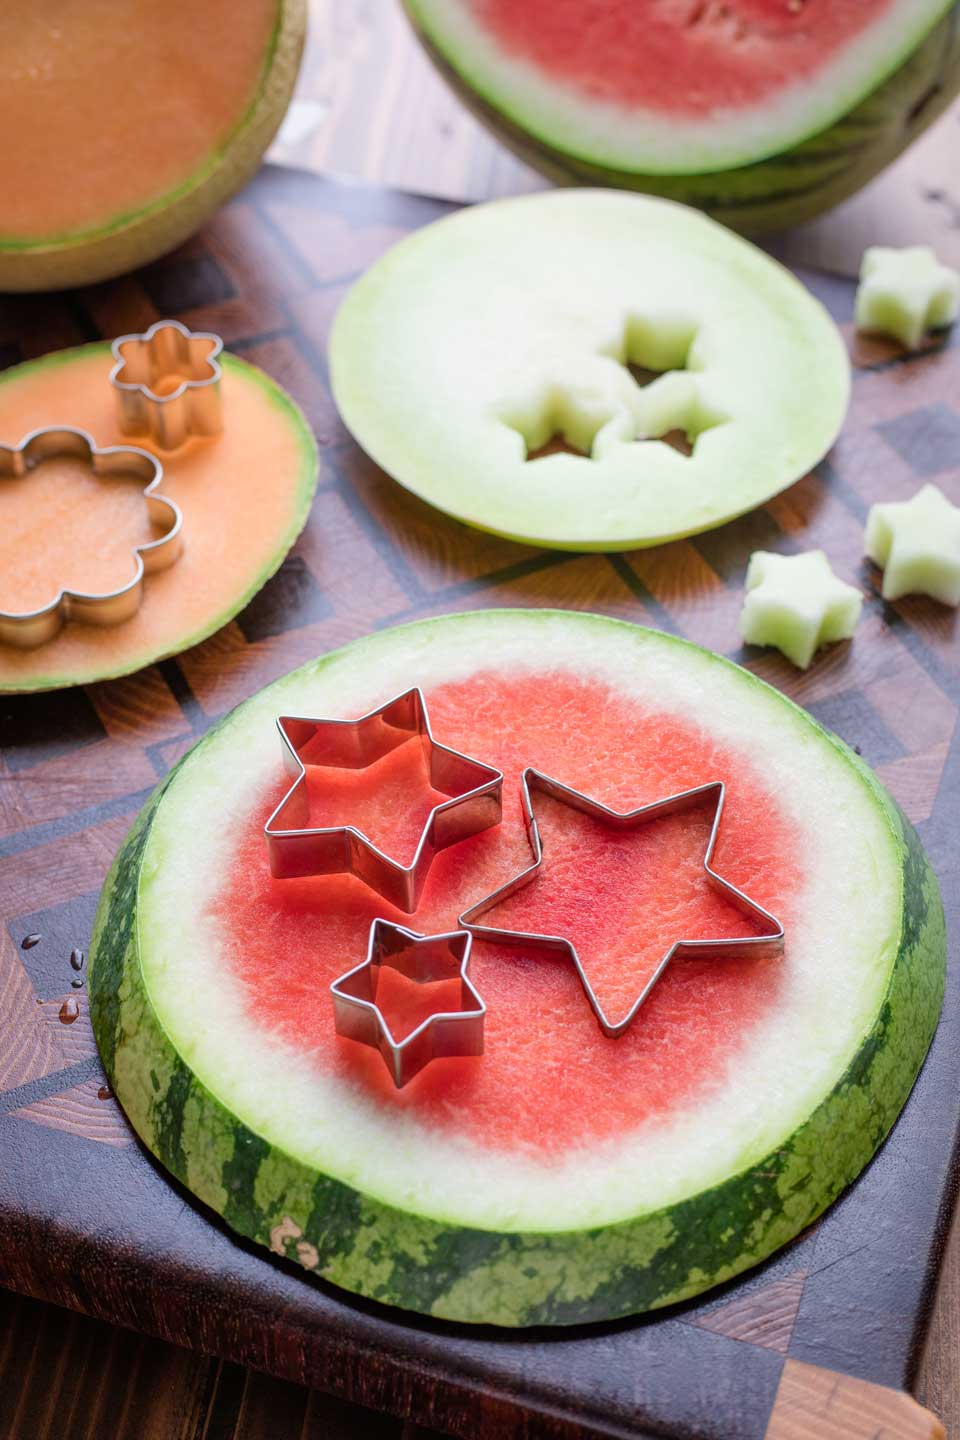
For a little extra panache, cut your melon into slices, just slightly thinner than the depth of your cookie cutters.
The goal is to make sure your cutters will easily be able to cut all the way through the melon. We find that about 1/2″ is usually a pretty good thickness.
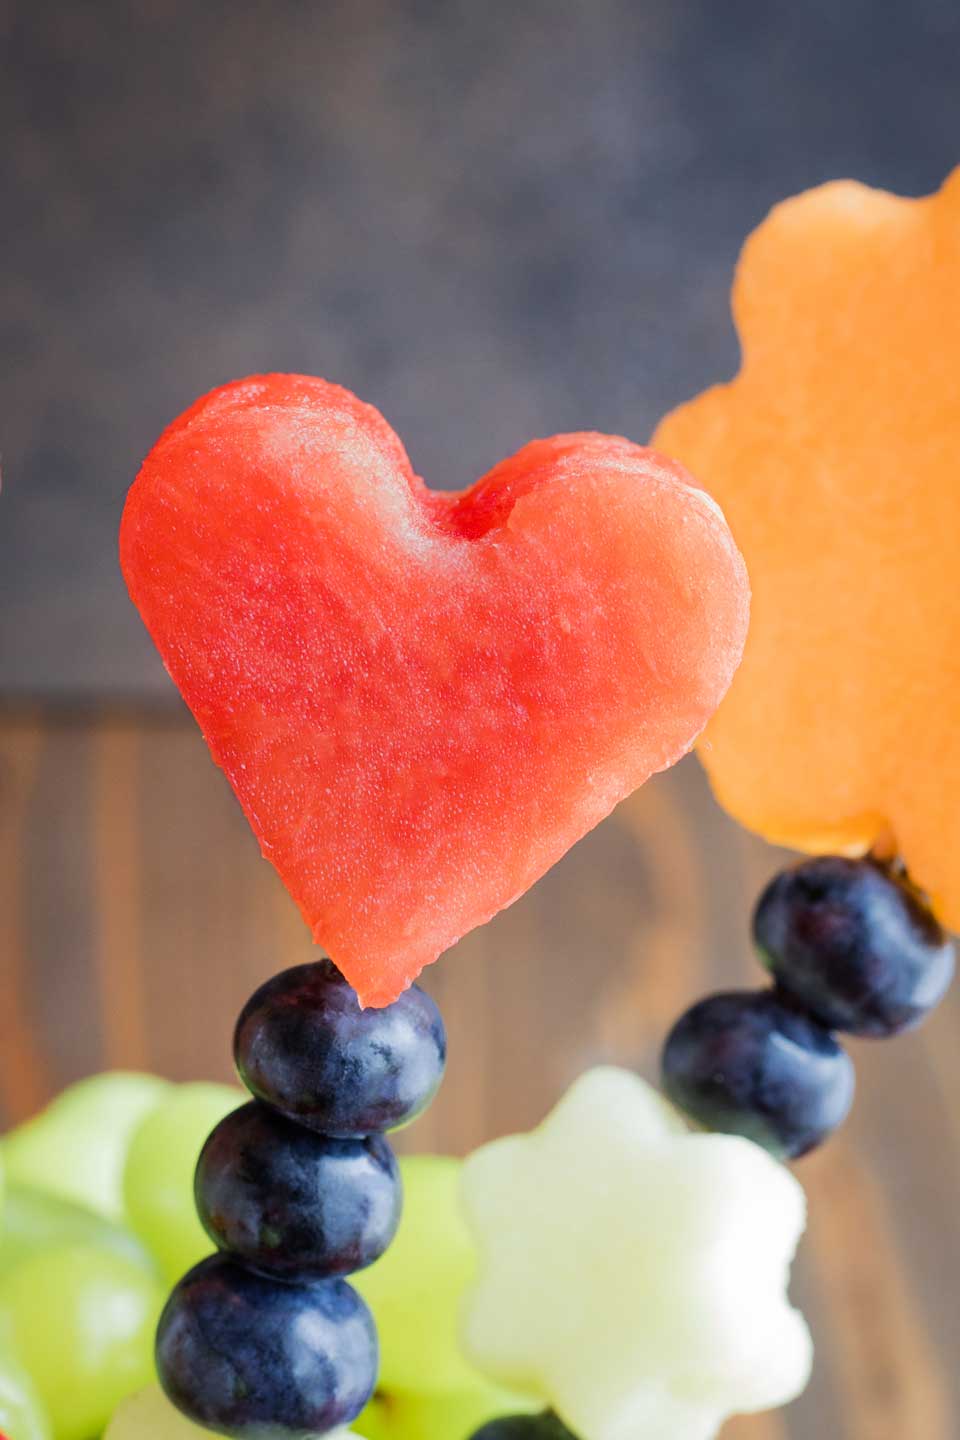
Then, cut out your fun shapes and add those to your skewers, along with your other fruit. Alternate colors and shapes to make each one unique!
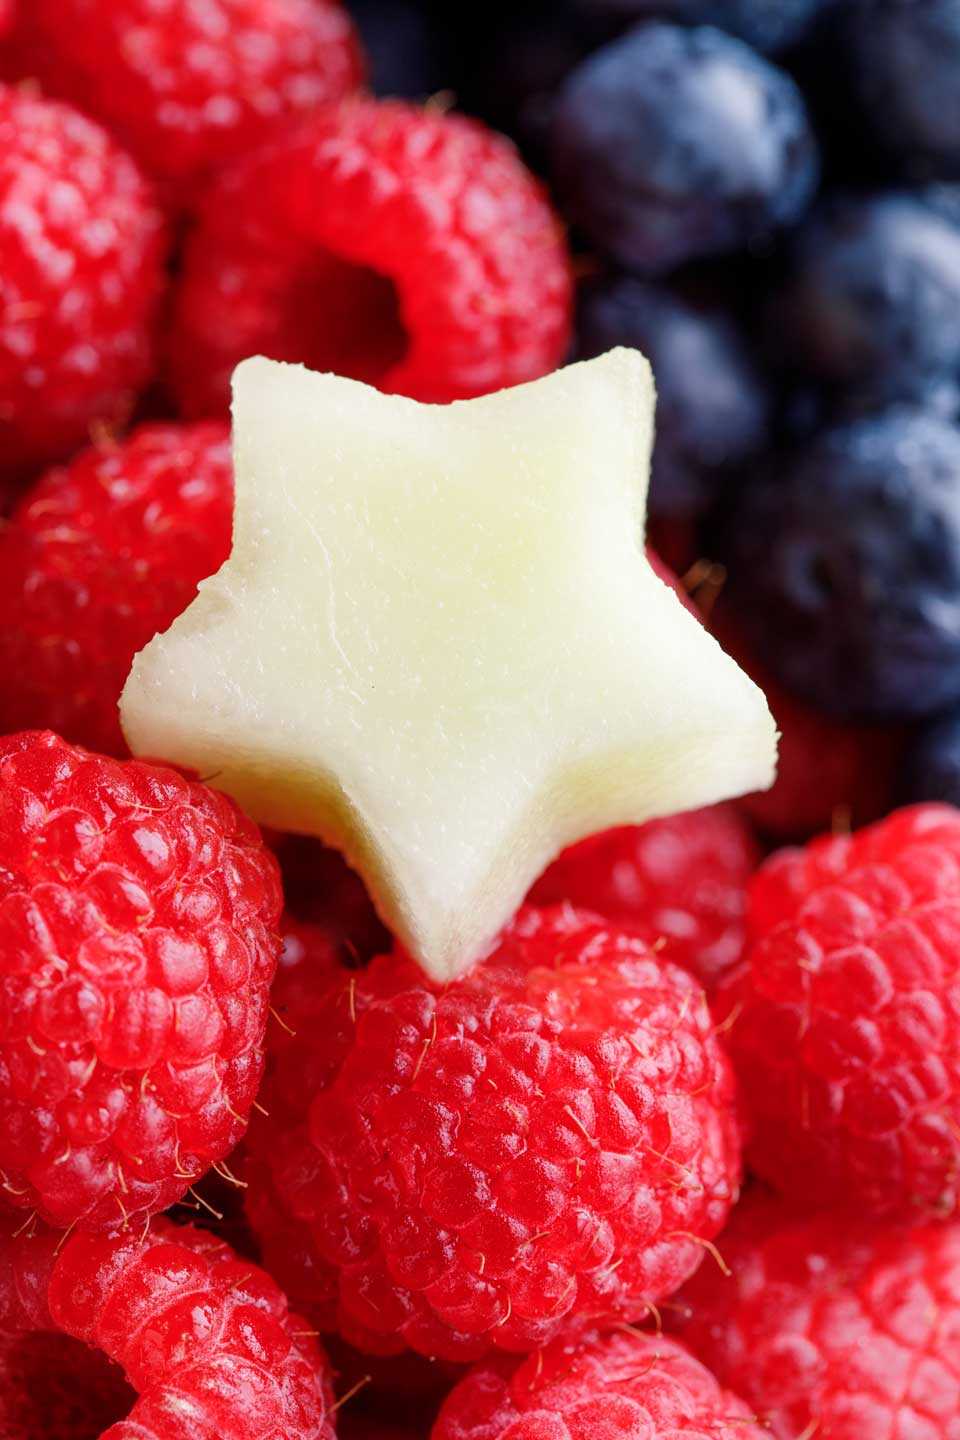
Pretty fruit flowers are a cute idea for spring gatherings and ladies’ luncheons, and cut-out stars are absolutely perfect for patriotic holidays like the 4th of July. (Psssst … check out our special star-spangled Red, White and Blue Fruit Kabobs!).
Stacking Your Fruit
Particularly if you’re going to stand your fruit kabobs up vertically, to make a bouquet, you’ll want to pay a little attention to the order you choose.
We recommend that the bottom fruit on each skewer be something sturdy, like a grape or a dense piece of cantaloupe or honeydew. This will help to prevent the entire stack of fruit from slowly sliding its way down. Watermelon, in particular, just isn’t dense enough to serve as a good base fruit (because, well, it’s mostly water …).
Turning Your Kabobs Into a Stunning DIY Fruit Bouquet!
Edible fruit bouquets purchased from those delivery companies can get really pricey. And I don’t know about you, but sometimes I’m disappointed by the quality of the fruit they use.
The solution? Make your own, homemade fruit bouquet as the showstopper centerpiece for a fruit tray! (Trust me … people will be VERY impressed.)
Once you’ve mastered making fruit kabobs (which was actually super easy, wasn’t it?!?), you’ve practically already got your own gorgeous, edible fruit bouquet finished, too.
You basically just have to decide what base/container you’re going to use to arrange and display your kabobs. You’ve got two methods to choose from:
Method #1: Using a Vase
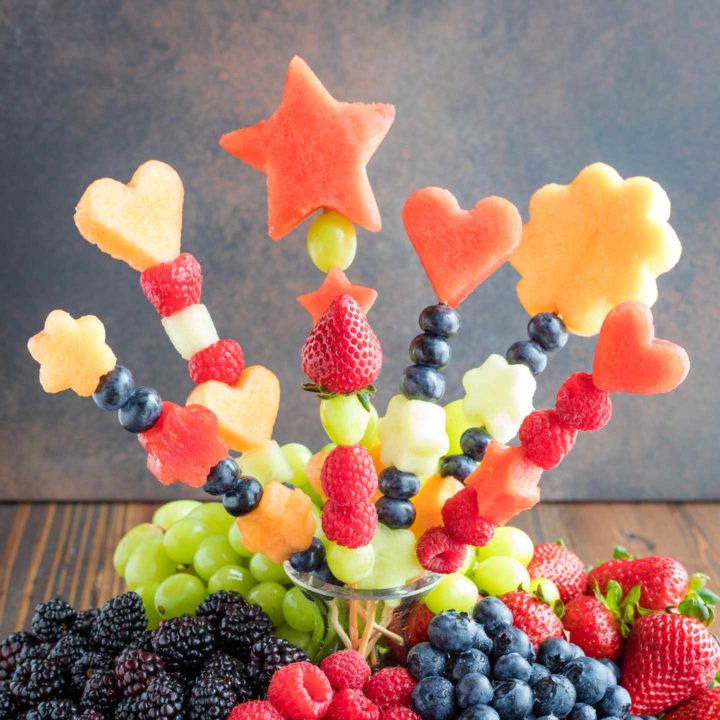
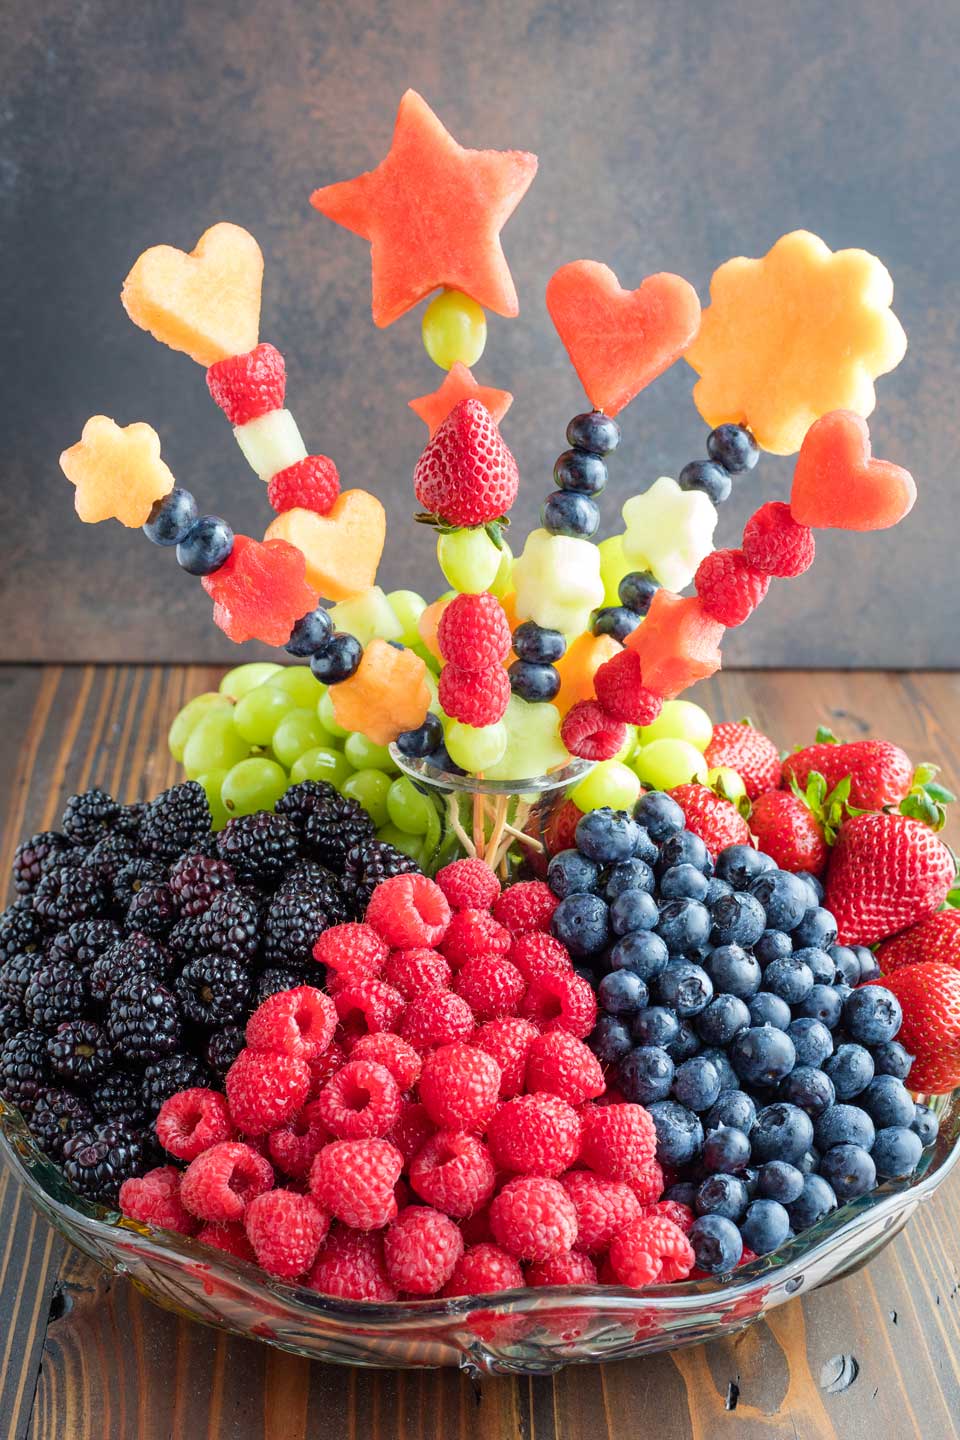
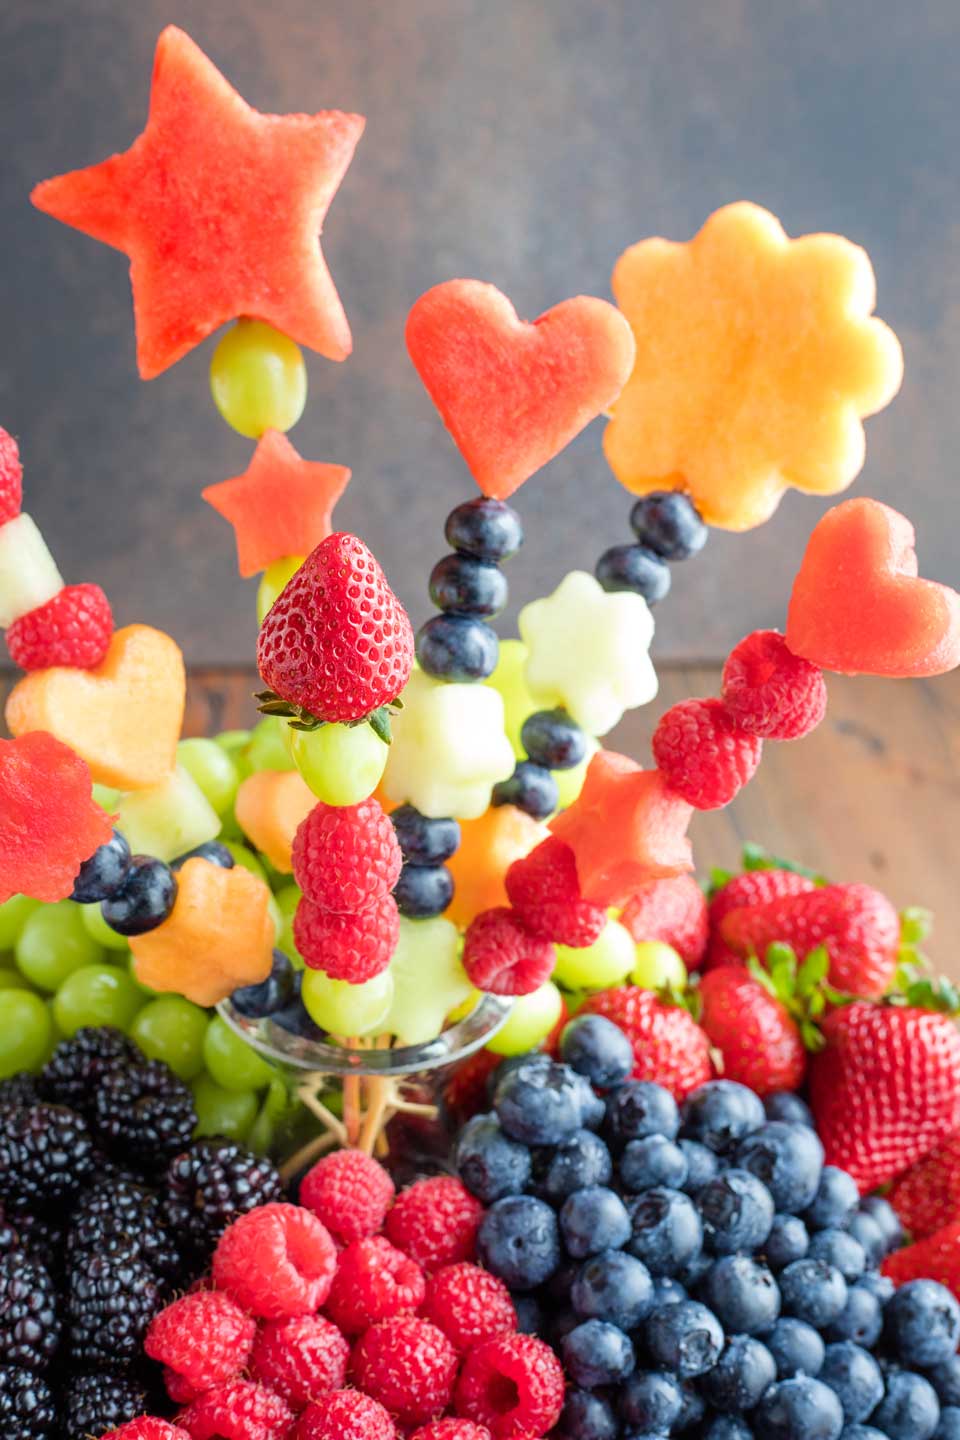
A small drinking glass or vase makes it ultra quick and simple to arrange your fruit kabobs into a bouquet, like we did in the picture below.
Just break a few of the skewers off at the bottom so that some of them are taller than others and they don’t all have the same height in the vase. Arrange your beautiful fruit bouquet however you like (channeling your inner florist, of course).
Then, place your creation on an empty platter and heap all of your other fruit around your pièce de résistance. Fab!
Method #2 Using an Edible Base (Instead of a Vase)
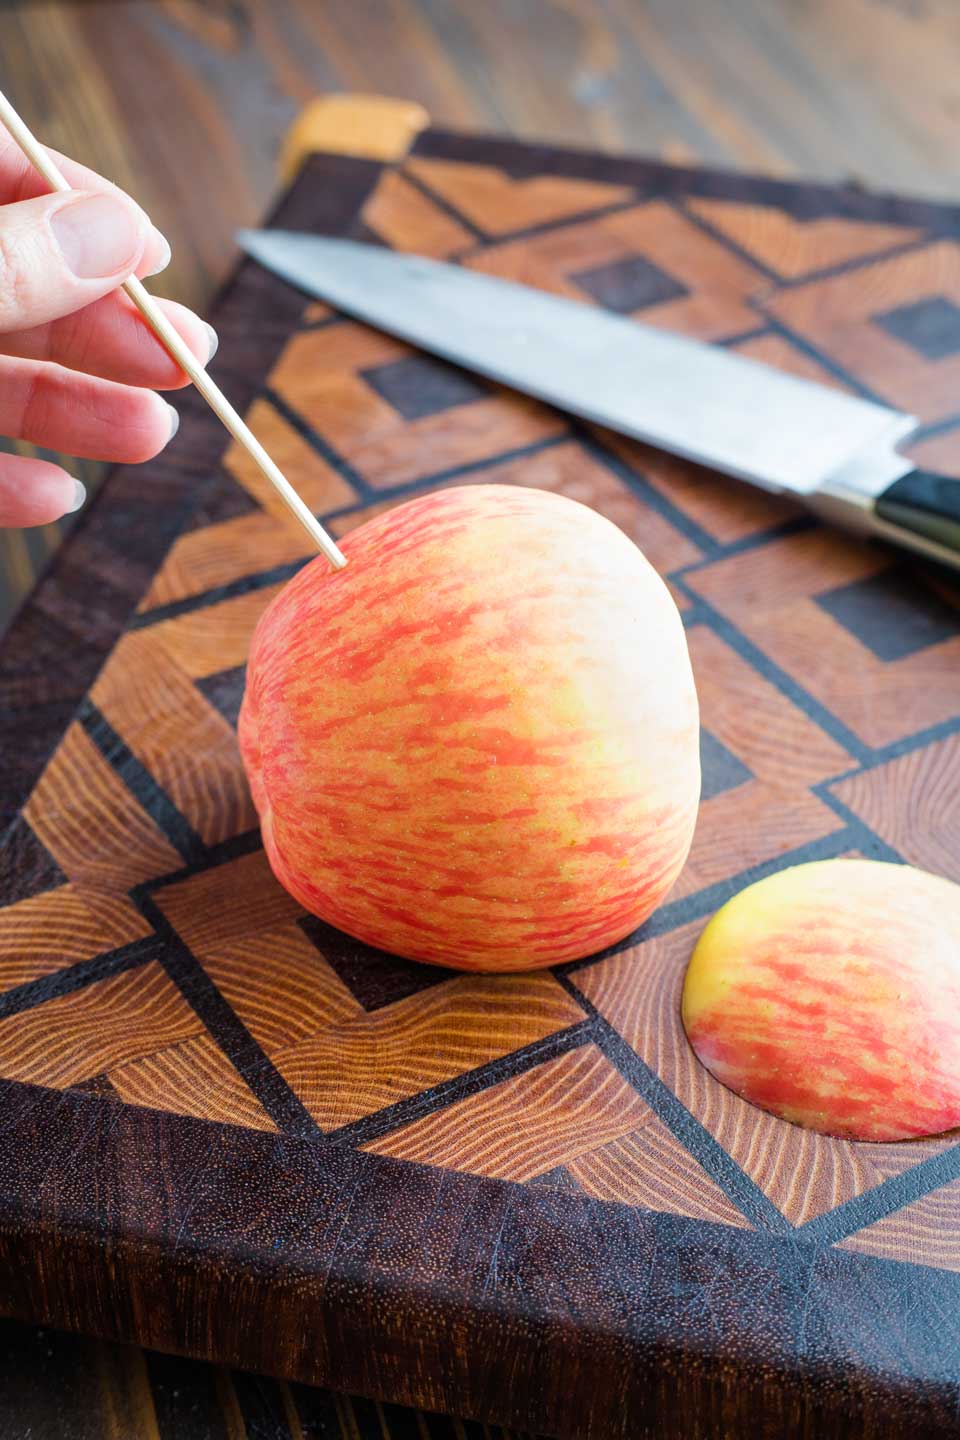
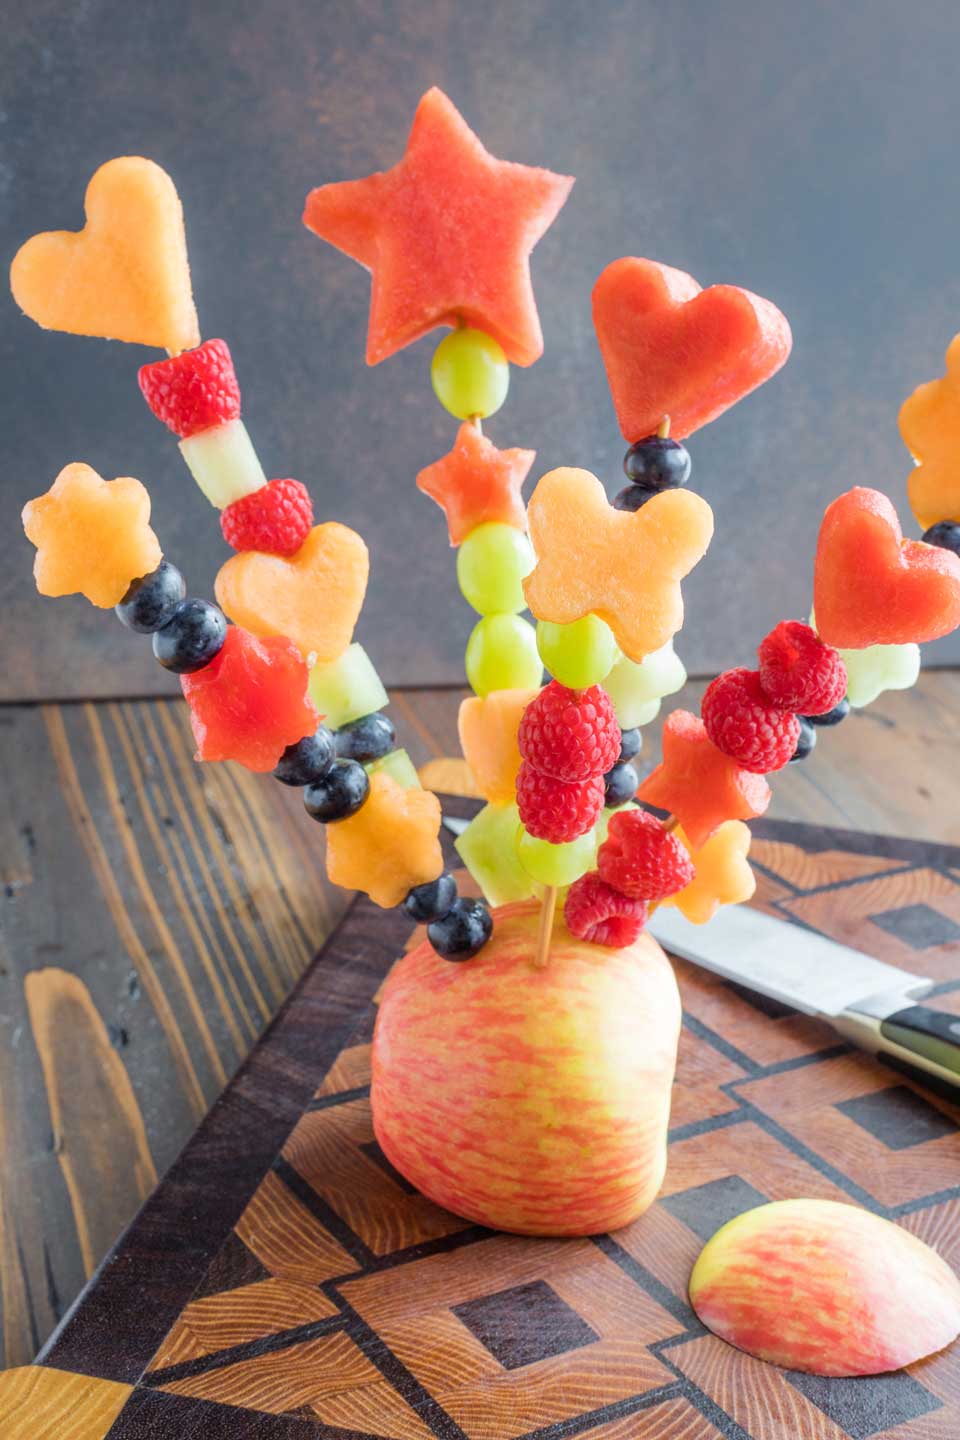
Alternately, if you want a little less height, you can swap out the vase for a base like an apple. (Or a small head of cabbage or iceberg lettuce … anything sturdy.) You’re basically creating an edible base similar to florist’s foam.
Cut your apple (or other base) so that it has a flat side, and place it, flat-side down, so that it’s secure and doesn’t roll around.
Using an empty skewer, pre-poke some holes in the apple where you want to position your fruit kabobs.
This just makes it easier to arrange your finished kabobs, without smashing them while you’re pushing down forcefully enough to create holes in the apple.
Next, place all your pretty kabobs into the pre-poked holes you made. You can push some in deeper than others, or break the bottoms of some skewers a little, so they’re at differing heights.
Once you’re happy with how your fruit bouquet looks, position it carefully on your serving platter. Then, mound all your other fruit around the bouquet … and you’re done!
Other Fun Ways to Adapt This Idea
No time to make kabobs? Couldn’t find skewers at the store? No problem!
Just place a few cut-out fruit flowers or stars (or whatever shapes you like) randomly on top of the other fruits on your fruit tray, like this:
No skewers needed. But guaranteed – they’ll be the first to go!
We use this strategy with stars cut out of mangos, to top both our festive Christmas Fruit Platter and our Christmas Wreath Fruit Kabobs. Looks adorable!
And, we use the exact same technique to cut out pineapple stars to top our gorgeous Christmas Fruit Salad. It’s a quick little hack that you can use for any fruit platter or fruit salad, all year ’round. Just pick festive cutters to match the holiday or your party theme!
Oh – and one of the easiest ways to inspire your kids to nosh on fruit any time of the day? You guessed it! Just thread fruit onto “princess wands,” “pirate swords,” “triceratops horns” … anything that will strike their fancy!
Why does food always taste better on a stick? Who knows? And, really, who cares? As long as it inspires people to gobble more healthy fruit, does it really matter?!?
How to Make Fruit Kabobs and DIY Fruit Bouquets
A quick way to make easy fruit kabobs and homemade, DIY fruit bouquets for fruit trays! Pretty fruit flowers and other cut-outs make fruit platters special!
• Ready in 30 Minutes or Less • Make Ahead • Vegan (and Vegetarian) • Gluten Free •
Ingredients
- assorted fruit to use whole, such as: strawberries (stemmed and hulled, if desired), blackberries, blueberries, raspberries, green and red grapes, and cherries (pitted)
- larger fruits to cut into cubes or into cookie-cutter shapes, such as: crenshaw or honeydew melon, watermelon, and cantaloupe
- 1 apple or a small head of lettuce or cabbage, if desired, to use as a base for arranging the fruit kabobs into a bouquet (can also use a small vase)
Instructions
To Make Fruit Kabobs
- Wash and, if needed, peel or cut your fruit.
- If desired, make some shaped cutouts by slicing melons slightly thinner than the depth of your cookie cutters (generally about 1/2" thick is good), and using your shaped cutters to make shapes (like stars, hearts, and flowers) of various sizes.
- Thread fruit onto bamboo skewers, alternating colors and types of fruit in pretty combinations. If you're going to be using your fruit kabobs to make a bouquet, we recommend placing a sturdier, denser piece of fruit (like a grape) at the bottom of each skewer so that it can hold up the weight of the other fruit above it, without smashing or sliding down the stick.
To Make Fruit Bouquets
- You can make a fruit bouquet by arranging your fruit kabobs in a vase. Snap off the bottoms of some of the kabob sticks, so that some fruit kabobs are taller than others.
- Instead of using a vase (which may be too tall for some applications), you can also arrange the kabobs by sticking the skewers into sturdy, rounded produce like apples, small cabbages, or small heads of iceberg lettuce. To do this, cut a slice off one side of your "base," so that the apple (or cabbage or lettuce) sits securely flat when placed flat-side down on your serving platter.
- Use an empty skewer to pre-poke holes in the base where you want to place the fruit kabobs. Then, put your kabobs into the pre-poked holes to create a pretty arrangement. To vary the heights of the skewers, push some further down into the base than others, or snap the bottoms off some skewers to make them shorter.
- Position your fruit bouquet on the serving platter and surround it with piles of other fruit, to hide the base and create a stunning fruit platter with your bouquet at its center.
Notes
Make-ahead tips: Depending on which fruits you use, your fruit kabobs can generally be made at least a couple of hours in advance, and often even a day ahead. In addition, if you're cutting out cookie-cutter shapes, that step can also be completed a day or two in advance. Store your prepared fruit, covered, in the refrigerator until serving.
Finished fruit bouquets also generally hold up well, if made in advance, but be extra sure to follow the tip to use sturdy fruit at the bottom of each skewer, so your fruit doesn't slide down its skewers before serving time.
(Originally published on July 9, 2013 as How to Make Fruit Bouquets and Fruit Kabobs. Photos and text updated, and step-by-step recipe card added.)

Fantastic!
I’m so happy you enjoyed it – thanks for great feedback, Alvin! ~Shelley