How to Hard-Cook Eggs
With Easter just around the corner, we know lots of you will soon be hard-cooking eggs to color for the Easter Bunny. (And that rascally rabbit always does such a good job hiding those eggs!)
But what’s the best method to achieve perfectly cooked eggs?
First off, we compared notes and quickly realized that we’ve both been using pretty much the same method for years … with great success. Ok, seemed like that would be a good recommendation to pass on to you, our beloved THK readers. Right?
Well …
We paused for a moment, knowing that plenty of other people have their own, different “I-swear-by-this” version of how to hard-cook the perfect egg. Gretchen’s husband even has his own way!
Huh. Maybe Gretchen’s husband was right, too. (It’s been known to happen.)
We also know that plenty of people struggle with the dreaded “green ring” or end up with rubbery, dry, overcooked eggs. What would cause this? What went wrong for them?
Inquiring minds want to know …
After hours (no joke!) of research and discussions (and Gretchen boiling enough eggs to make the hens work overtime) we’re ready to put our research to rest … and share with you what we learned.
We consulted food geniuses such as Harold McGee and Labensky & Hause, as well as checking out everyday-food-gurus like Martha Stewart, Elise at Simply Recipes, Real Simple, Cooking Light, and even the American Egg Board, plus lots of other bloggers.
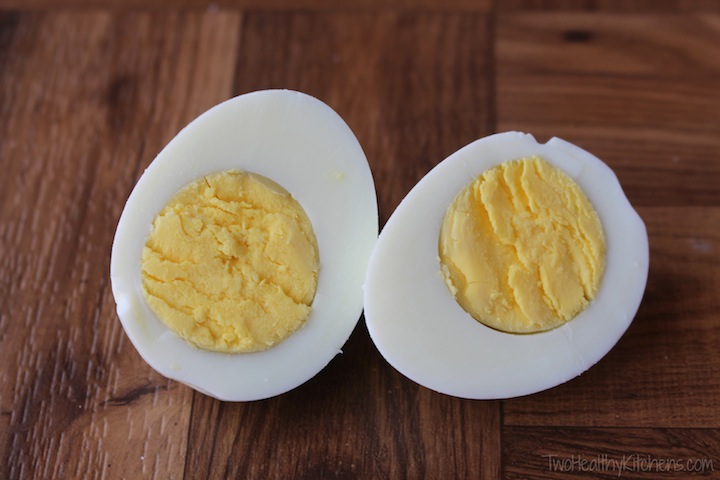
Turns out, the way we’d each been boiling our eggs for years really is more or less the standard approach you’ll typically find. This method should yield wonderfully creamy, perfectly cooked-all-the-way-through eggs (without the dreaded green ring!).
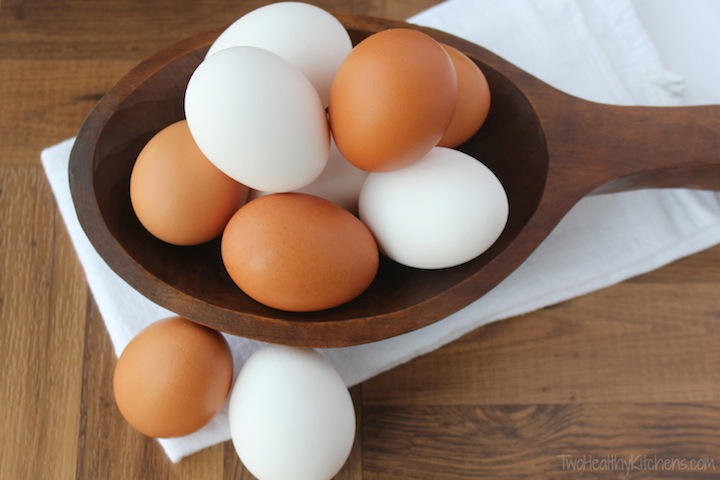 So let’s make some eggs! And let’s avoid rubbery, overcooked, dry eggs, shall we?
Here’s our tried-and-true THK method:
1) Begin by placing 12 large eggs (of any variety) in the bottom of a pot. The eggs should not overlap. They should be in a single layer.
2) Cover the eggs with cold water, about 1 – 2 inches over the top of the eggs. (Submerging the eggs directly into already-boiling water can cause the egg whites to cook too fast, resulting in tough whites and potentially undercooked yolks.) Leave the pot uncovered at this point.
3) Place the pot on the correct-sized burner, and turn the burner onto high heat.
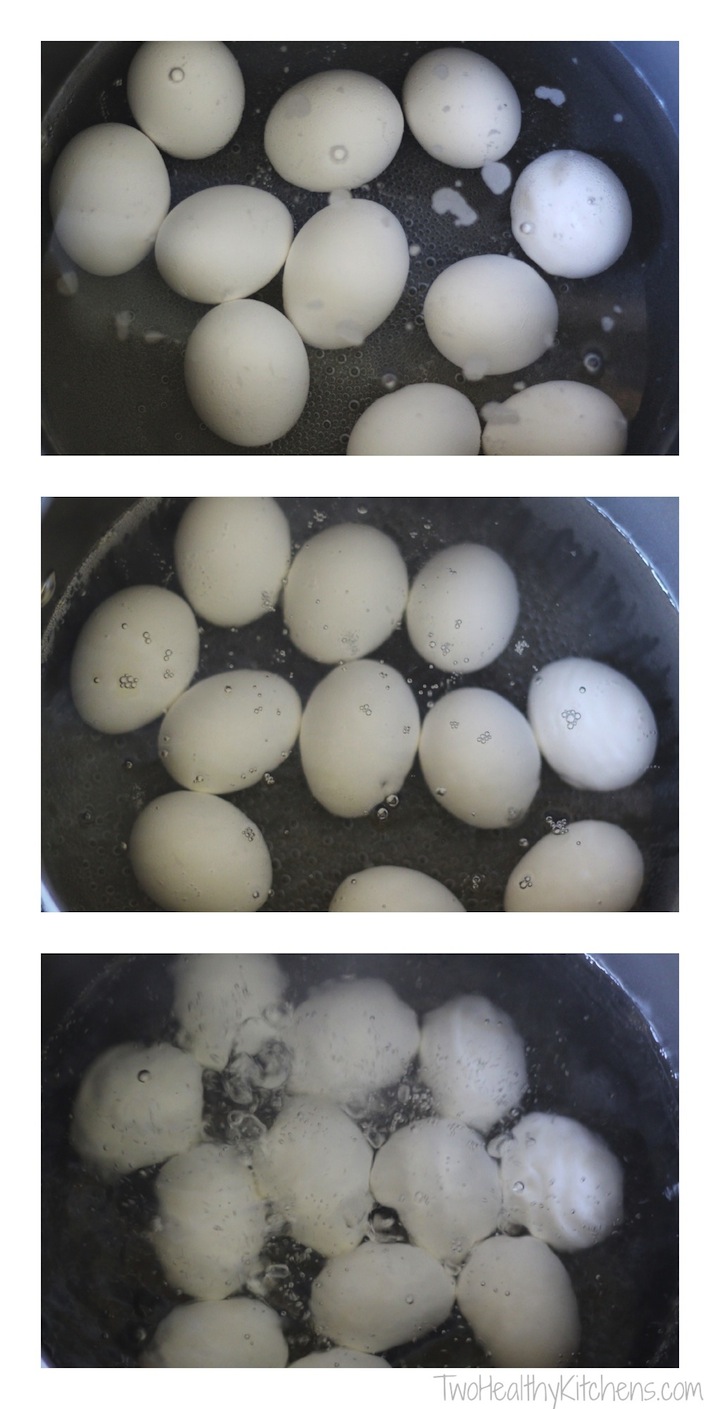
4) Bring the water to a gentle boil (not a hard, rolling boil, as this could cause the eggshells to crack).
5) As soon as the water has reached a boil, immediately turn the heat off and remove the pan from the heat (letting the eggs boil too long can make them tough or rubbery). Here’s where you’ll notice why we didn’t name this post “How to Hard-Boil Eggs” … that kind of intense heat is the enemy of perfectly cooked eggs. You don’t want them to stay at a boil.
6) Cover the pot and let it sit for 12 minutes.
7) Meanwhile, prepare an ice bath by filling a large bowl with ice and cold water.
8) When the 12 minutes are up, immediately put the eggs into the ice bath to stop the cooking process. Using a slotted spoon, gently take one egg at a time from the hot water and carefully place the egg into the cold water of the ice bath.
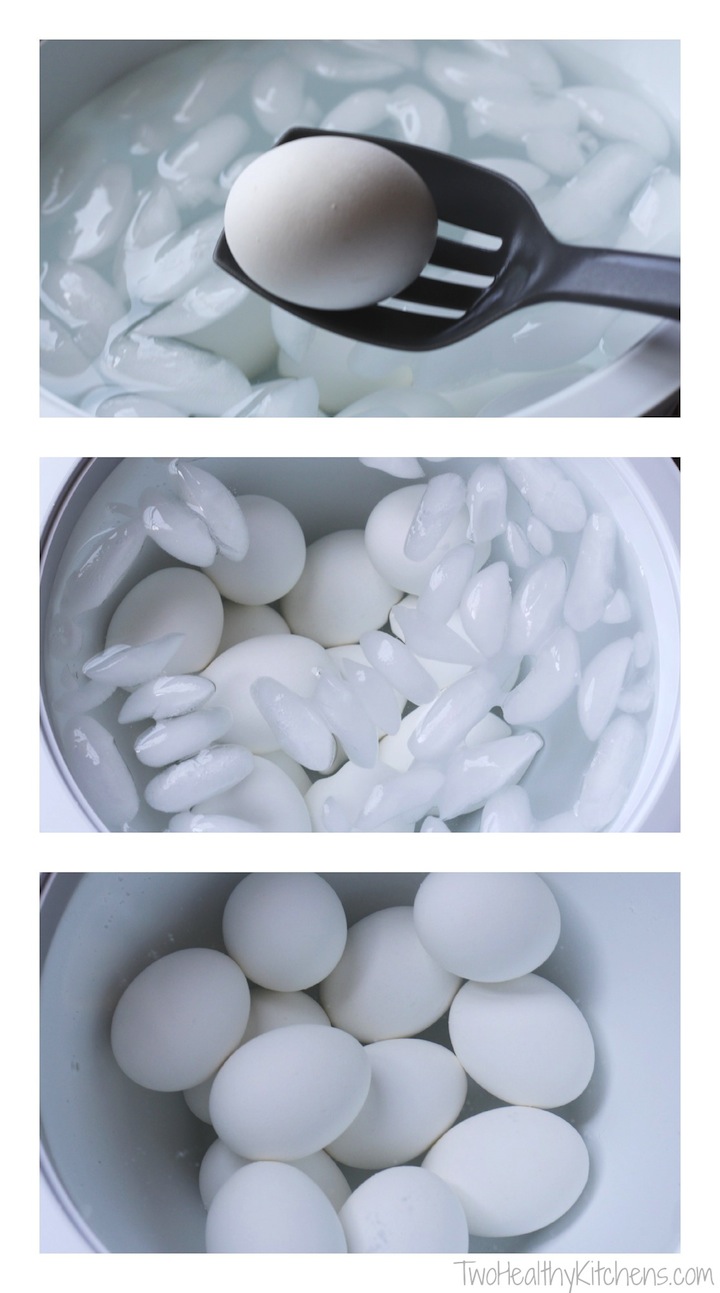
9) Leave the eggs in the ice bath for at least 10 minutes.
10) After 10 minutes, use the slotted spoon to remove the eggs from the water, and place them into a bowl or egg carton.
11) Store the eggs in the refrigerator.
Seems pretty simple, right? Yup, it actually is!
So how do some people have different techniques that work, too? And why is it that other people struggle to get their eggs to creamy, perfect, Easter-Bunny-ready perfection?
Well, turns out that there are a lot of variables that can affect your eggs:
- The number of eggs cooked
- Whether you truly cook them in a single layer or try to double-up
- The size of the eggs you use
- The temperature of the water when you start the eggs
- Whether or not you bring the water just barely to a simmer or actually to a true boil
- How long you let the water boil before turning off the heat
- How long you let your eggs sit after removing them from the heat
- And even your altitude, which can affect water’s boiling point (Fun Fact: According to the American Egg Board, it’s almost impossible to hard-cook an egg at over 10,000 feet!)
- Plus, you have to take into account exactly how done you personally like your eggs.
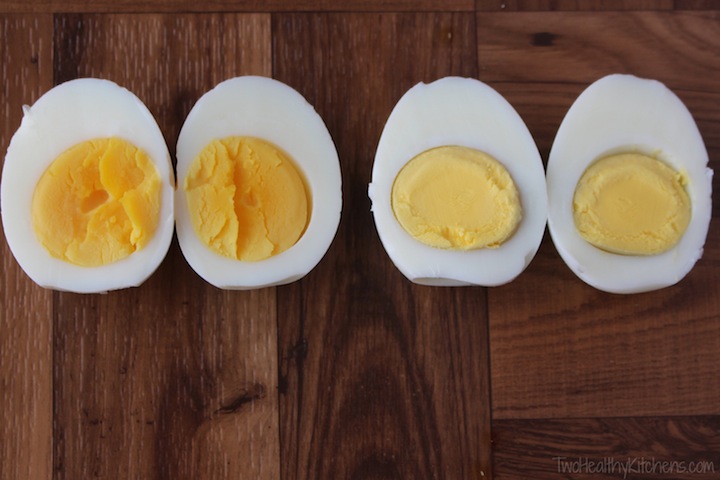
As you can see in the photo above, just the small difference of turning off the heat at a simmer versus turning it off at a true boil can have a noticeable impact on your final eggs.
All of this should help you troubleshoot your own hard-cooked eggs if they aren’t turning out quite perfectly.
It also helps to explain why plenty of reputable people, including Gretchen’s egg-cellent (oh come on … we had to!) husband, are able to use slightly different cooking methods with success, as well.
For example, we’ve seen very knowledgable sources recommend letting the eggs sit at a low simmer for about 15 minutes (and McGee mentions doing this for 25 – 35 minutes). If you think about it, that’s not substantially different from our own method. It’s just slightly changing the intensity of the heat (these eggs never quite reach the higher heat of a boil) and counterbalancing that with a longer cook time. You need to be careful with this method, though, that the heat doesn’t get too intense, which can cause your eggs to turn hard and rubbery or can create green rings around the yolks (more about that in a bit …).
Similarly, we’ve seen a suggestion for bringing the eggs to a full, rolling boil and keeping them at a boil for one minute before turning off the heat and allowing the eggs to sit for just 10 minutes. In reality, that’s not so very different from our own method, either – this simply increases the exposure to heat (allowing the eggs to remain at a full boil for a minute), while decreasing the time the eggs are heated (from 12 minutes to only 10). This probably works just great, although we like to avoid a rolling boil simply because it can cause the eggs to bash into each other or the pan … and crack.
But you get the point … little differences can help you tweak your method if you’re having trouble, and can also explain why you and your husband can have different cooking methods that both make the Easter Bunny very happy.
A couple more notes:
- Salt and Vinegar – We found a few people who mentioned adding salt or vinegar to the water to prevent the eggs from cracking, but we didn’t find a lot of evidence to support this, and we don’t find this to be necessary with our cooking method. In fact, we don’t find the need to add anything to the water except eggs.
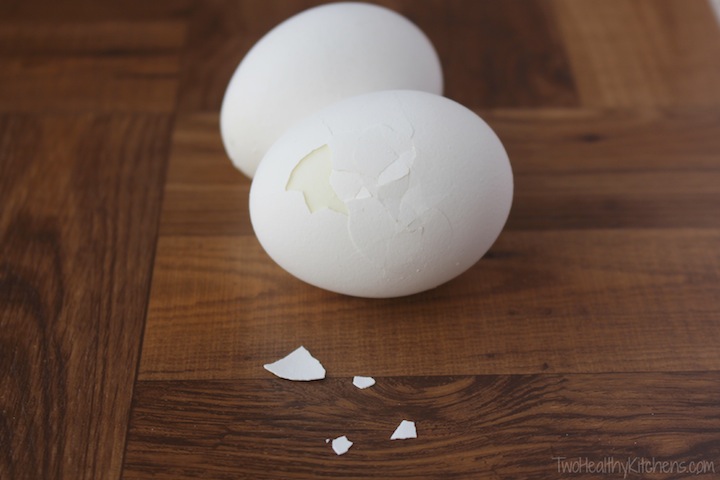
- Baking Soda – Others suggest adding baking soda to the water to help the eggs separate from their shells and peel more easily, but again, we didn’t find widespread support for this idea. Actually, the very best trick is to plan ahead just a little and purchase your eggs a few days before you hard-cook them. If possible, try to use eggs that are at least 5 – 7 days old (but not outdated, of course!). Super-fresh eggs will certainly cook just fine, but they’ll be more difficult to peel.
- The Dreaded Green Ring – Yeah, let’s talk about that … you know, that green-gray ring that sometimes forms around the yolk? It’s perfectly fine to eat – so don’t worry! As the American Egg Board explains, this ring is due to a chemical reaction between the sulfur in the egg whites and the iron in the yolk. It usually occurs when the eggs have been kept at too high of a cook temp for too long or weren’t cooled quickly enough after cooking. While not visually appealing, these eggs are totally safe to eat. Next time, just try to reduce the vigorous heat in your cooking method, or maybe reduce the cook time just slightly.
So, now you’re armed and ready with everything you need to know to cook up the very best Easter eggs yet! The Bunny will be happy, your after-Easter egg salad will be a masterpiece, and you won’t have to guess on whether or not the eggs are done. Now that’s the recipe for a perfect egg!

This is a great tutorial. A lot of great info. and comparisons. I like seeing the difference in the eggs cooked different ways. Thanks!
Thanks so much, Christine! We’re really glad the comparison photos were helpful! We often feel like we just need some visual cues so we know what to look for when we’re trying new recipes or methods – we’d hoped others might find that approach helped them, too! 😀 ~G&S
Great post and super informative. I think Easter is the only time I ever make hard boiled eggs, so this is perfect timing! Hope you gals have a great week!
Hi, Cindy! We sure hope this guide comes in handy for all your Easter eggs! And just think … after the Bunny’s visit, you’ll have all those perfectly cooked eggs, just waiting to be turned into some awesome egg salad! Score! Happy Easter, friend! 😀 ~G&S
Thanks for the tutorial, I love the step by step since it’s pretty possible to ruin a boiled egg!
Isn’t it funny how such a simple thing – just boiling an egg – can be fraught with so many pitfalls?!?!? Well, we totally hope that this guide will ensure you never, ever ruin an egg again! So glad you stopped by, Jessica! 😀 ~ G&S
I LOVE this post!!! I never made hard boiled eggs until I moved in with my BF. He eats them on his commute. I was trying to be a nice gf and make them for him but I kept messing them up. Too undercooked always! Then too overcooked. I will use this guide next time I make them.
Hey, Reba! You’re so cute … and so sweet trying and trying to make eggs for your guy! He’s so lucky to have you!!! 😀 Hard-cooked eggs really are a great grab-and-go food, aren’t they? Well, we sure hope our little guide helps you make them just perfectly for him! Have a wonderful weekend! ~G&S
Josh always swears by baking soda for peeling eggs, but I’ve long known better! Great time of year for egg posts, my egg salad cravings are operating at max capacity!
Oh no! We don’t want to get in the middle of this argument (sorry, Josh!!!! :D). No real harm in using the baking soda – but the surefire answer is simply using slightly older eggs (sadly, we don’t always plan that far ahead – lol!). Ummmmm … and in a shameless bit of self-promotion … if you love egg salad as much as we do, check out our new post on Egg-amole Mexican Egg Salad – super-yum!!!! ~G&S