How to Cut Angel Food Cake (Without Smashing It)
~ Knowing how to cut angel food cake properly will save you from ruining that lovely, delicate cake. Use the wrong technique, and you’ll end up smashing your cake into a flattened, gummy mess. But no worries – we’ve got 3 easy methods for cutting it properly (and some delicious angel food cake recipes to try out your new skills, too)! ~
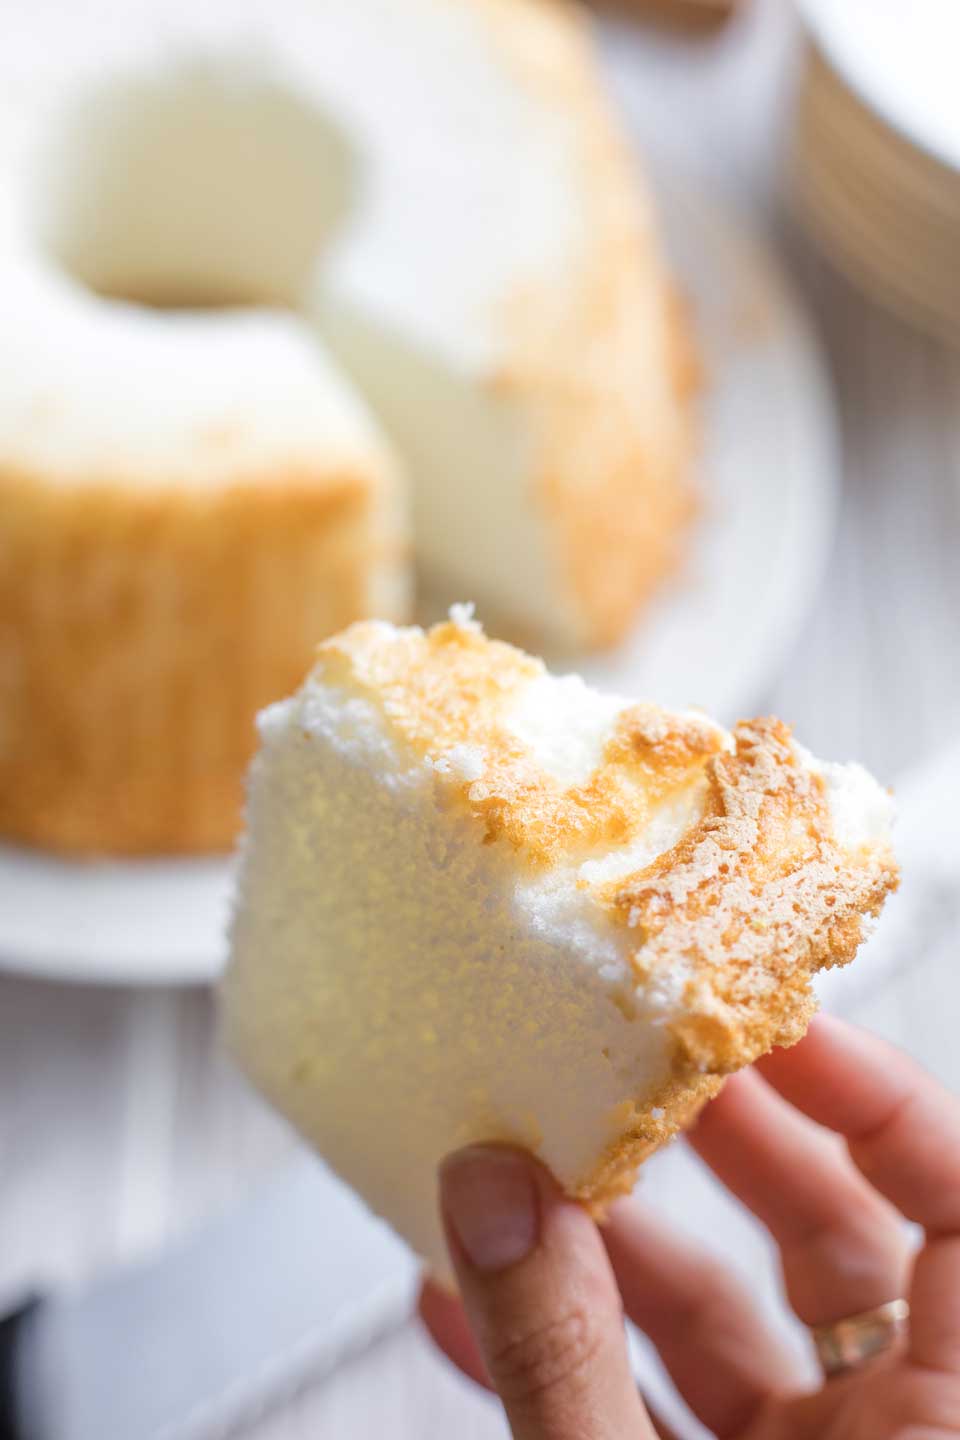
No doubt, the trickiest thing about angel food cake is figuring out how to cut it … without smashing that wonderfully light and airy texture.
I mean, angel food cake couldn’t be easier to make. And, it’s a snap to turn it into all sorts of refreshing, healthy desserts. It’s an ideal partner for things like vibrantly fresh fruit and lightened up dips and drizzles.
A classically simple dessert option for health-minded cooks!
But the smoosh factor! *UGH*
With the wrong knife … or the wrong method … that delicate, lighter-than-air cake ends up as a sadly squished, gummy pancake.
People often go wrong by using a dull, non-serrated knife and pressing down to make the cuts, rather than using a back-and-forth cutting motion. Smooooosh. Disappointing.
Luckily, if you know how to do it right, cutting an angel food cake is actually super easy, every single time!
How to Cut an Angel Food Cake Properly
There are basically 3 recommended strategies: using a serrated knife, an electric knife, or a cake breaker.
Which method is best for you depends mainly on what equipment you happen to have (so you don’t have to purchase any new kitchen tools).
METHOD #1 WITH A SERRATED KNIFE
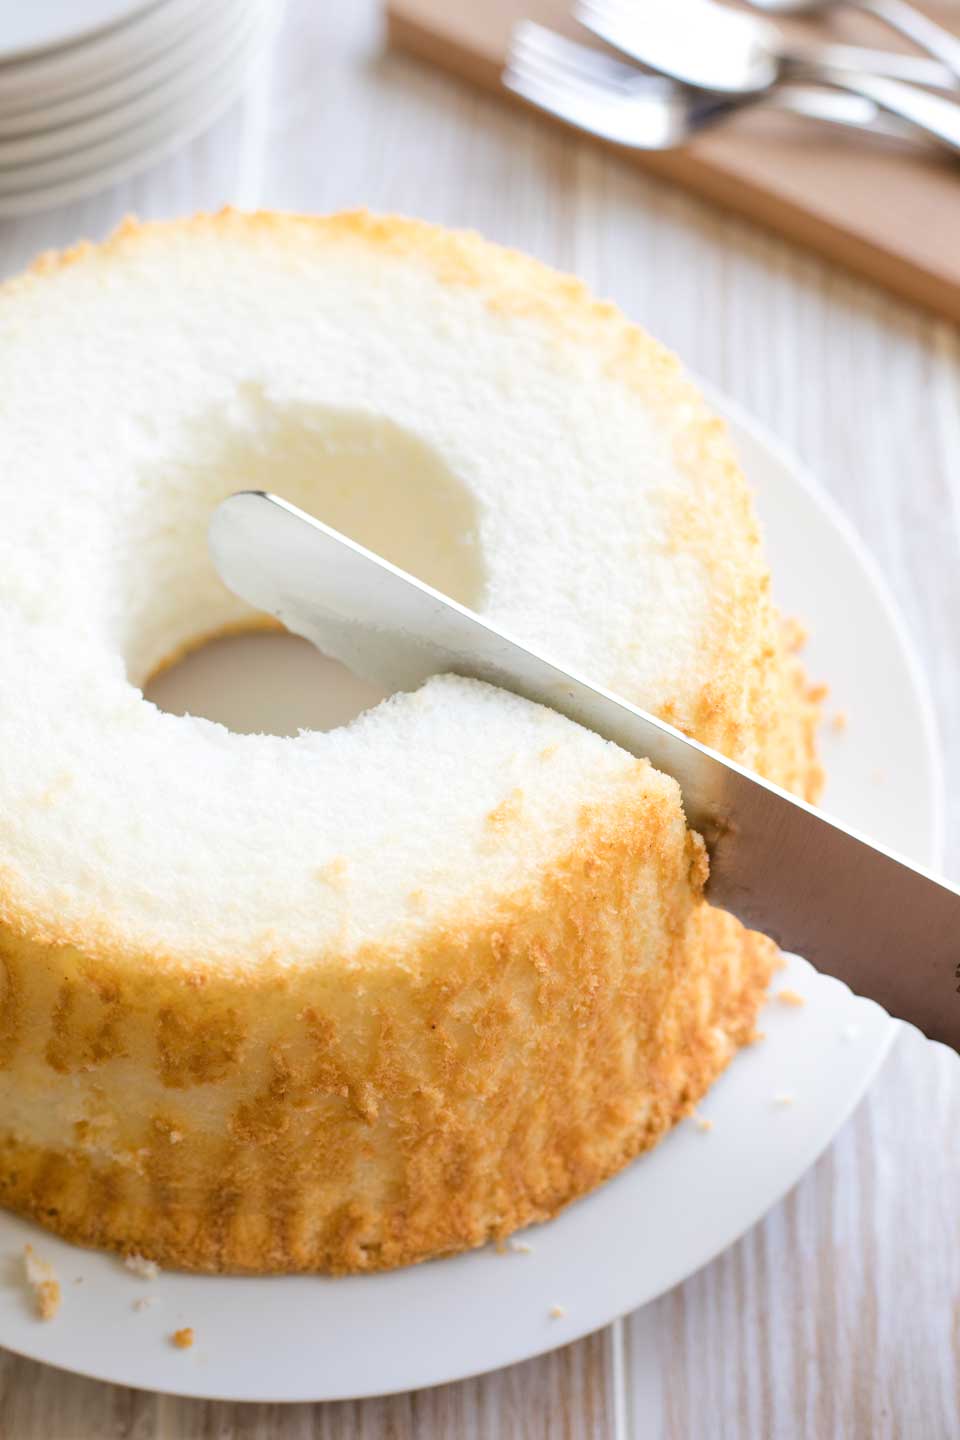
This is definitely my preferred strategy for cutting perfectly un-smashed angel food cake. It doesn’t require any particularly special tool, and it’s quick and effective.
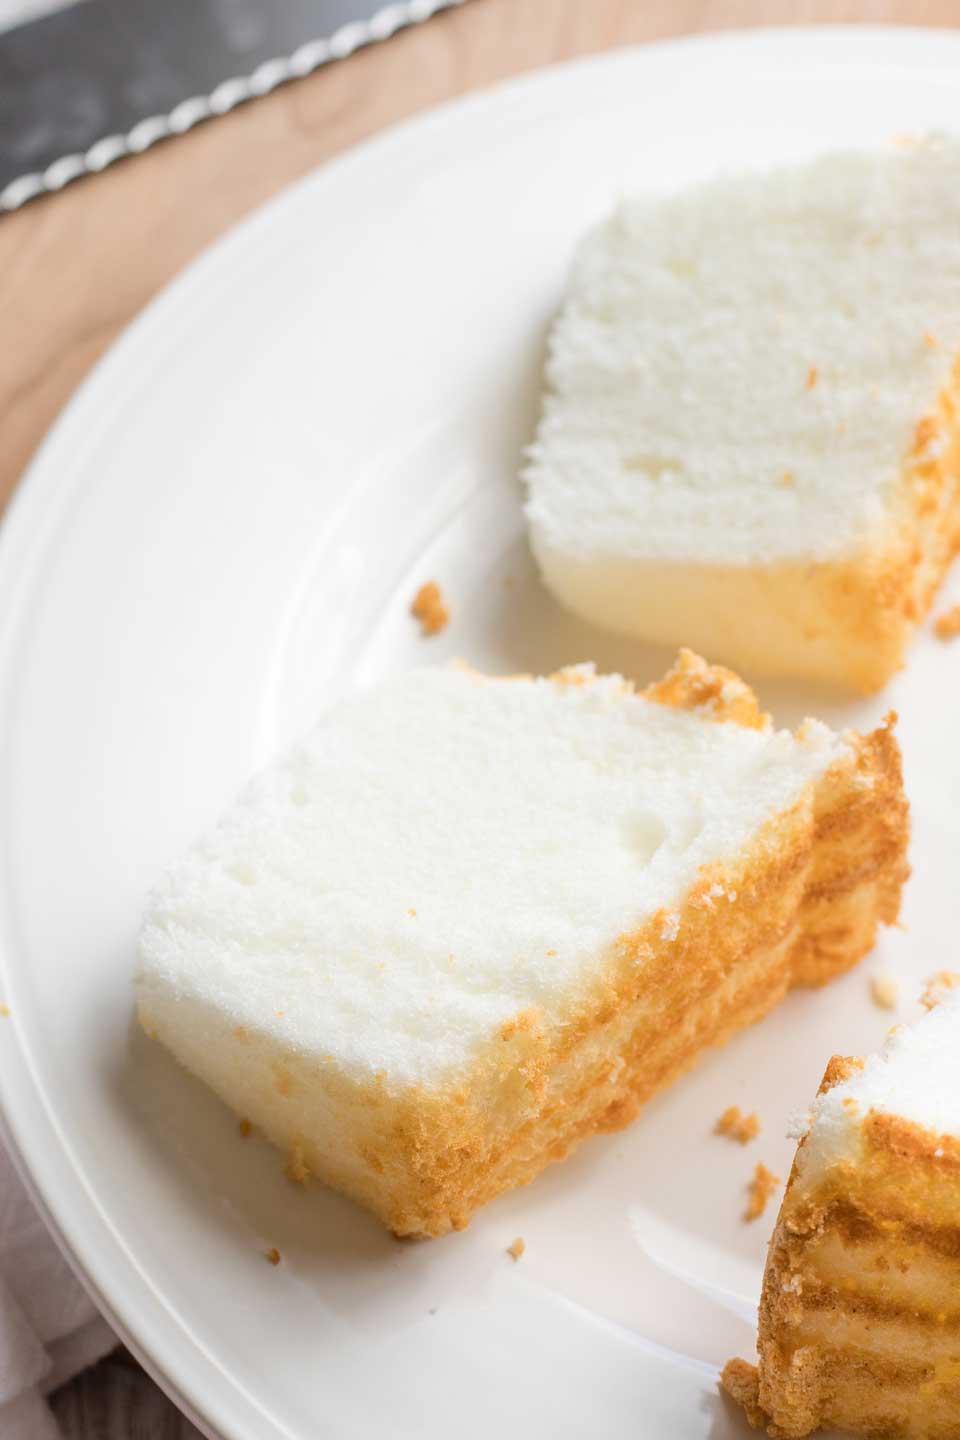
Choose a long, super-sharp, serrated knife. You probably already own one of these for cutting crusty loaves of bread. (My father-in-law gave me this one, which you see in my photo above. It’s a best-seller with thousands of 5-star ratings, and I absolutely adore it.)
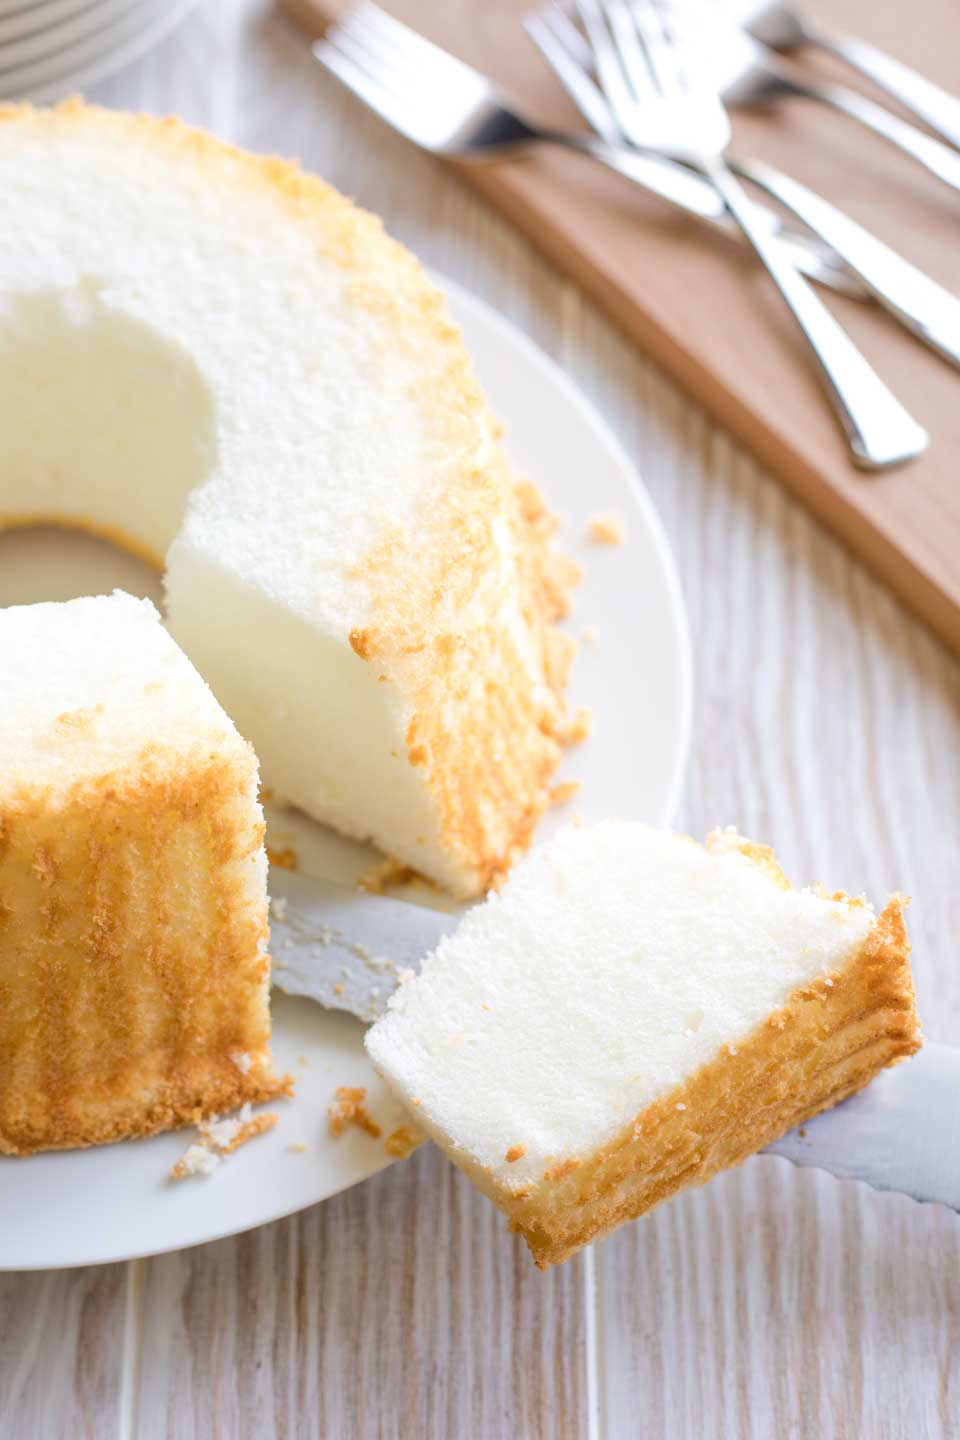
Using your serrated knife, cut slowly, with a back-and-forth, sawing motion.
The key is to let the sawing do the work for you, without applying much downward pressure that could smash the cake.
You’ll end up with a clean, pretty cut – without any smooshing!
This also works well for cutting angel food cake horizontally, if you want to create layers to add a filling in the middle.
Plus, it’s a terrific tool for cutting your cake into cubes for fondue, or for making fun cake and fruit kabobs.
Remember: just saw slowly, allowing the serrations to do the work.
METHOD #2 WITH AN ELECTRIC KNIFE
A serrated, electric knife is a second option – if you happen to have one stashed away somewhere. Maybe you dig it out once a year, for carving up your Thanksgiving turkey.
(I’ve personally got an avocado green one, that can trace its origins back to the 60s or 70s. As nearly as we can tell, it used to belong to my mother-in-law … probably a wedding gift from more than 50 years ago!)
Sure, it works like a charm for carving turkey, or for cutting super-thin slices of grilled flank steak.
And hey hey – here’s another reason to bust it out once in a while.
Although, full disclosure here: While some people swear by electric knives for cutting angel food cake, I usually don’t want to waste the time foraging around in the basement.
But if you happen to have one handy, it’s a nifty alternative to the “plain” non-electric serrated knife I recommend in Method #1 above. Might be a little overkill for cutting cubes of cake, but overall, it’s still a solid choice for cutting slices.
METHOD #3 WITH A CAKE BREAKER
One last idea. Some people also recommend using a cake breaker (like this one).
It gently pulls the cake apart without smashing, which is great.
Honestly, though, I don’t like the rustic, messy edges that these tools create (and I don’t need yet another single-use gadget milling around in my over-stuffed utensil drawer).
Plus, it’s not going to be your best option for cubing cake … but it’s still another worthy strategy to keep in mind.
Which Option Is Best?
So, again, which method you choose for cutting your angel food cake mostly depends on which tool you happen to have on hand already.
Overall, though, I’d vote for a simple, plain-old, serrated bread knife.
It’s probably already in your kitchen tool arsenal. And it does a stellar job of slicing, layering and even cubing your cake. No special gadgets required, no need to root through your dark basement shelves looking for a tool you normally dig out once or twice a year!
How Many Slices Do You Get from an Angel Food Cake?
Obviously, the exact amount will vary, depending on how large you cut your slices.
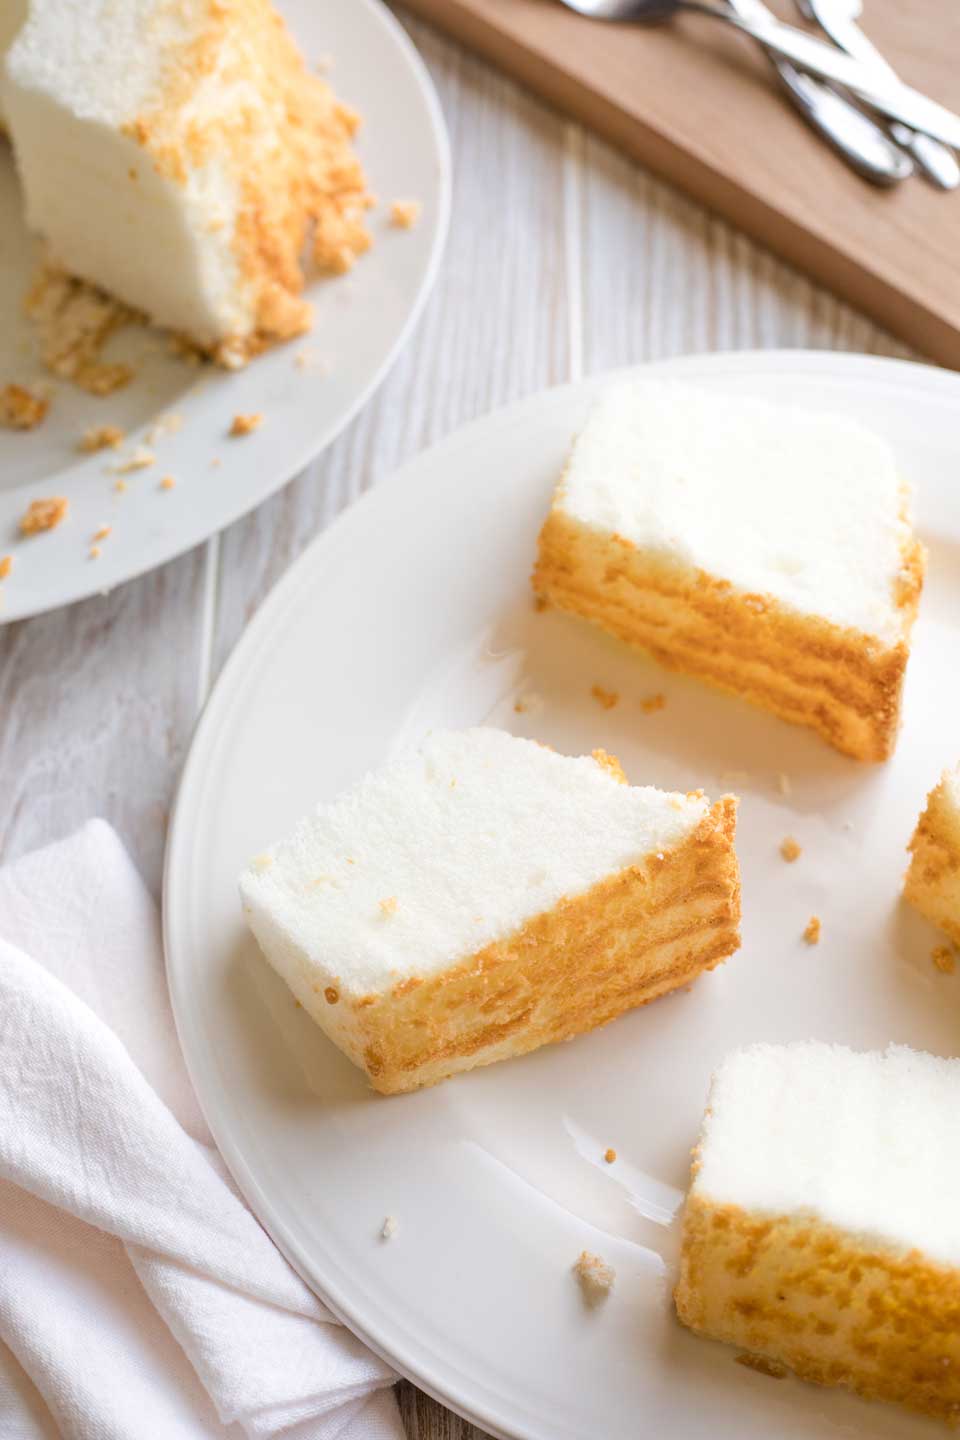
But, as a rule of thumb, if you cut each slice about 1 – 1 1/2 inches thick, you should be able to get 12 slices from one entire cake.
Angel Food Cake Recipes
Now that you know how to cut angel food cake (smoosh-free!), here are some of our favorite recipes for putting your new little tricks to use!
Blueberry-Lemon Angel Food Cake Recipe
This lovely dessert is so impressive, with only 5 ingredients! Drizzle blueberry cream over warm angel food cake, toss on a handful of fresh berries, and sprinkle it all with a little lemon zest. Mmmmm … it’s refreshingly light and sweet ... truly special! We love grilling our angel food cake in summer, but we’ve also got directions for broiling and toasting it (year-round), too.
Quick and Healthy Angel Food Cake Dessert with Vanilla-Honey Oranges
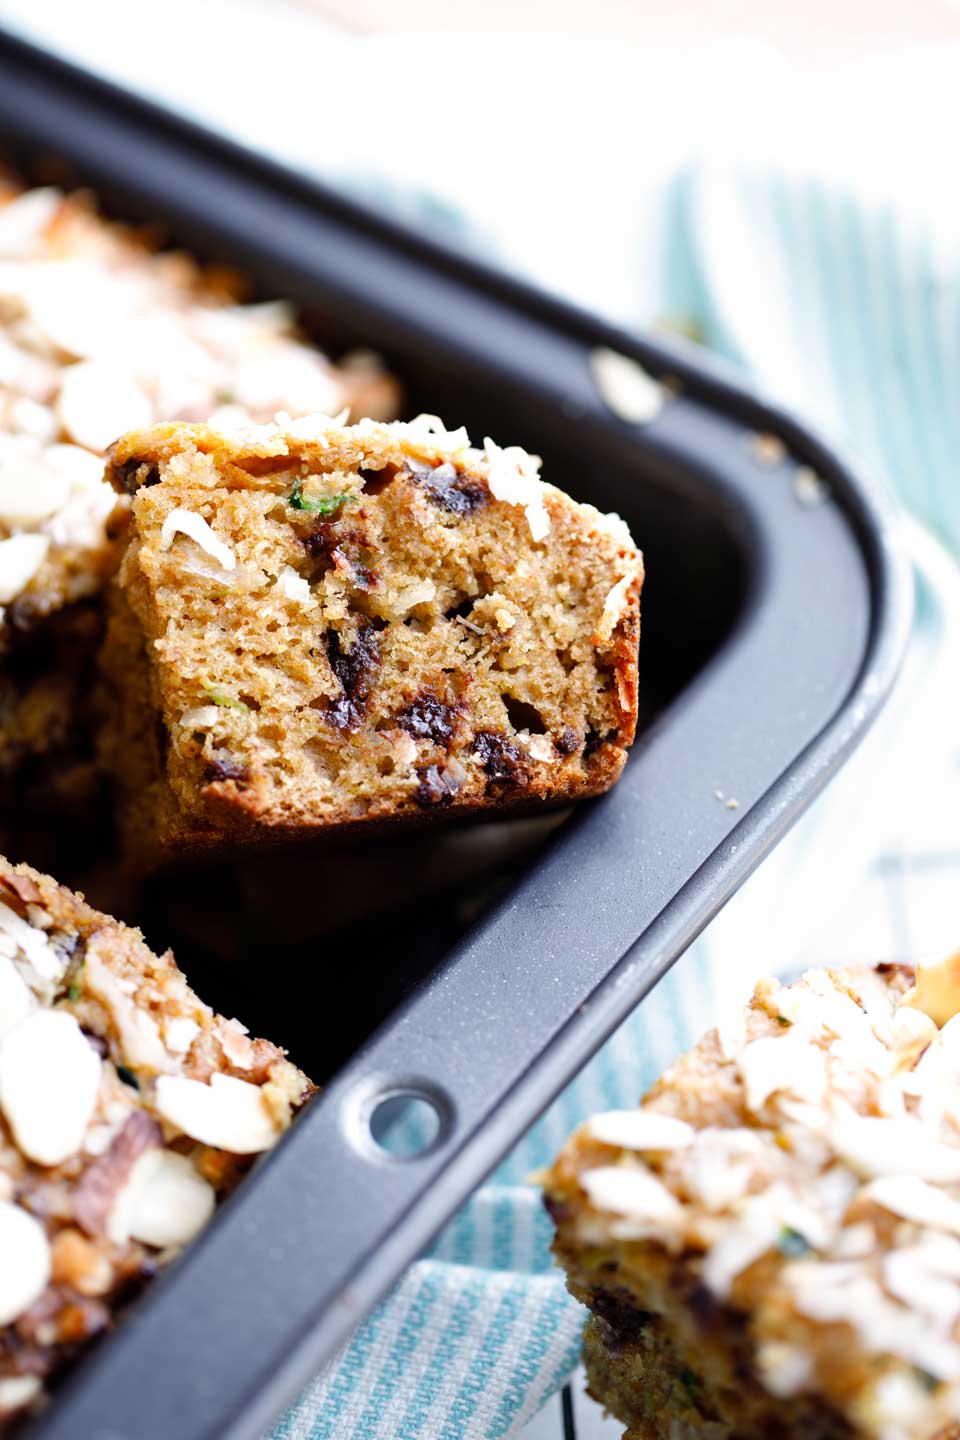
So sweet and decadent, but wonderfully light, too! This is another blissfully easy, 5-ingredient recipe (just like the blueberry cake above). This one's perfect for winter entertaining, especially around the holidays. It features warm, toasty angel food cake under a cascade of winter fruit, all beautifully accented by a little honey and a splash of vanilla. Handy shortcuts and make-ahead steps make it super-fast for dinner parties, or even for a special weeknight treat!
Easy Tropical Angel Food Cake with Pineapple and Toasted Coconut
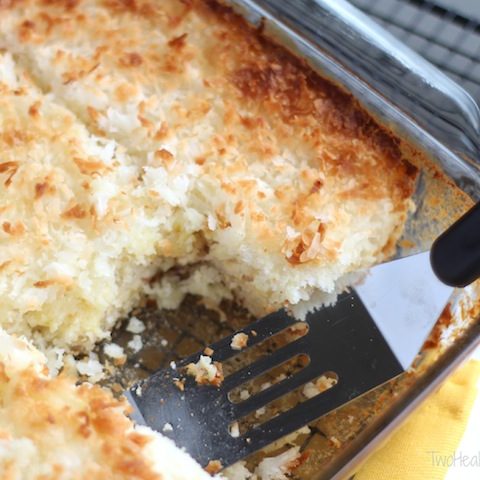
We lovingly call this recipe our "Ambrosia Cake." It transforms boxed angel food cake mix (and a few other pantry staples) into an impressive dessert that's super-simple to throw together when you're short on time. Loaded with juicy pineapple, crunchy almonds and toasted coconut … it's ridiculously easy, yet so delicious! Keep the ingredients on hand for a scrumptious (guilt-free!) dessert, anytime!
Red, White and Blue Dessert Fruit Kabobs
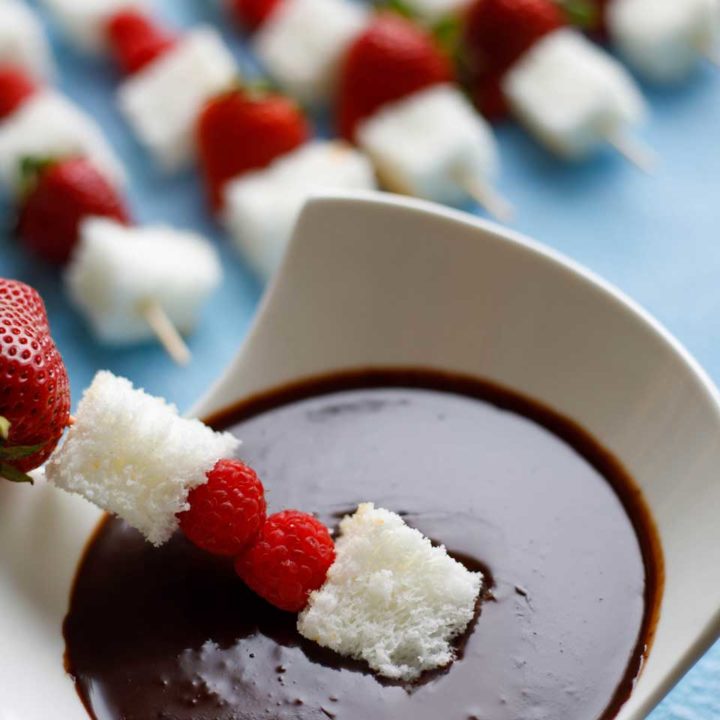
A fun dessert for all your summertime patriotic parties! Slip some sweet cubes of (perfectly cut!) angel food cake onto festive fruit skewers, and serve them alongside our decadent 3-Ingredient Chocolate Dip! So darn impressive, but surprisingly easy to make!
So, now you’ve got tried-and-true, yummy recipes to try. And, you’ve got the perfect methods for cutting your angel food cake.
Seems like you’ve only got one problem left.
Which recipe are you gonna use your new cake-cutting skills on first?!?
Hmmmmm … decisions … decisions …





Very comprehensive and informative! Thanks – so helpful!
You’re welcome, Isabelle – I’m glad it helped you out! And thanks for letting me know – I appreciate it! ~Shelley